Using Autocomplete in Vim
Autocompletion is a great way of being more efficient as a Vim user. Learn various ways of using auto-completion in Vim.


Vim is the text editor that made me highly productive in writing code and editing system configuration files. Something to speed you up even more is auto-complete.
In this article, I will tackle exactly that, so keep reading if you are interested!
Built-in auto-completion support
Since version 8.2 of Vim, there has been built-in support for auto-completion.
Method 1: Basic auto-complete
Start typing something and then press the Ctrl + n key combination (<C-n>) to get Vim's auto-completion suggestion. If there is only one match, Vim will auto-complete it for you as soon as you press the Ctrl + n key combination. Otherwise, Vim will open a list of matching suggestions in a pop-up window.
If there is a large list of keywords, use the Ctrl + p key combination (<C-p>) to select in reverse order (from bottom to top).
Following is a tiny demo:
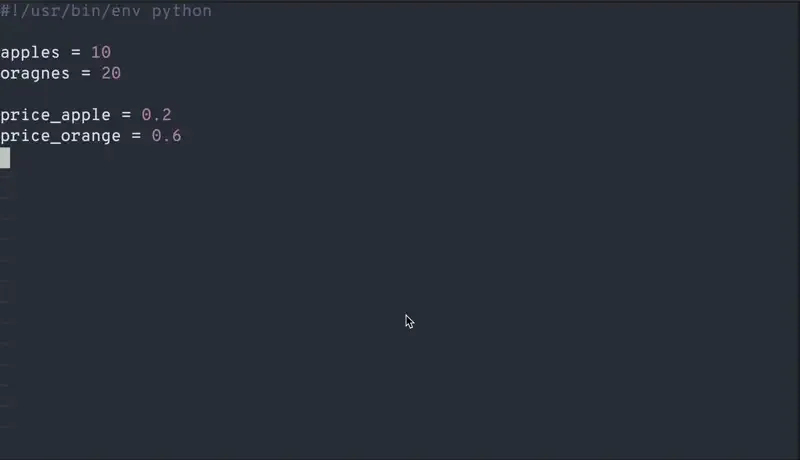
This suggestion is based on the contents of the file you are editing. So if you use any new keywords, the auto-completion will not work. Do note that if you include files, those will be used for auto-completion.
Method 2: Slightly better auto-complete with Omni completion
The previous completion method that we looked at was rather basic. It only completes based on whatever text exists in the files that you are editing. That's a basic type of auto-complete and is hardly ever useful.
Vim has Omni-completion for a somewhat intermediate use of auto-completion. To enable that, add the following lines to your ~/.vimrc file:
filetype plugin on
set omnifunc=syntaxcomplete#Complete
To invoke Omni completion, press the Ctrl + x key combination (<C-x>) and then press one of the following key combinations to get the desired result:
<Ctrl + ]>: Tags file completion<Ctrl + d>: Definition completion<Ctrl + f>: Filename completion (based on files in$PWD)<Ctrl + i>: Path pattern completion<Ctrl + k>: Dictionary completion<Ctrl + l>: Whole line completion<Ctrl + n>: Keyword local completion<Ctrl + o>: Omni completion completion<Ctrl + v>: Command line completion
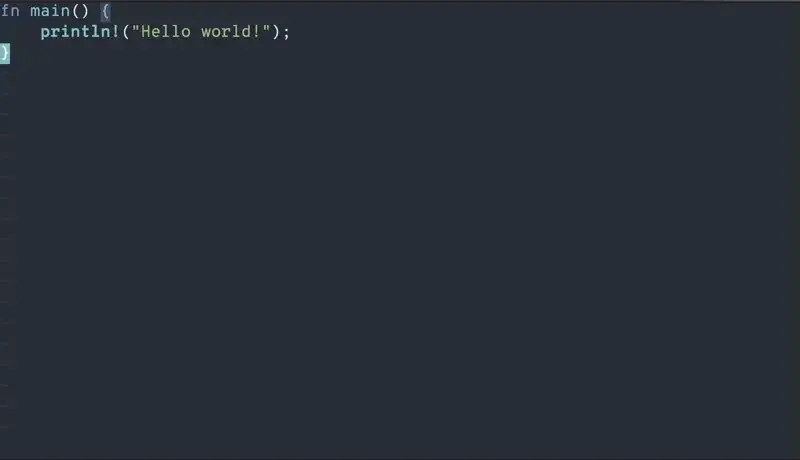
Following is a demonstration of how I use the Omni completion for command line completion:
Using plugins
To get more value out of auto-completion in Vim, you have to look outside of Vim's offerings. Let's look at a few Vim plugins that help us in auto-completion.

supertab plugin
The supertab plugin is used to get a more IDE-style completion (though very barebones). What it essentially does is that it performs the best completion based on what you are doing. All of the completion is done by pressing the <Tab> key.
Let's say that you are typing in a CLI command. When you press the <Tab> key, you will get a command line completion. This is equivalent to pressing the <C-x> key combination followed by the <C-v> key combination.
If you are typing a long word and then press <Tab>, you will get a keyword local completion. This is equivalent to pressing the <C-x> key combination and following it up by pressing the <C-n> key combination.
Neat, isn't it?
To add this plugin using vim-plug, add the following line to your ~/.vimrc between plug#begin() and the plug#end() lines:
Plug 'ervandew/supertab'Once that is done, type the :PlugInstall command to install the plugin. You might need to re-open Vim for the change to take effect.
Now, you can simply press the <Tab> key to get Vim's auto-complete suggestions.
Following is a demonstration:
IDE-like auto-completion
Before you dive into this, let me tell you what LSP is. It stands for Language Server Protocol.
Adding every single language's support to an editor like Vim gets exponentially difficult as now, the language makers or the community around it will have to support all the editors with their language.
So, the Language Server Protocol defines how an editor (Vim, in our case) interacts with an external program (our language server) that tells Vim how a language is structured and what its elements are.
Let's understand this with an example. The Rust language has an official language server called rust-analyzer. The rust-analyzer is a program that will look at the Rust source and generate an abstraction. Then, any editor that supports LSP can hook into that abstraction provided by rust-analyzer and get IDE features like auto-completion, in-line warnings, inlay hints for types, warnings, errors, and more!
This means that the editor of choice doesn't matter. As long as Neovim or Vim or Nano or even Emacs support LSP (or a plugin provides this functionality), you can have the same experience in all of the supported editors.
This also means that if you are a C developer, you only need a language server for C (likely clangd). I heard you liked less bloat ;)
Now that you know what an LSP is, let's install a few plugins. Following is what should be in your ~/.vimrc file:
plug#begin()
Plug 'neoclide/coc.nvim', {'branch': 'release'}
plug#end()

filetype plugin on

inoremap <silent><expr> <TAB>
      \ coc#pum#visible() ? coc#pum#next(1) :
      \ CheckBackspace() ? "\<Tab>" :
      \ coc#refresh()
inoremap <expr><S-TAB> coc#pum#visible() ? coc#pum#prev(1) : "\<C-h>"
inoremap <silent><expr> <CR> coc#pum#visible() ? coc#pum#confirm(): "\<C-g>u\<CR>\<c-r>=coc#on_enter()\<CR>"
inoremap <silent><expr> <c-@> coc#refresh()
Once this is done, download and install the plugin by running the :PlugInstall command inside of Vim.
NodeJS is required as a dependency of the coc.nvim plugin. Install the required version of NodeJS using your favorite package manager.
Once NodeJS is installed, close and re-open Vim to install the required coc extensions using the :CocInstall command like so:
:CocInstall coc-rust-analyzer coc-pylsp coc-clangd coc-clang-format-style-optionsThe above command will install coc extensions for Rust (coc-rust-analyzer), Python (coc-pylsp) and C/C++ (coc-clangd, coc-clang-format-style-options).
A list of all the available extensions is provided at this Wiki page.
coc-rust-analyzer and coc-clangd; these coc extensions are merely a means to establish communication between coc and the actual Language Server(s).Make sure that you have Language Servers like
rust-analyzer and/or clangd installed. Most of these language servers like rust-analyzer and/or clangd can be easily installed using your Linux distribution's package manager.Custom configuration if an extension is not available
If, for whatever reason, your favorite language is not listed in the coc exetensions list, you can create a configuration of your own.
To create a custom configuration, run the :CocConfig command inside Vim which will open the coc-settings.json file (do not edit this manually; always use the :CocConfig command). In there, define your configuration in JSON, like so:
{
  "languageserver": {
    "rust": {
      "command": "rust-analyzer",
      "filetypes": ["rust"],
    }
  }
}:CocInstall coc-json command inside Vim.For more configuration options, check :help coc-config.
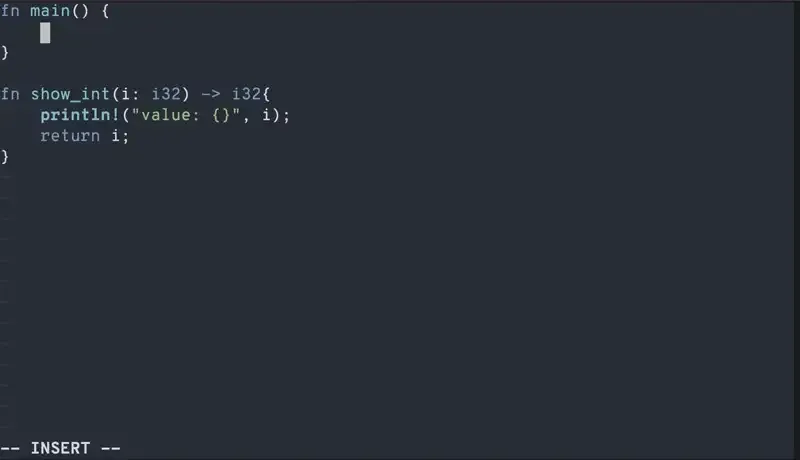
Following is a simple demonstration of how coc works with Vim (I'm using Rust btw 😉):

Conclusion
Vim offers built-in auto-completion which can be used for very basic tasks. But when you are using Vim as your code editor, you want something better. For that, I have covered how you can do that using LSP.
Want more advanced Vim learning? This course is for hardcore Vim lovers.
I hope you liked it. Please provide your feedback via your comments.
About the author
 Pratham Patel
Navigating through the world of Rust, RISC-V, Podman. Learning by doing it and sharing by writing it.