Installing Proxmox
In the first part of the Proxmox tutorial series, learn to install Proxmox and access it via a web browser.

Proxmox is one of my favorite hypervisors because of its flexibility, the fact that it basically costs nothing unless you need support, and the fact that it is fairly simple to get the hang of and use (easier than, in my opinion, hypervisors like VMware’s ESXi or Hyper-V, which are paid software, and have somewhat of a learning curve.
It is a type 1 hypervisor, which means it sits directly on top of the bare metal hardware as opposed to something like virt-manager, which would sit on top of an existing operating system.
In simpler words, you'll have to install Proxmox as a standalone operating system on your system. And then use it to create virtual machines on the same system. Once installed, you can use Proxmox from a web browser to manage VMs.
In the first part of this series, I am going to show you how to get Proxmox operational. Then in future sections, you’ll explore how to create both virtual machines and containers within Proxmox, along with some fancy stuff you can do such as clustering for high availability.
Prerequisites
Here's what you need to follow this tutorial:
- A working computer (to create a bootable USB of Proxmox)
- Working internet connection (for downloading necessary files)
- A USB of at least 4 GB in size
- A bare metal system (computer) where you'll be installing Proxmox
With that aside, let's see how to install Proxmox.


Get started on DigitalOcean with a $100, 60-day credit for new users.
Step 1: Create Proxmox bootable USB
You need a bootable medium to install Proxmox on a bare metal system.
To create the bootable USB, you’ll need the ISO which is available here.
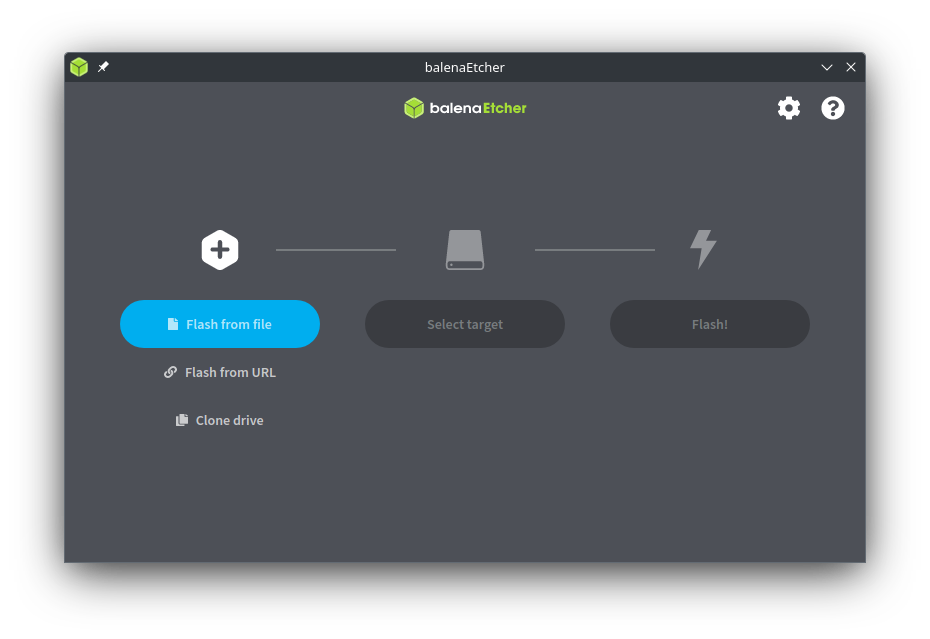
You’ll also need an empty flash media drive (4 GB should be fine) and your favorite software for burning bootable ISOs. I like to use Balena Etcher. It is available for both Linux and Windows.
You can download and install Etcher from its official website.
Once installed, run Etcher. Go ahead and select “Flash from File”. Select the ProxMox ISO that you downloaded earlier.
Click on “Select Target” with a USB stick inserted. Make sure there’s nothing important on it because it will be formatted.
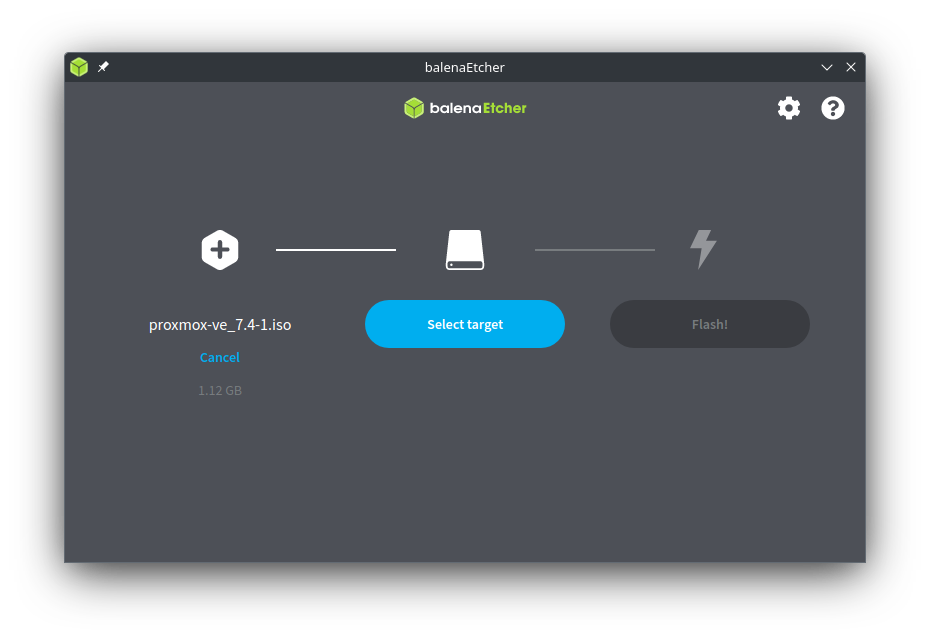
Choose the USB stick you have inserted. In my case, I’ll use my PNY 128G drive.

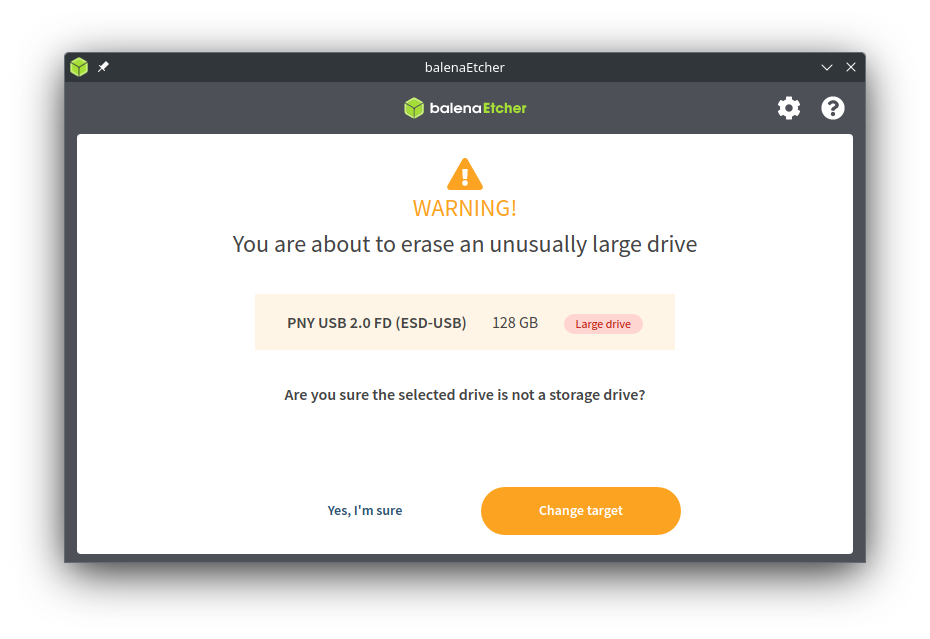
Click on “Select 1” and then click on Flash. It’ll take a few minutes to do its thing.
If like me, your USB stick is large, it might give you a warning about an unusually large drive. This is a safeguard to try to deter people from erasing system drives or other important data drives.
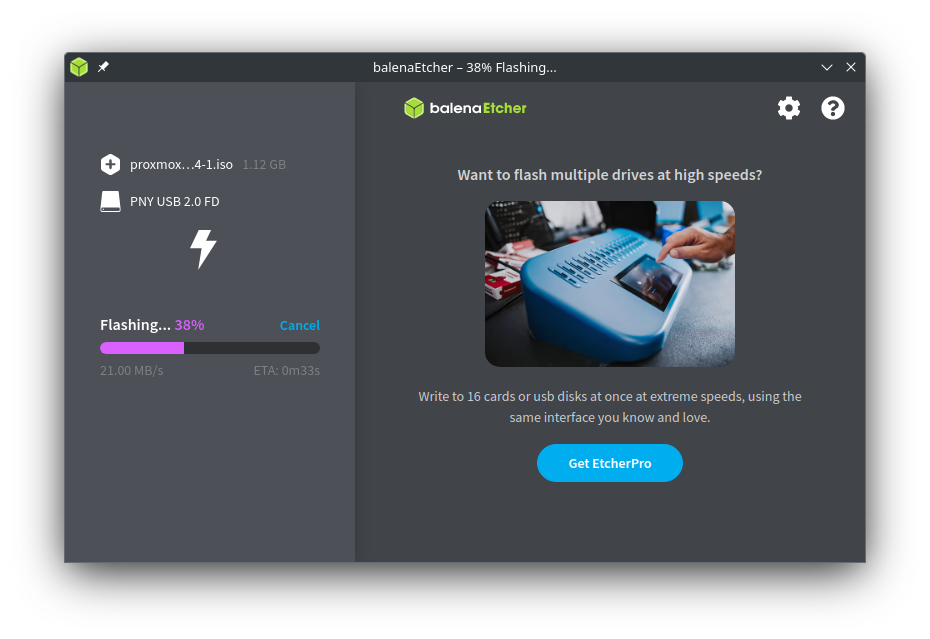
Go ahead and hit “Yes I’m sure” once you’ve verified that you have the right drive selected :
And off you go…


Step2: Installing Proxmox
You have the bootable USB with Proxmox on it. Plug the USB on the computer where you'll be installing Proxmox. Go ahead and boot from the flash drive you just created.
The process for doing this will be different depending on the brand of system you have, check your documentation to find out how to access the boot menu. Usually, you have to press Del, F2 or F10 key when your system is just booting up.
If all goes well, you’ll end up here:

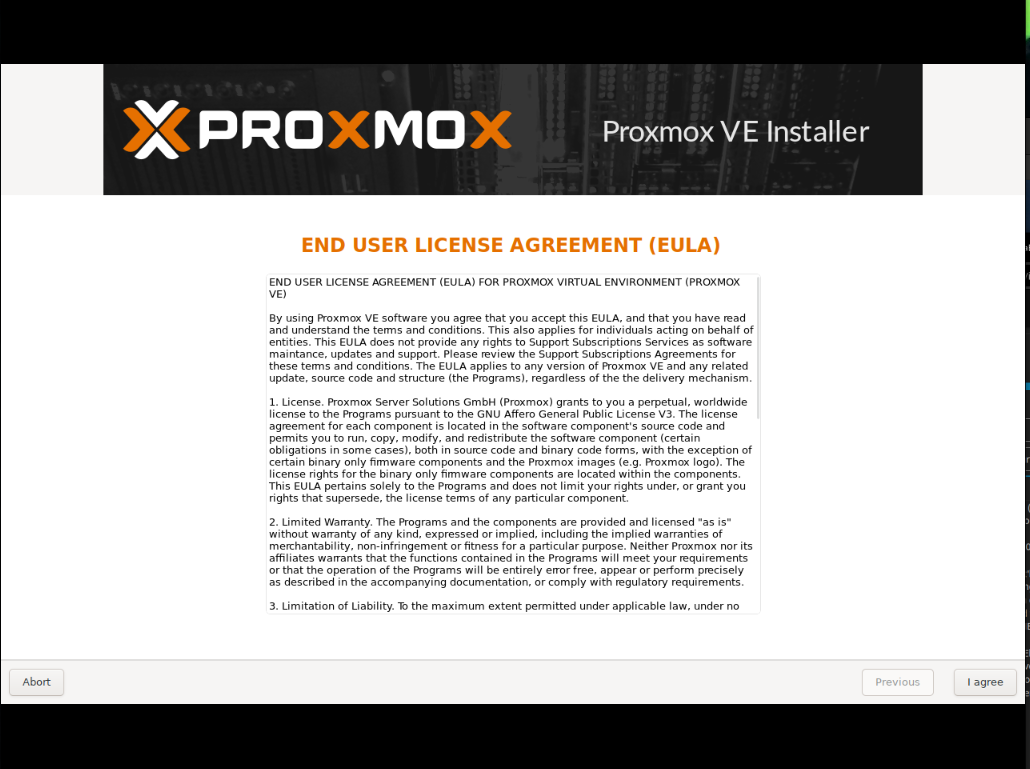
Select “Install Proxmox VE” and follow the on-screen prompts. You’ll be asked to agree to the EULA:
And where to install Proxmox:
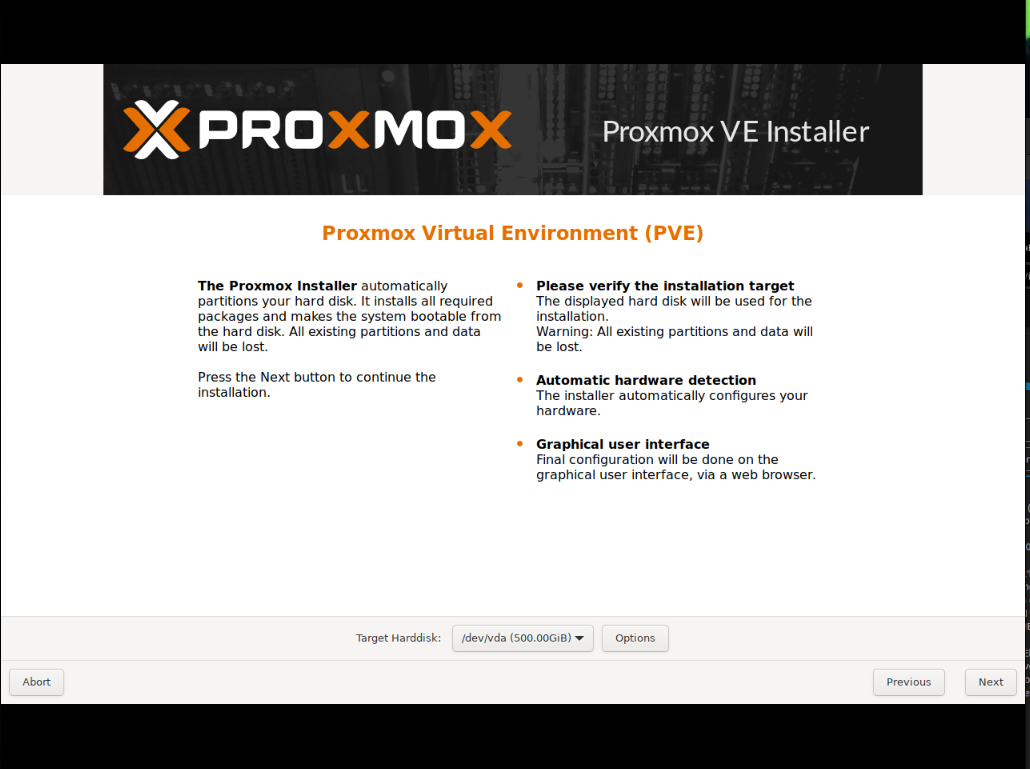
If you have specific requirements about how you want your drives partitioned for the installation, this is the place where you can take care of that by clicking “Options”.
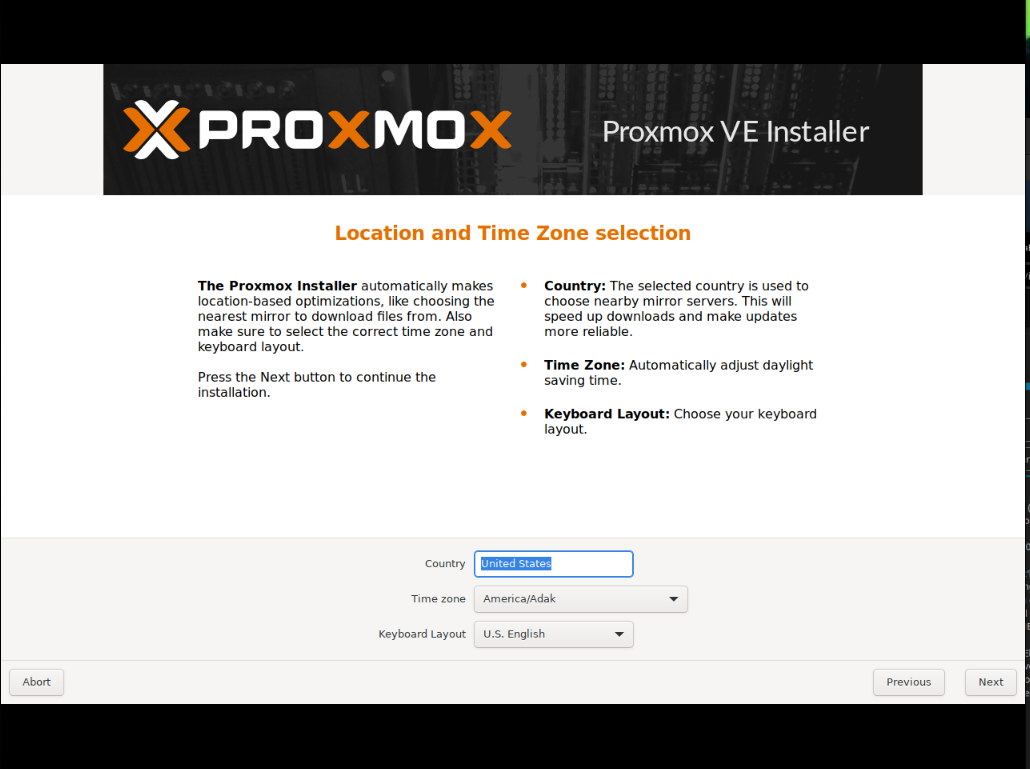
Otherwise, proceed to the keyboard layout and time zone information here:
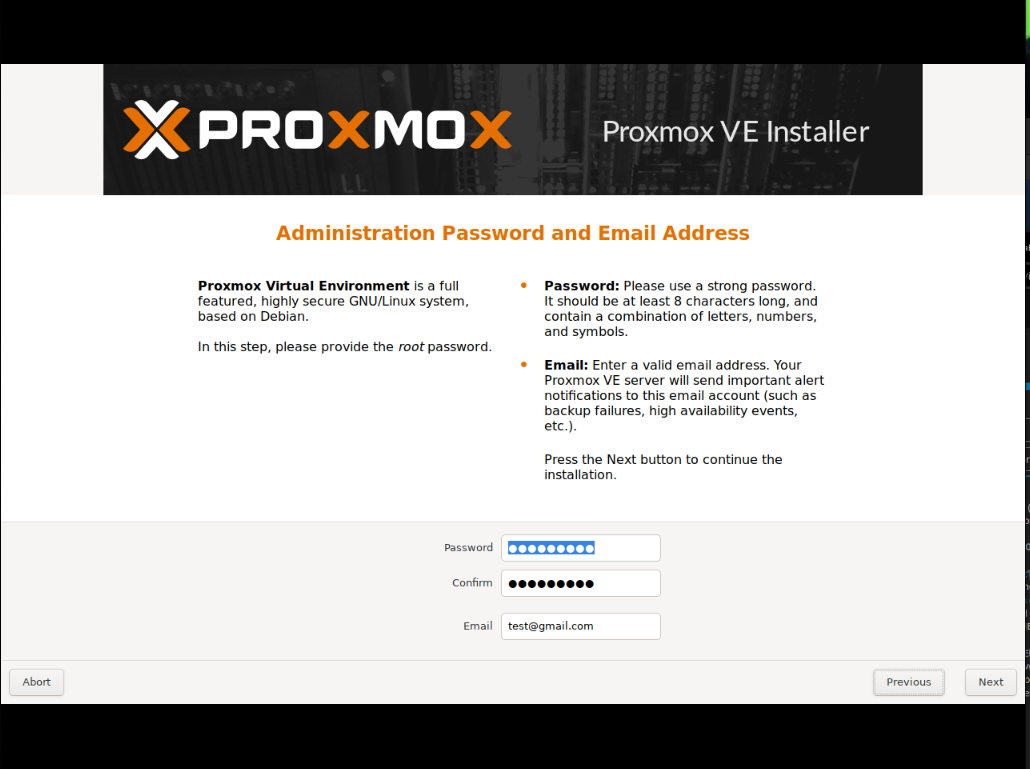
Set your root password and give an email address that Proxmox can use to notify you of significant events:
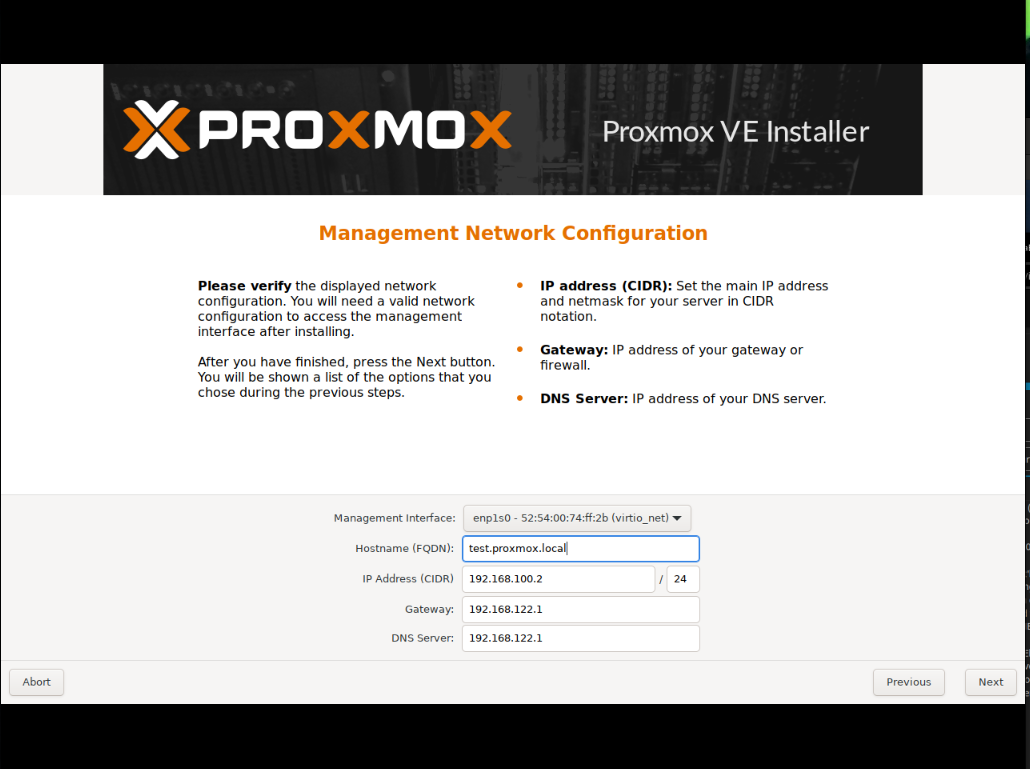
Set your networking information here. In my case, I’m letting DHCP handle it as it is only a demonstration, but you will more than likely either want a DHCP reservation or a static IP address for Proxmox.
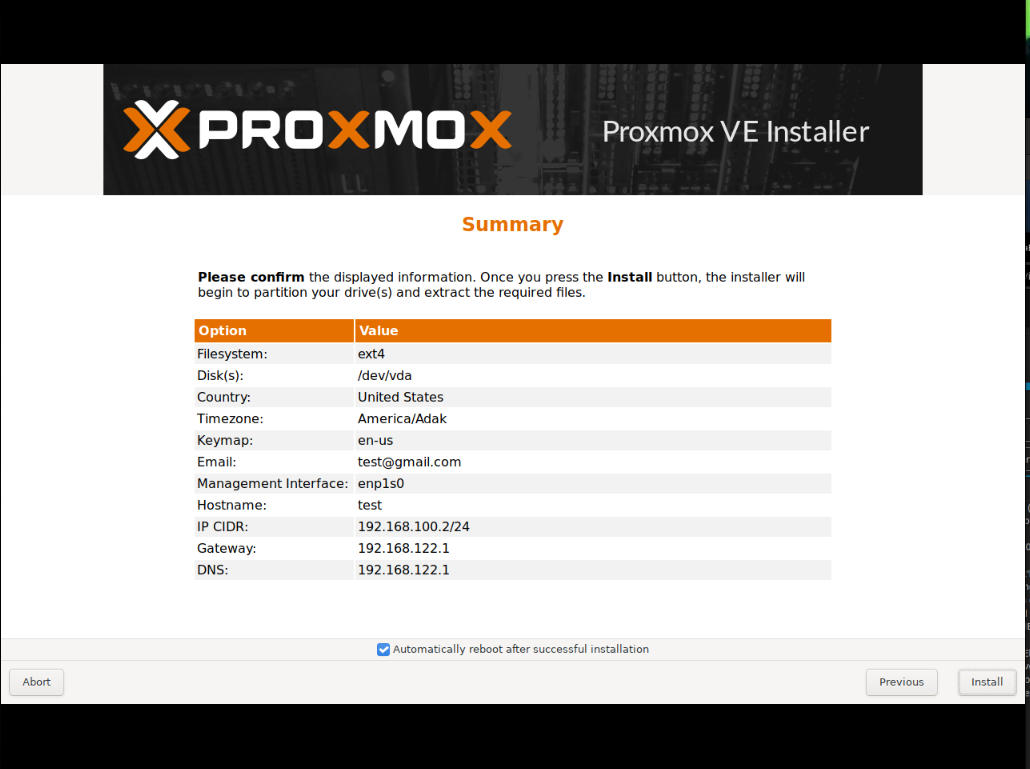
Look over what you’ve selected on the next screen, and if everything looks right, go ahead and click on “Install”
At this point, the installation will progress, and after about 2 or 3 minutes, you’ll ultimately land on this screen :
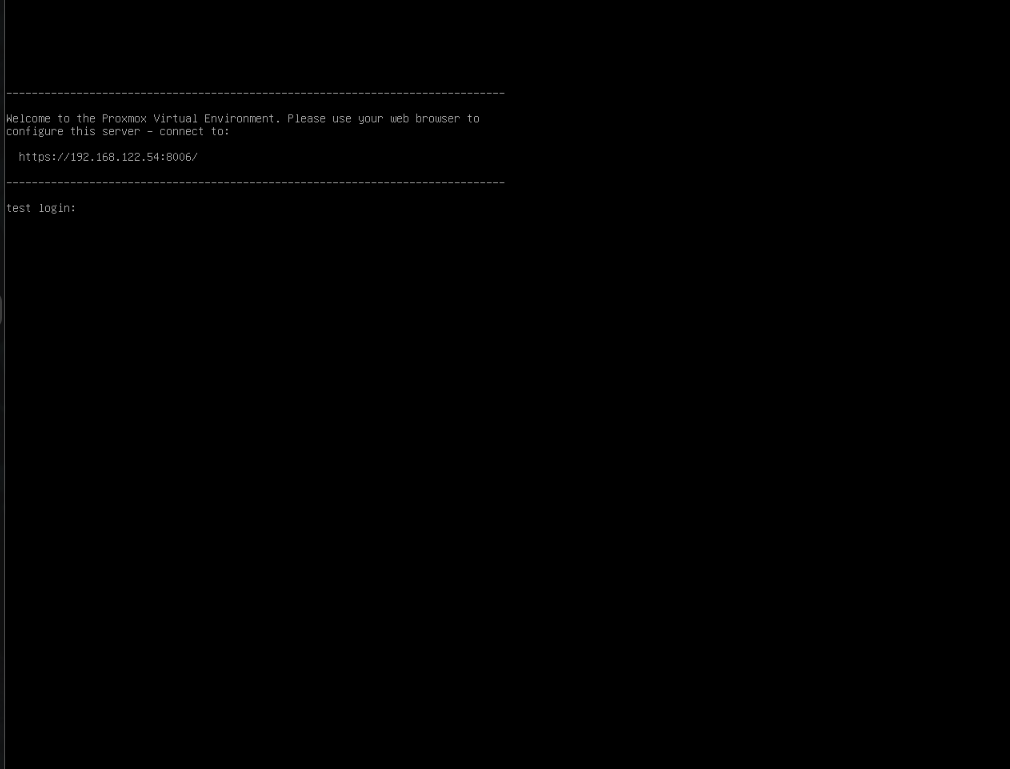
Step 3: Accessing Proxmox
Now at this point, you could absolutely log in with your root password, and you’d get a typical Debian Linux command prompt.
But what we’re after is that URL. Go over to a web browser and point it toward the address on the screen - in my case https://192.168.122.54:8006/.
It may give you some flak about security, but you don’t need to worry about that. You’ll end up here if everything goes well:
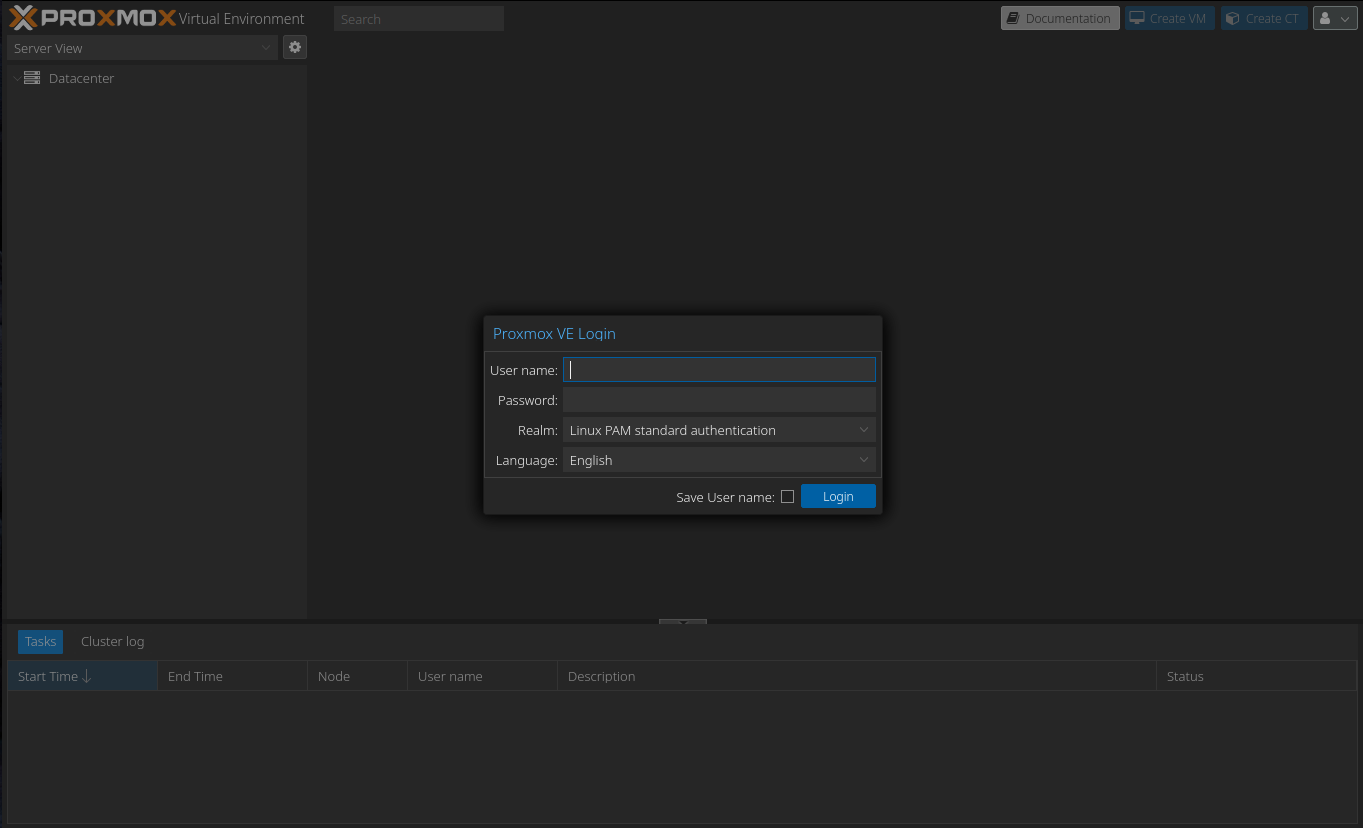
And that’s it. Proxmox is now installed on a computer and ready to use from any other device on the same subnet (or over the internet if you configured it that way).
Have fun with Proxmox
Managing servers from the terminal could be intimidating for some. Managing them from the web browser gives additional comfort level.
I hope you managed to install Proxmox successfully. In the next part of this series, I’ll show you how to create virtual machines and containers with Proxmox.