Creating Containers in Proxmox
Proxmox hypervisor also allows you to create containers which are lighter than virtual machines.

In the earlier chapters of the Proxmox series, you learned to install Proxmox and create new virtual machines in it.
Proxmox is different as it also allows you to create containers. As you may know, containers are more lightweight than virtual machines as they share the same kernel. Containers are virtualization at the operating system level, while virtual machines are virtualization at the hardware level.
Another advantage is that you can deploy tools and services using their container images.
In this tutorial, I will be showing you how to create an LXC container in ProxMox.
Creating a container in Proxmox
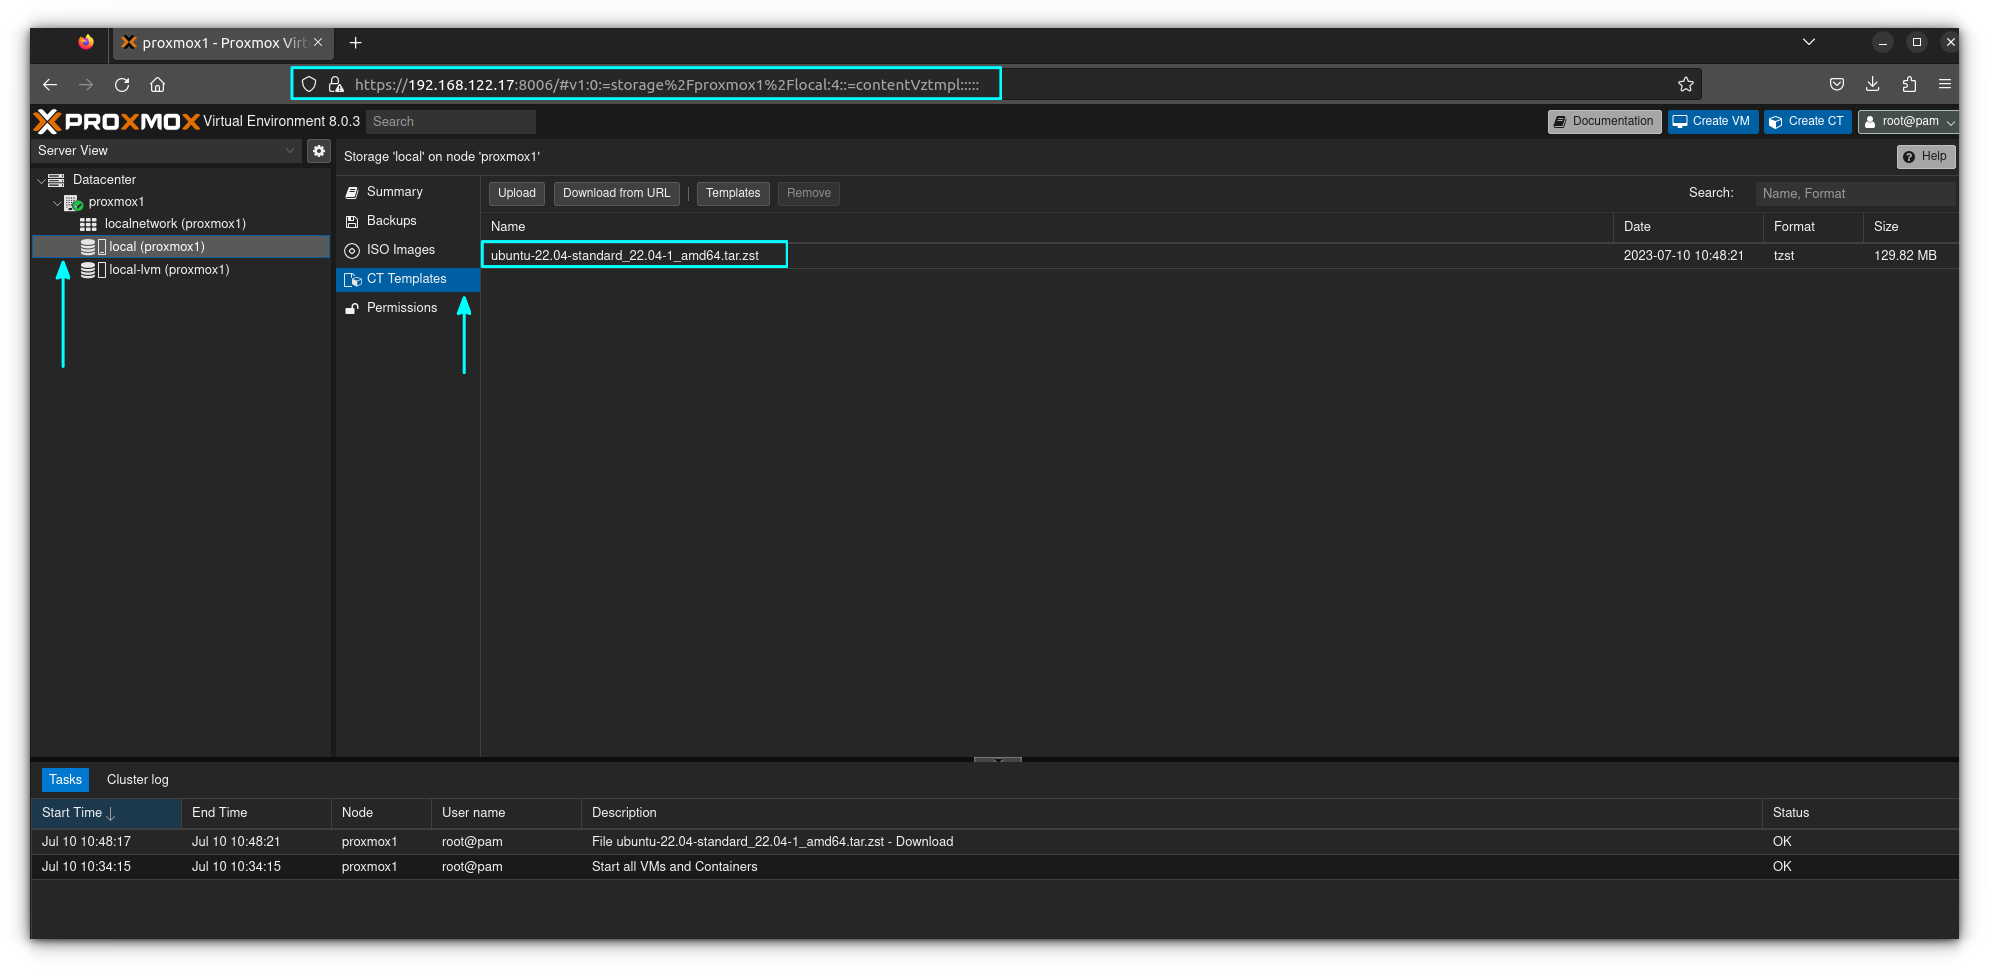
To start off, log in to your ProxMox web console and click on the "local" data store in the network. To the right of that you'll see an option called "CT Templates".

Click on the "Templates" button, and a list of available templates will appear.
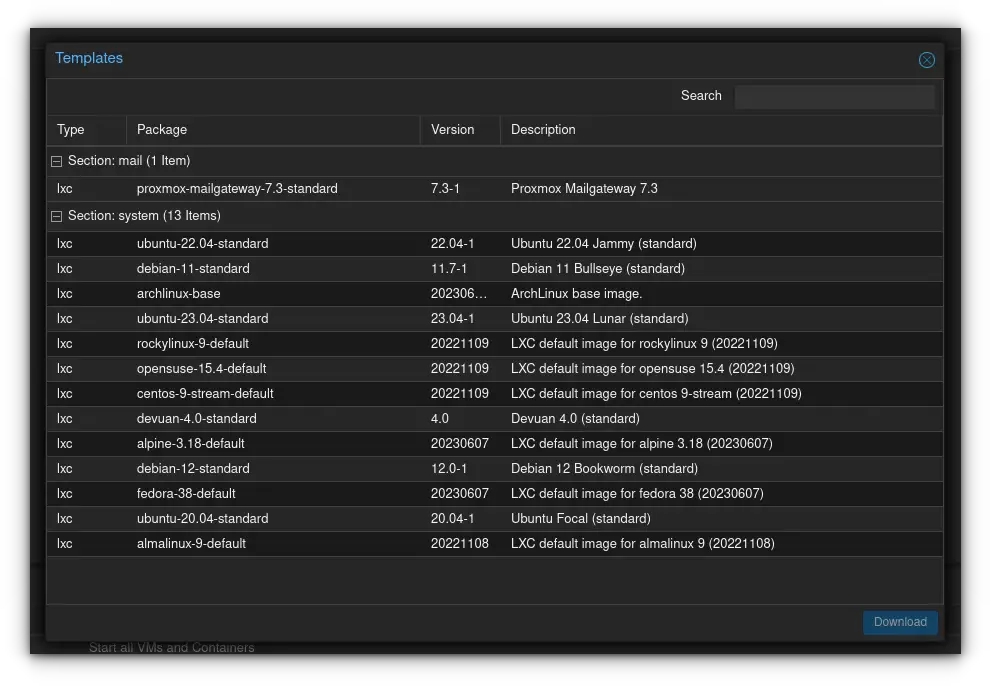
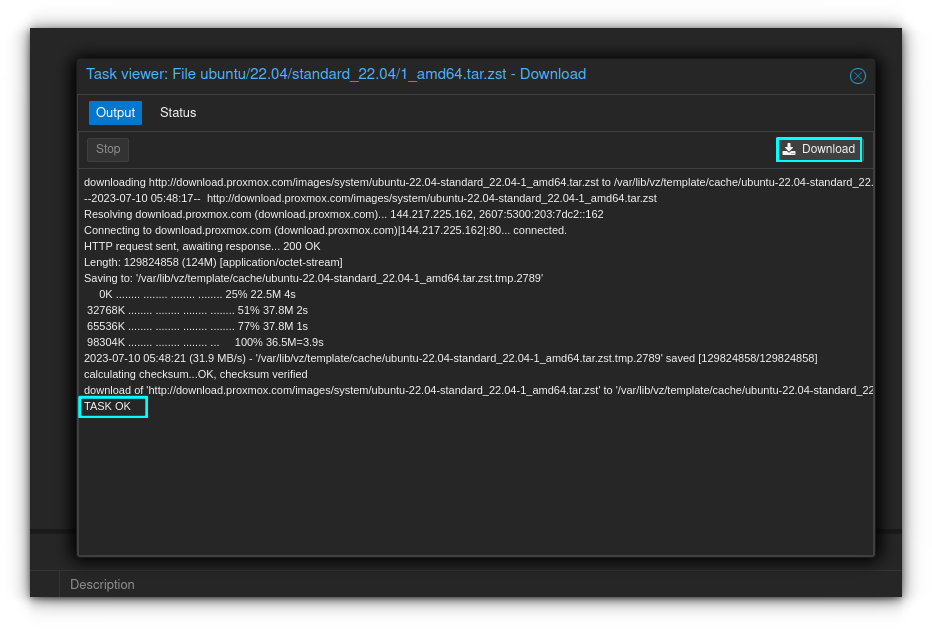
Go ahead and select the template you want to install. In my case, I'll be installing an Ubuntu 22.04 template. Click Download when you've selected the one you want. The download will proceed and will show TASK OK when completed.
You now have an Ubuntu 22.04 template ready to use. It will be available in your templates as seen below.
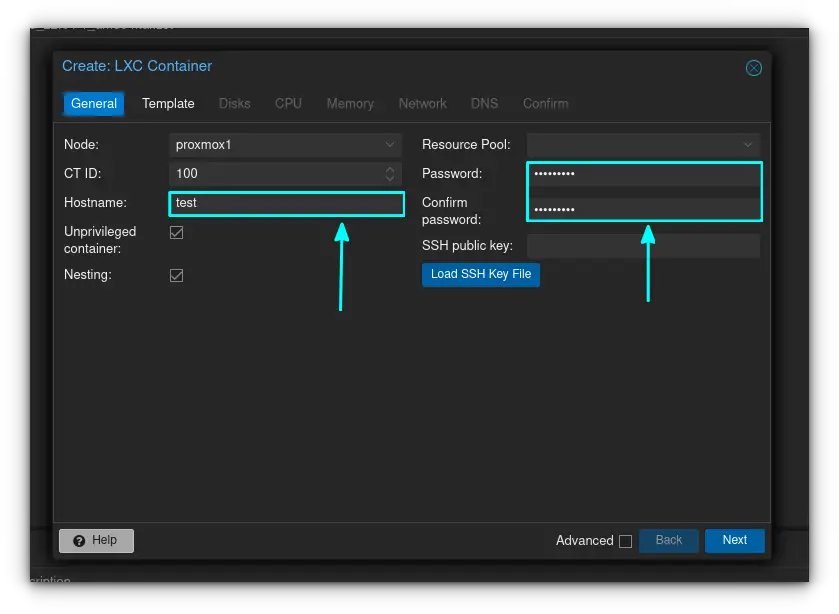
Click on "Create CT" and the LXC creation menu will appear as below.
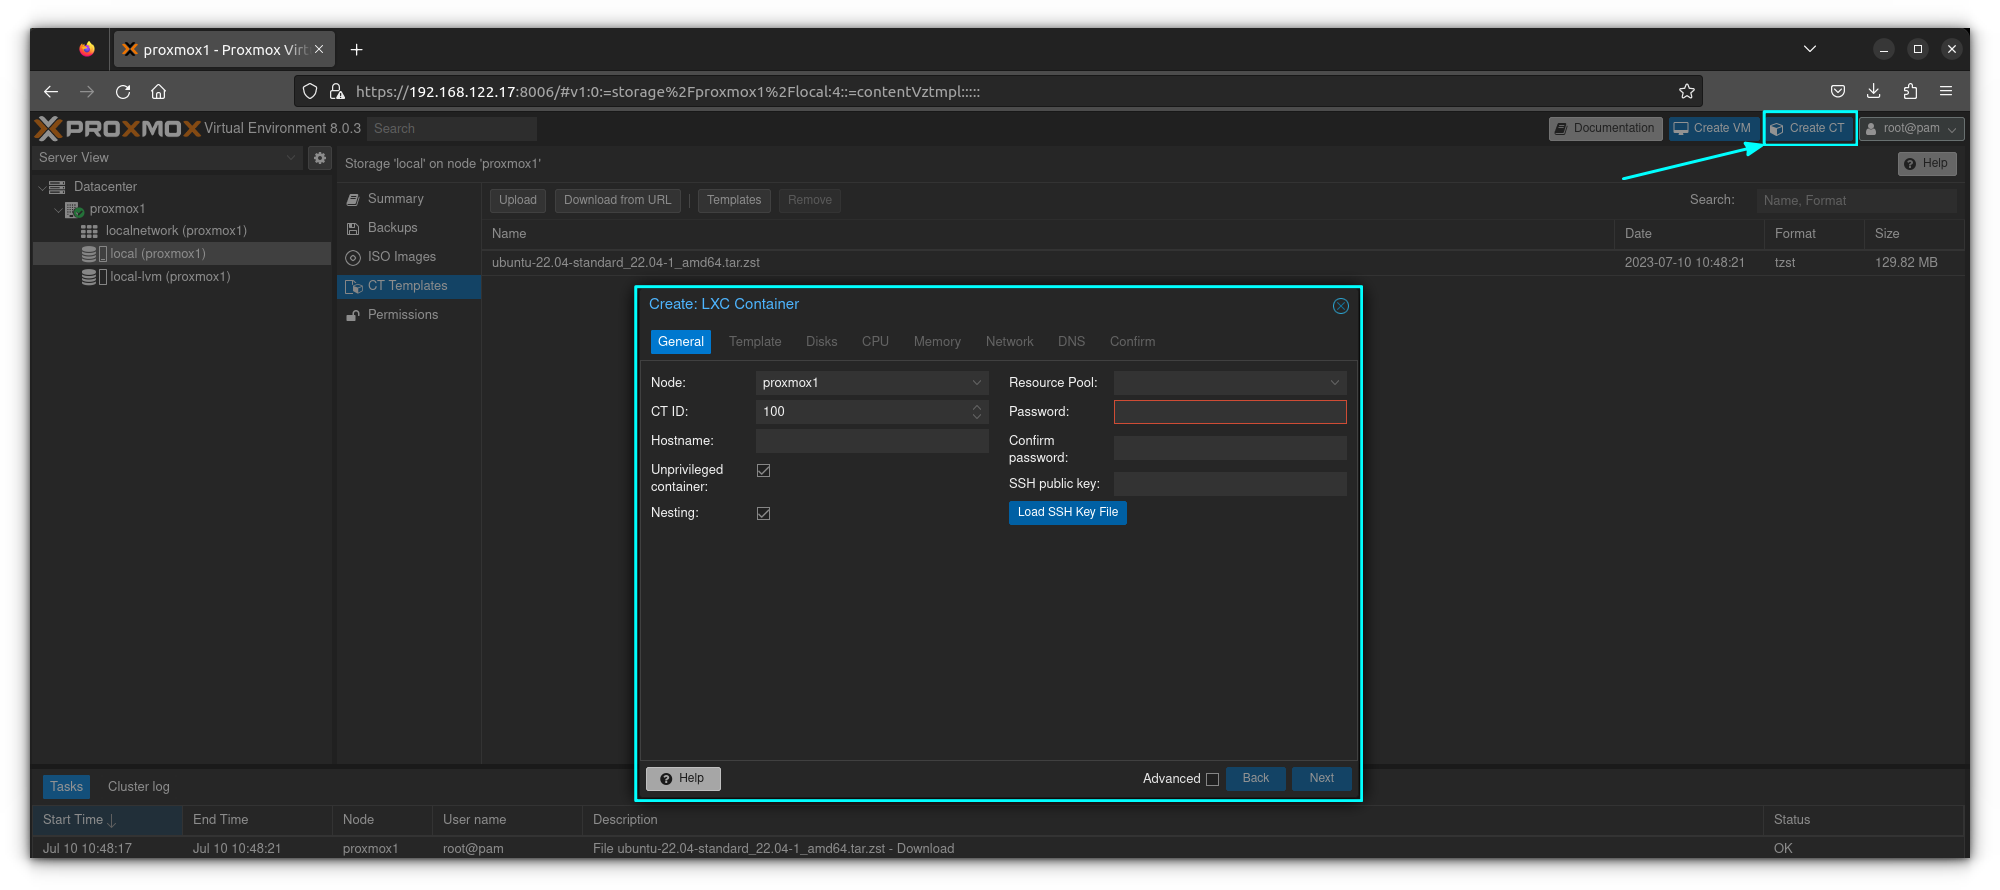
Enter a hostname (name of container) and create and confirm a password. In my case I called my container "test". Everything else can be left as is.
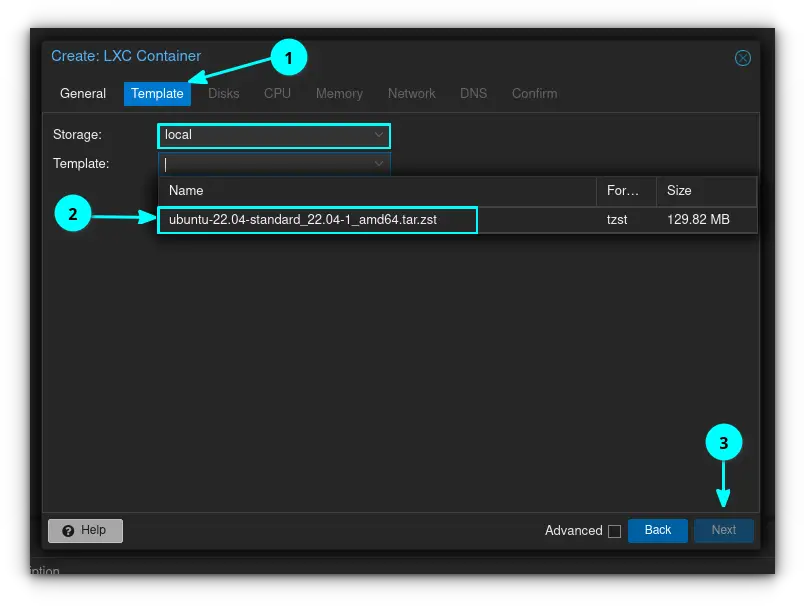
Click on the Template tab, and arrow down on "template". Notice your storage is "local", which means that the template is residing on the local disk in your server. You'll see your template that you downloaded earlier pop up. Click on it and click "next" to move on.
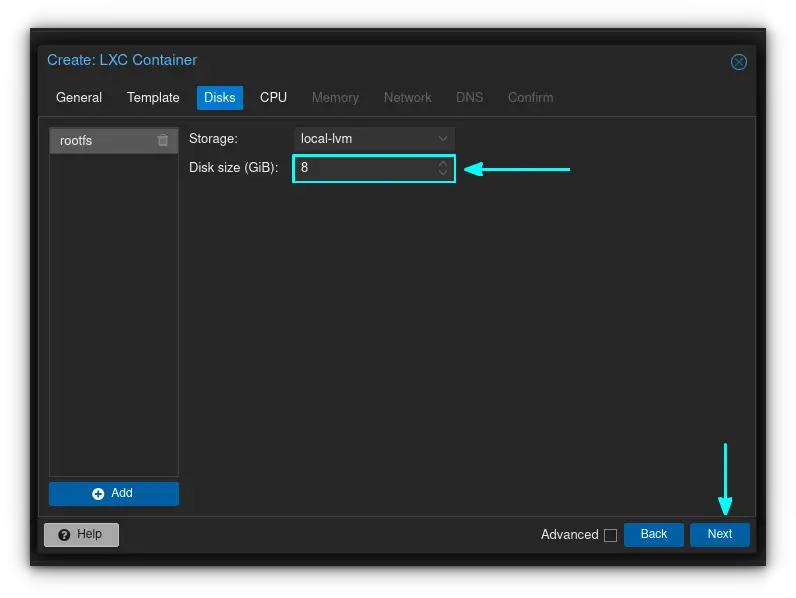
Enter the size of your virtual hard disk in GiB. I'm leaving mine at the default 8 gigs, but you can put whatever you want here, as long as you physically have that much storage to use on your host server/computer. Click "next" to move on.
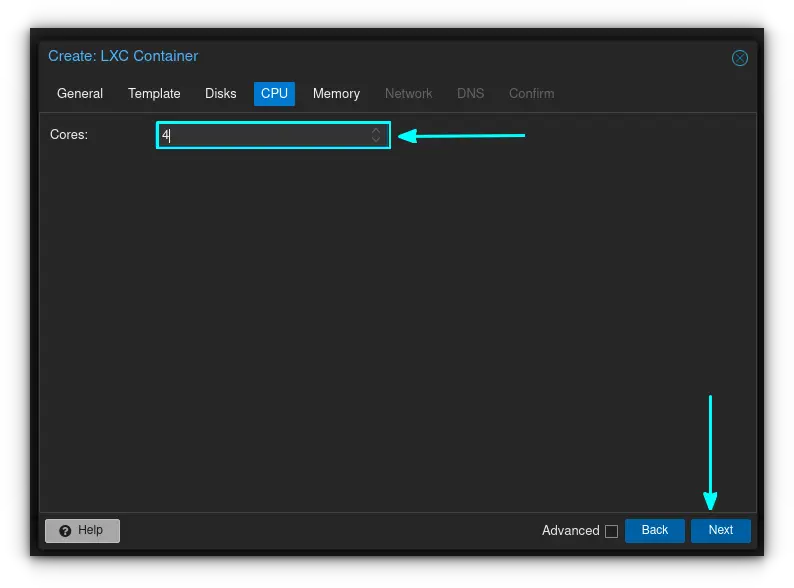
Enter the number of CPU cores you want to assign to your container. I've assigned half of my available cores (4) here. Click "next".
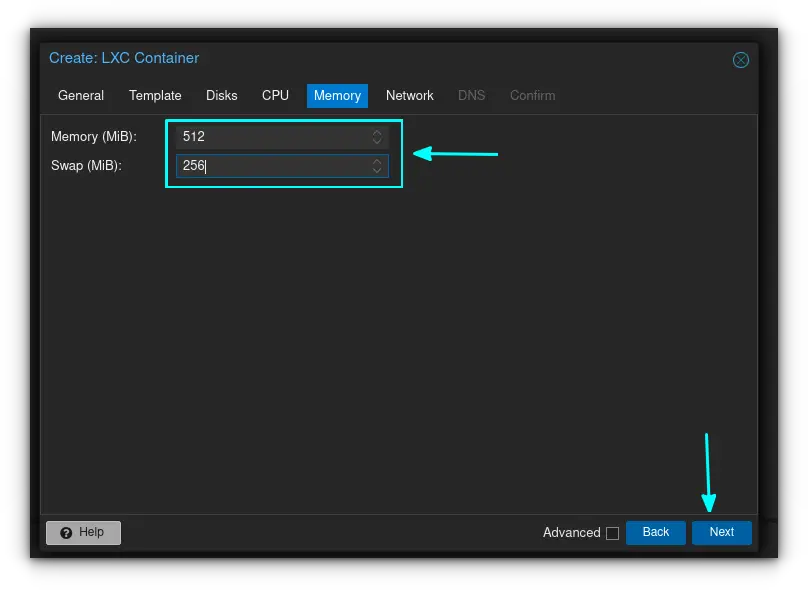
Enter the amount of memory you wish to assign your container. Best practice is to assign half the amount of assigned memory as swap space.
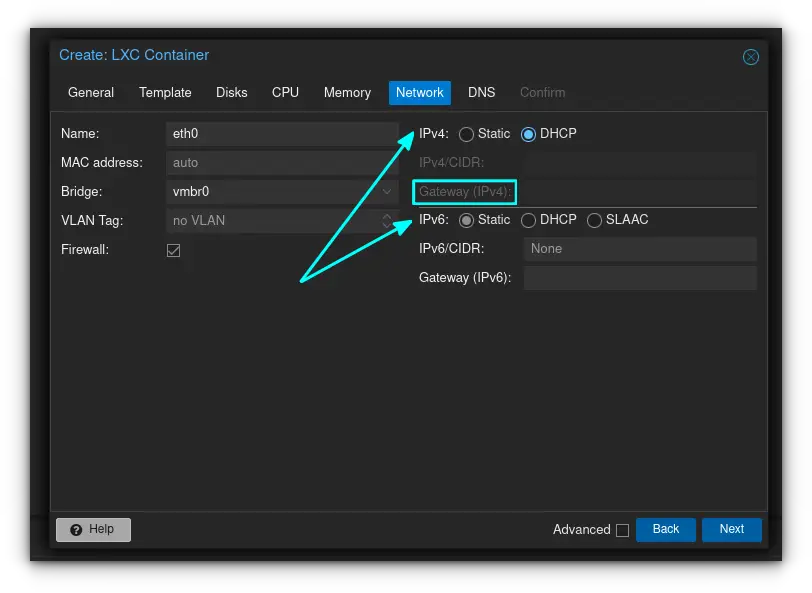
For network information, you can either allow DHCP to assign your container an IP address, or you can set up a static address in this section. I've decided to let DHCP handle it, as this is only a demonstration, but if this is a production server you may wish to consider assigning a static IP for convenience. Make sure to also enter your gateway (router) address in the appropriate section as well. IPV6 addressing can be set up in this section if required/desired.
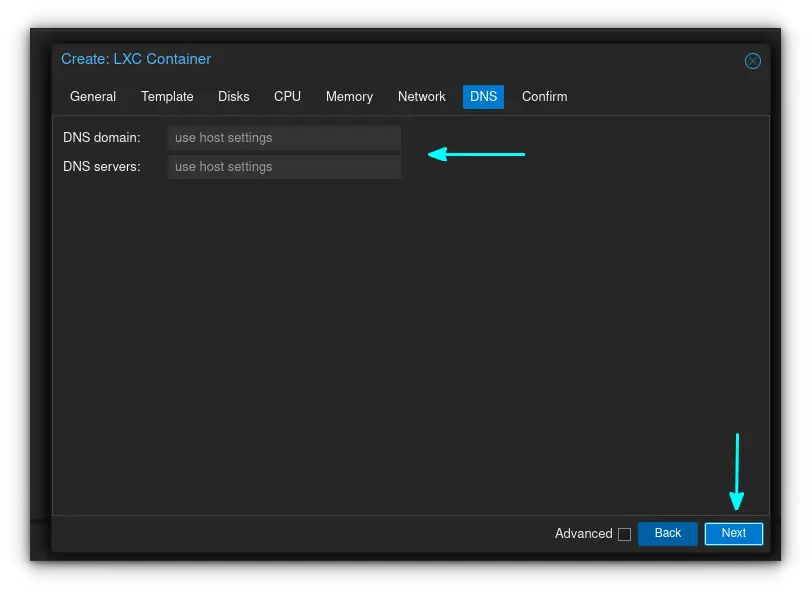
If you have specific DNS servers that you want to use, enter them in this section, otherwise ProxMox will just use the settings of your host server.
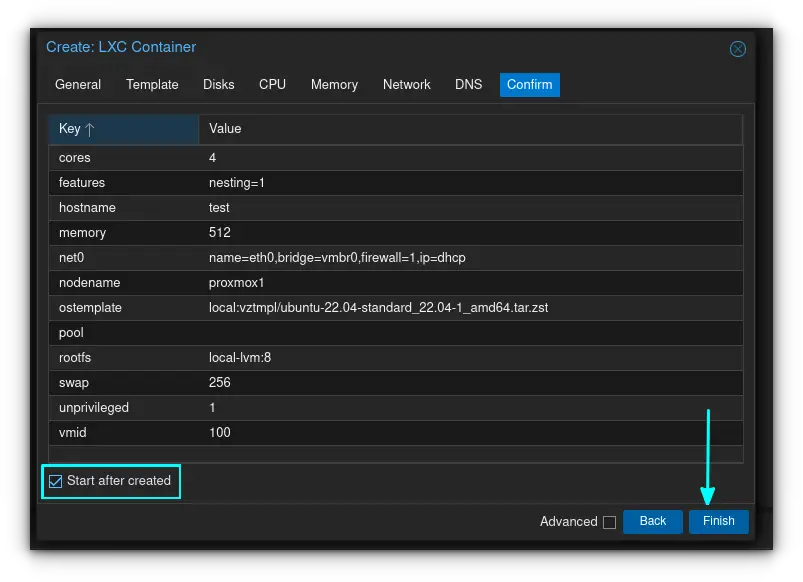
If everything looks good, go ahead and create the container after reviewing the settings you've just configured.
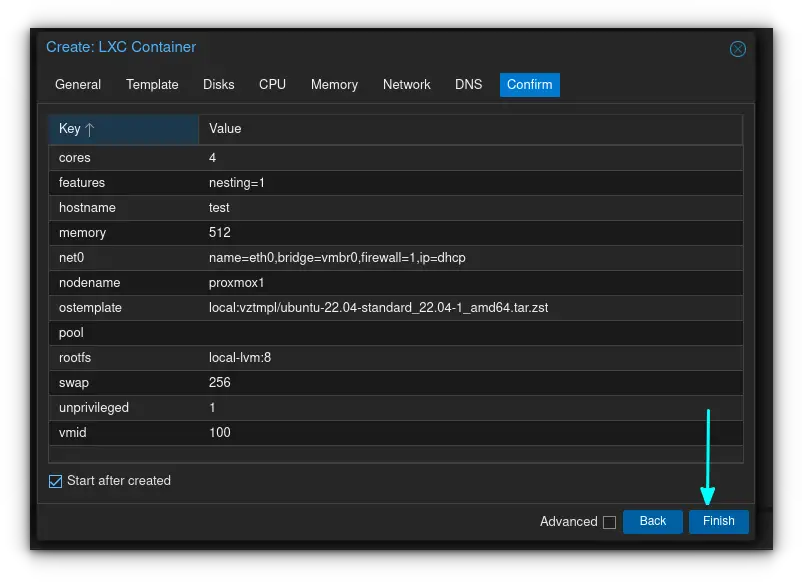
The container will create itself, and will give you a TASK OK if everything went well.

If you've clicked on "start after created" like I did, you'll notice that your container is now started and ready for use.
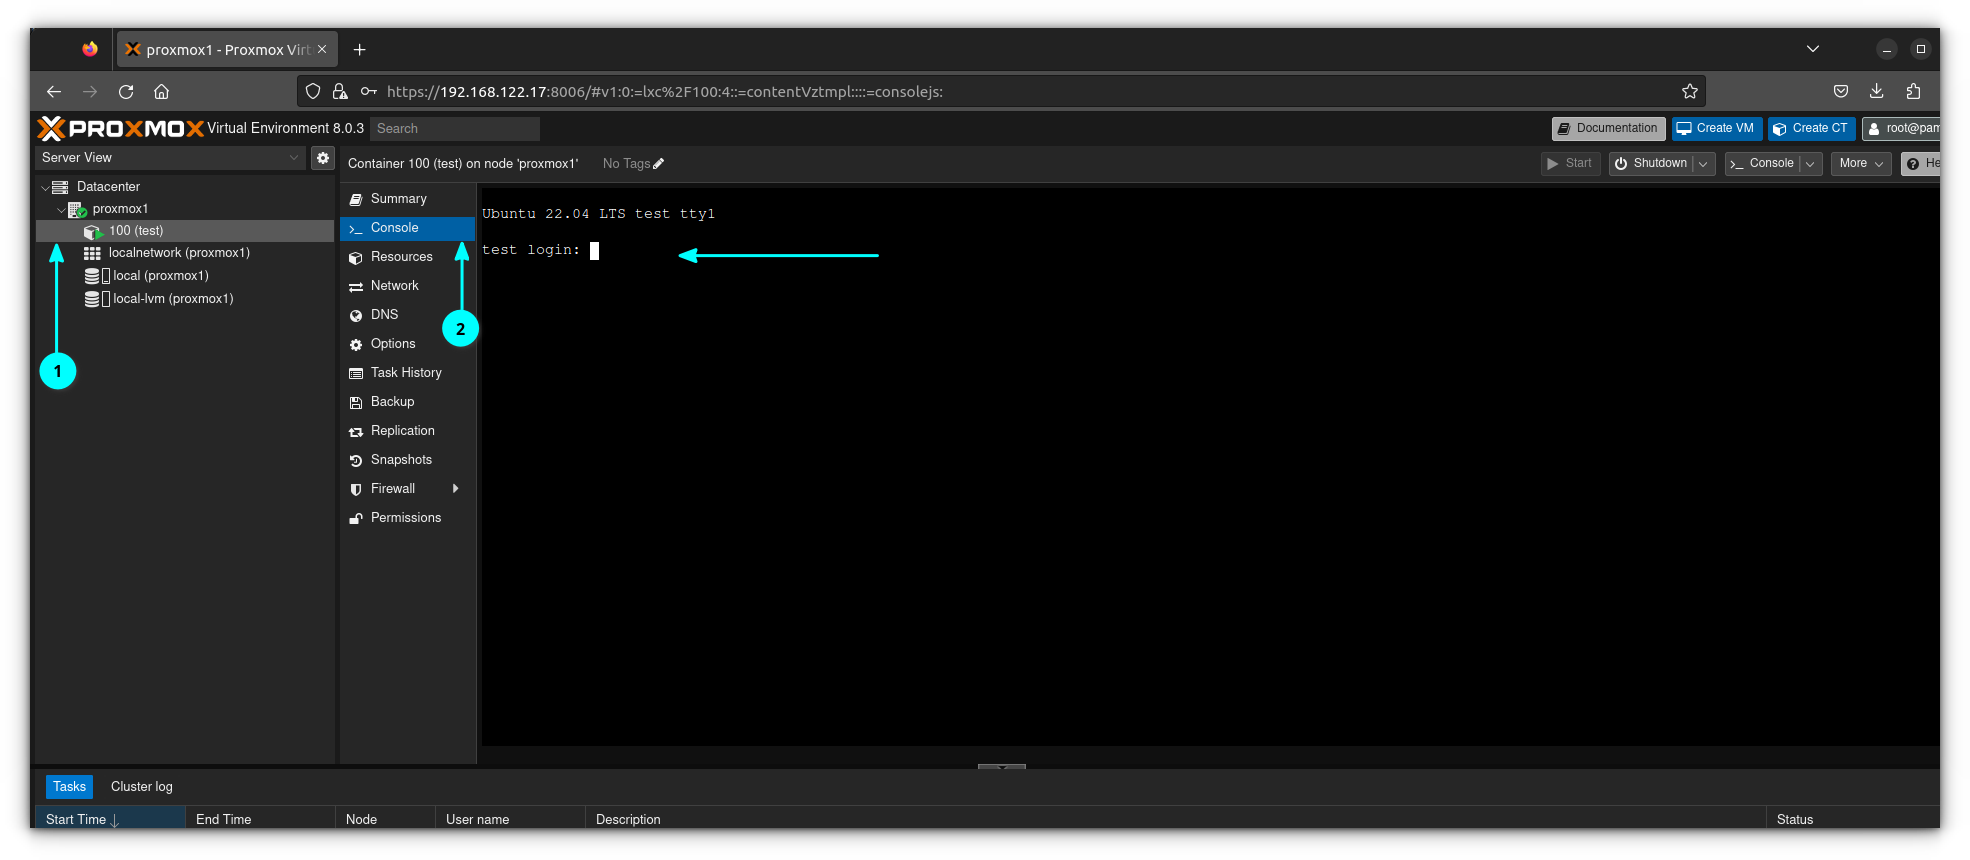
Go ahead and click on it, and click the "console" tab. Press enter a few times, and a login prompt will appear. No installation needed, these are much simpler than regular virtual machines.
And that's all there is to it! Note that with virtual machines, it's possible to create Windows VMs, however you can only create Linux containers because they share a kernel.
Stay tuned for more Proxmox tutorials.