Creating a Linux Virtual Machine With Proxmox
Learn to create a new virtual machine in this part of the Proxmox series.

In the first part of the Proxmox series, I showed you how to install the Proxmox hypervisor. In this chapter, I will give you an overview of how to use Proxmox, including creating and using virtual machines.
Needless to say, you should have Proxmox installed first in order to create a VM with it.
Step 1: Download the desired Linux distro ISO
Since Proxmox runs on a different server that you access using a browser, you can download the ISO on your local machine and upload it to your Proxmox server.
To do that, you need to download the ISO first. For this demo, I will be using Ubuntu 22.04. Head over to the Ubuntu website and download the Desktop ISO file.
You may use any other Linux distribution of your choice.
Step 2: Log in to Proxmox
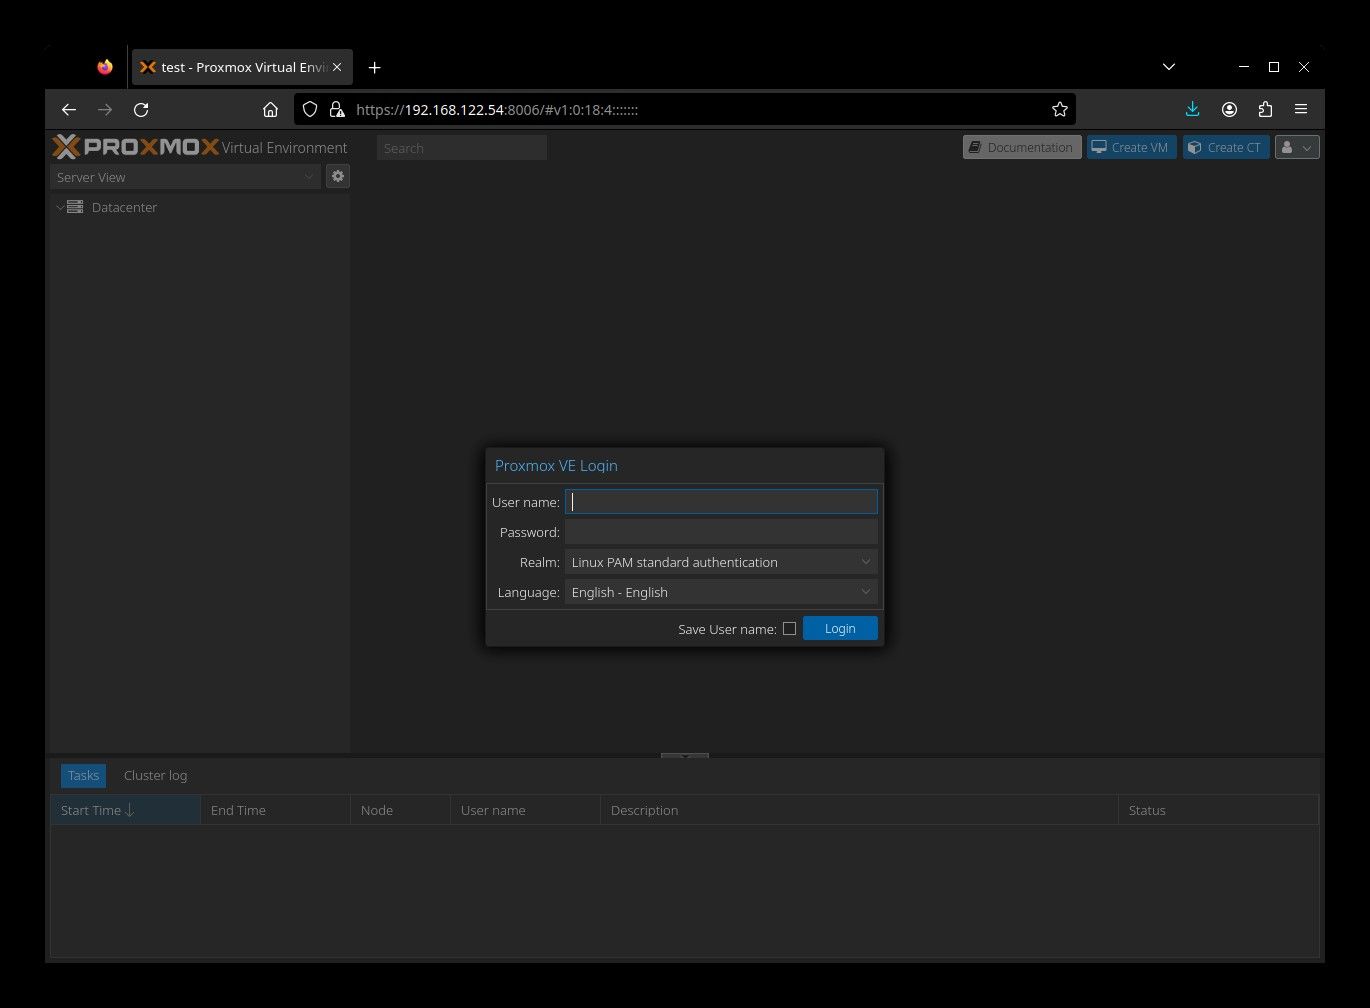
If you followed the last article, you have a display like the one below, with a username and password prompt. The username will be "root" and the password will be the one you set while installing Proxmox. Enter those credentials in here:
You'll end up on Proxmox's main console which looks like this:
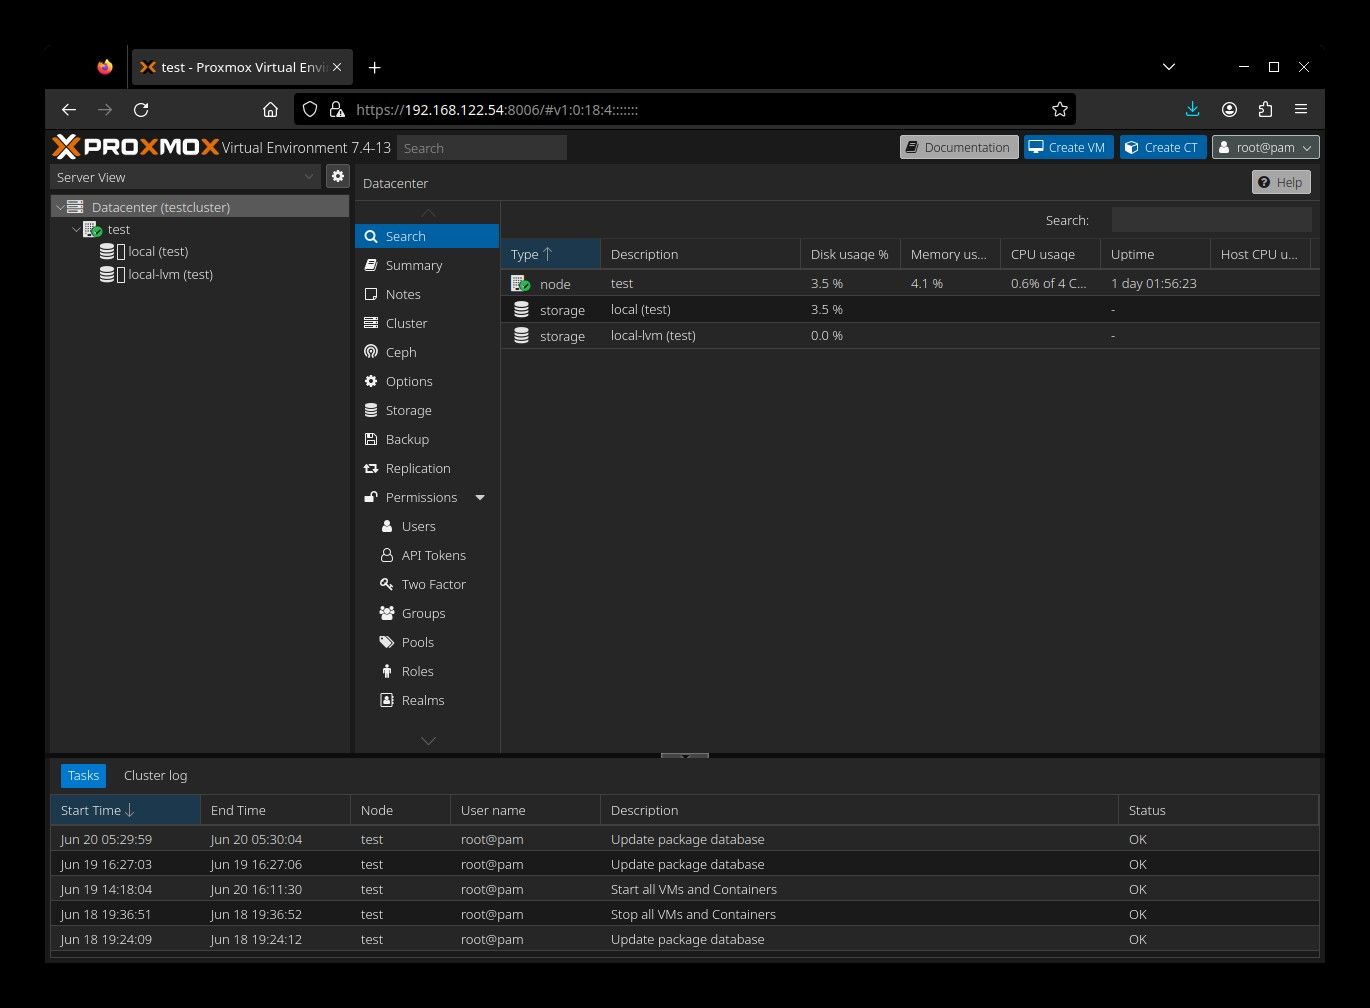
The left side features a tree view of your network of virtual machines under the “datacenter” tab. This view also displays any storage you have attached to the network. The middle section features options for cluster creation, backups, and high availability functions. We’ll get into these in another article. The bottom is a running log of updates, functions, and statuses.
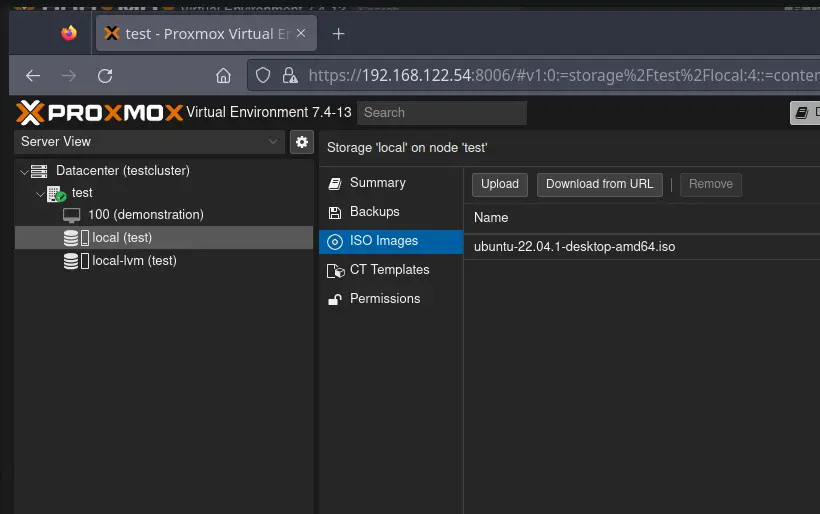
Step 3: Upload the ISO in Proxmox
You already have ISO downloaded on your system.
In Proxmox, click on your node (in my example it’s called test) and drill down to your local (test) datastore. To the right, you’ll see “ISO Images”. Click on that, and just above there will be an upload option. See the screenshots below for clarification here:
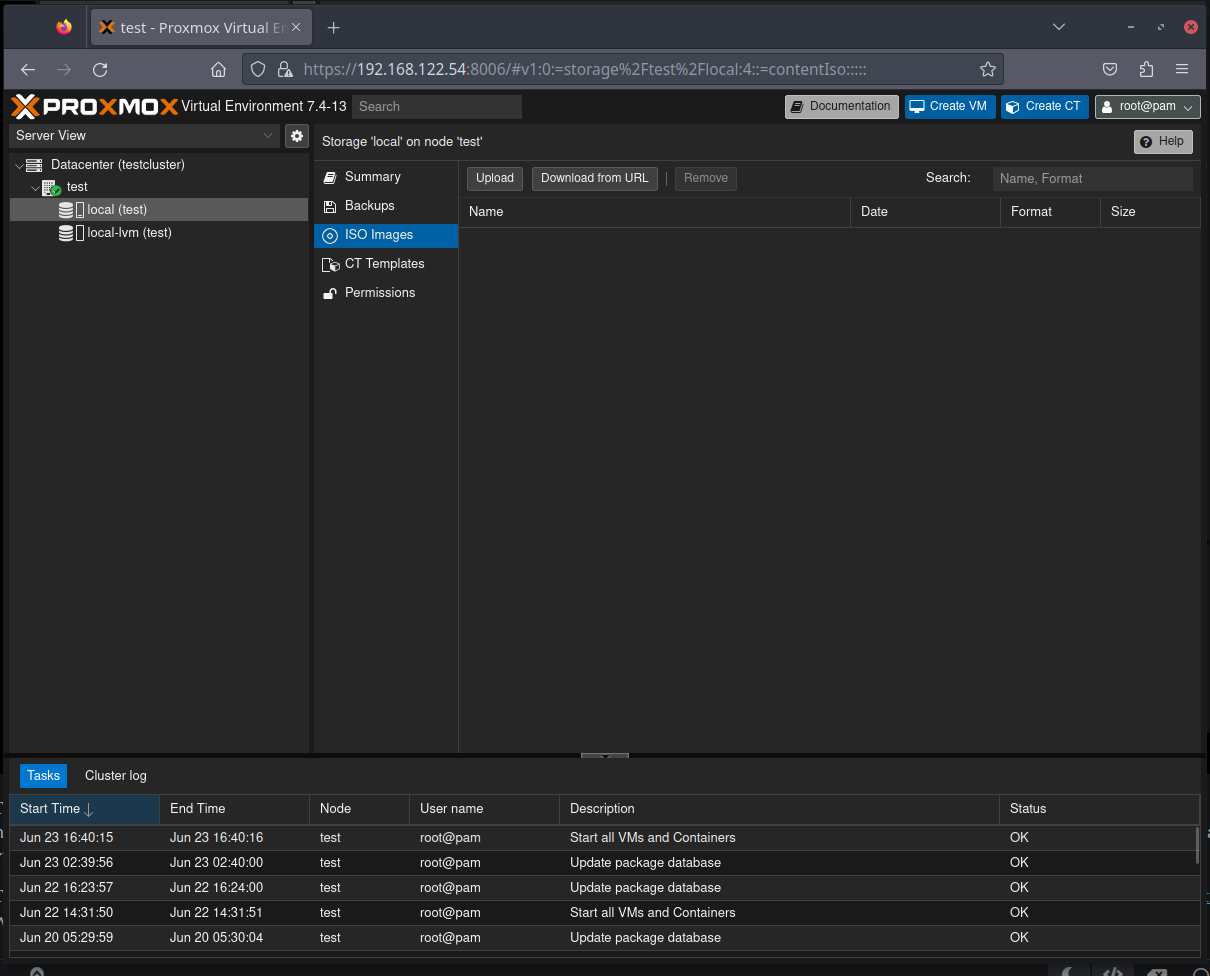
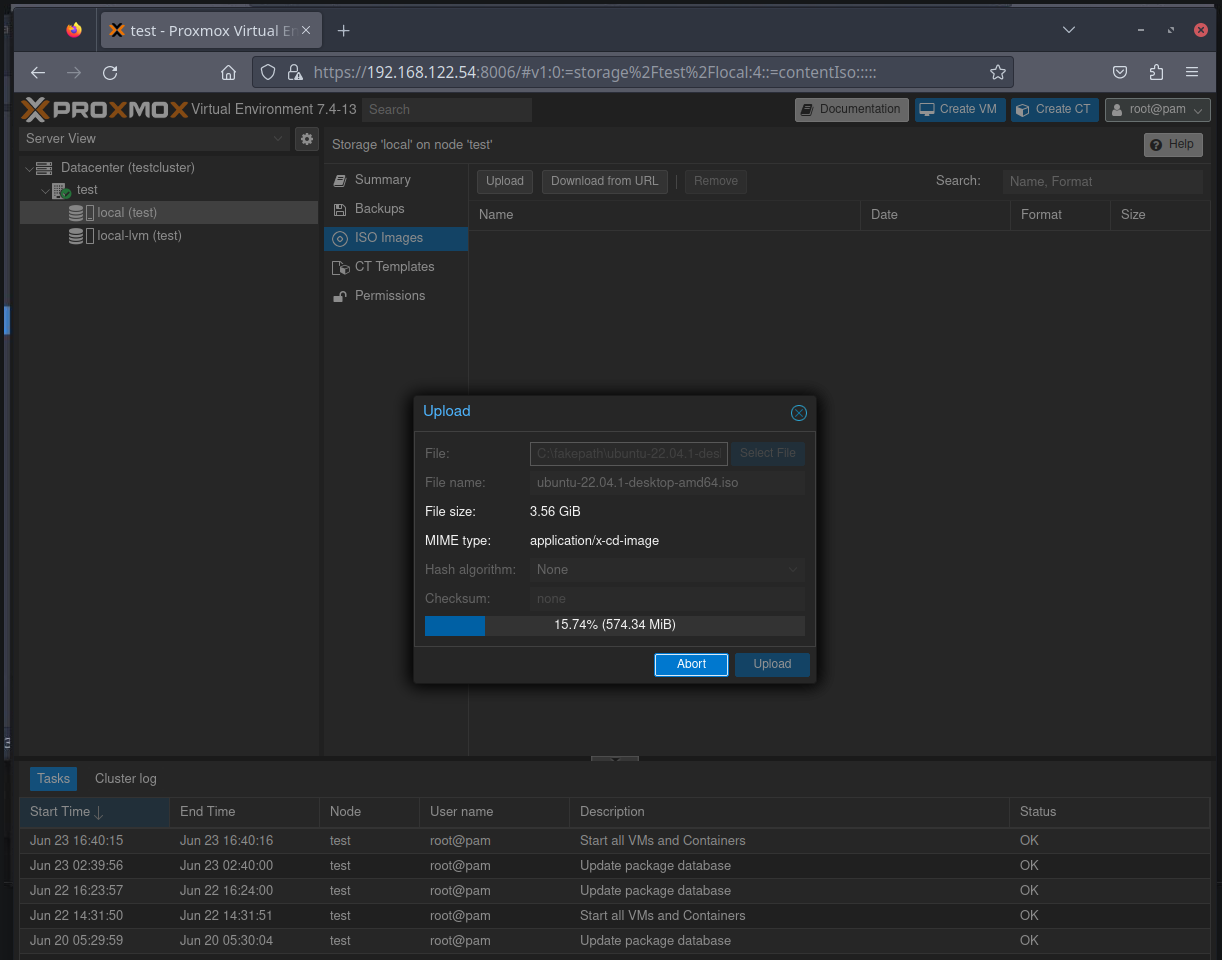
Go ahead and select the ISO that you downloaded earlier, and hit *upload*.
The way ProxMox indicates that an operation is successful is when it displays "TASK OK" as seen below:
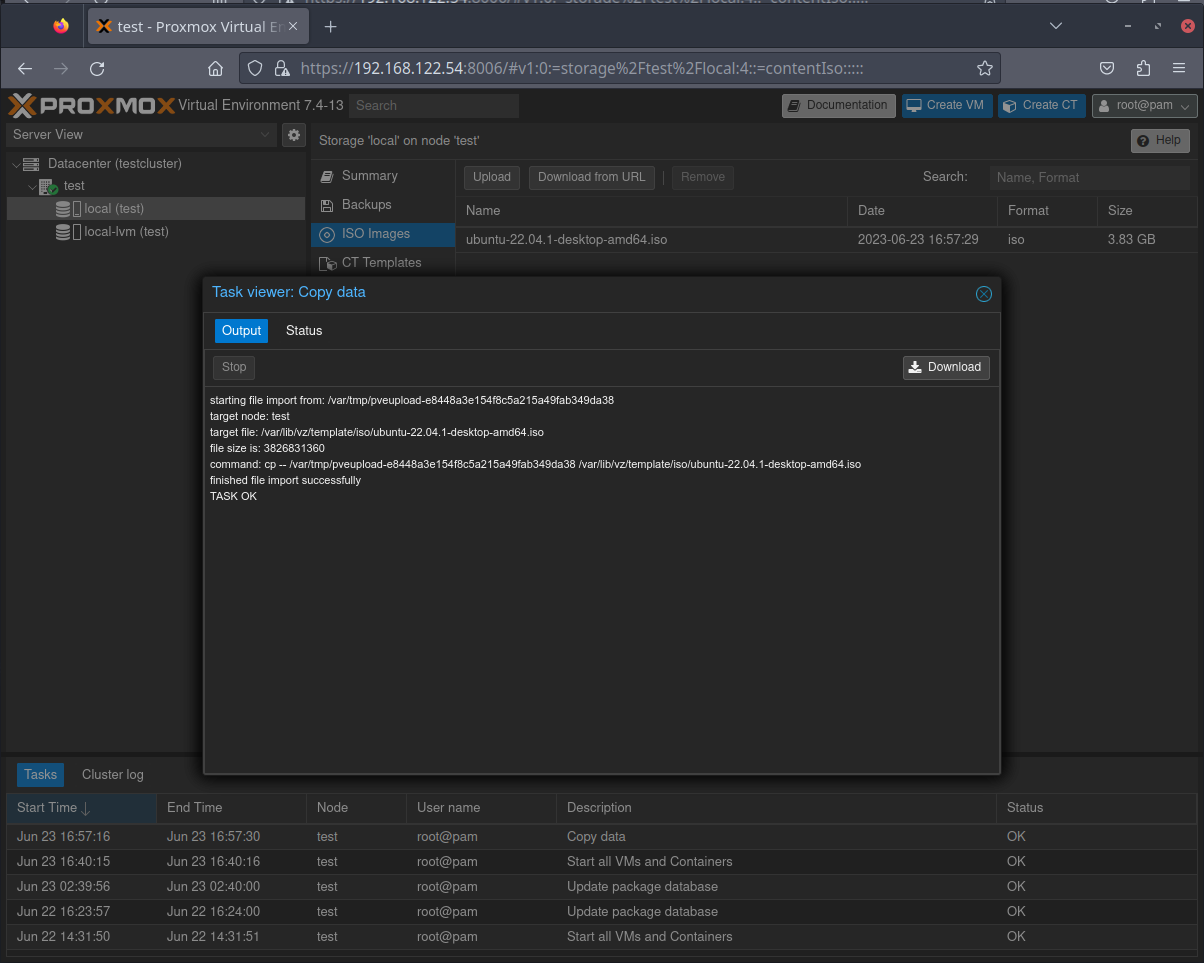
With that accomplished, go ahead and click the X up at the top right hand corner of that task viewer window to close it.
Step 4: Start VM creation
You can now start creating your first virtual machine. Click “Create VM” up at the top right hand corner as shown :
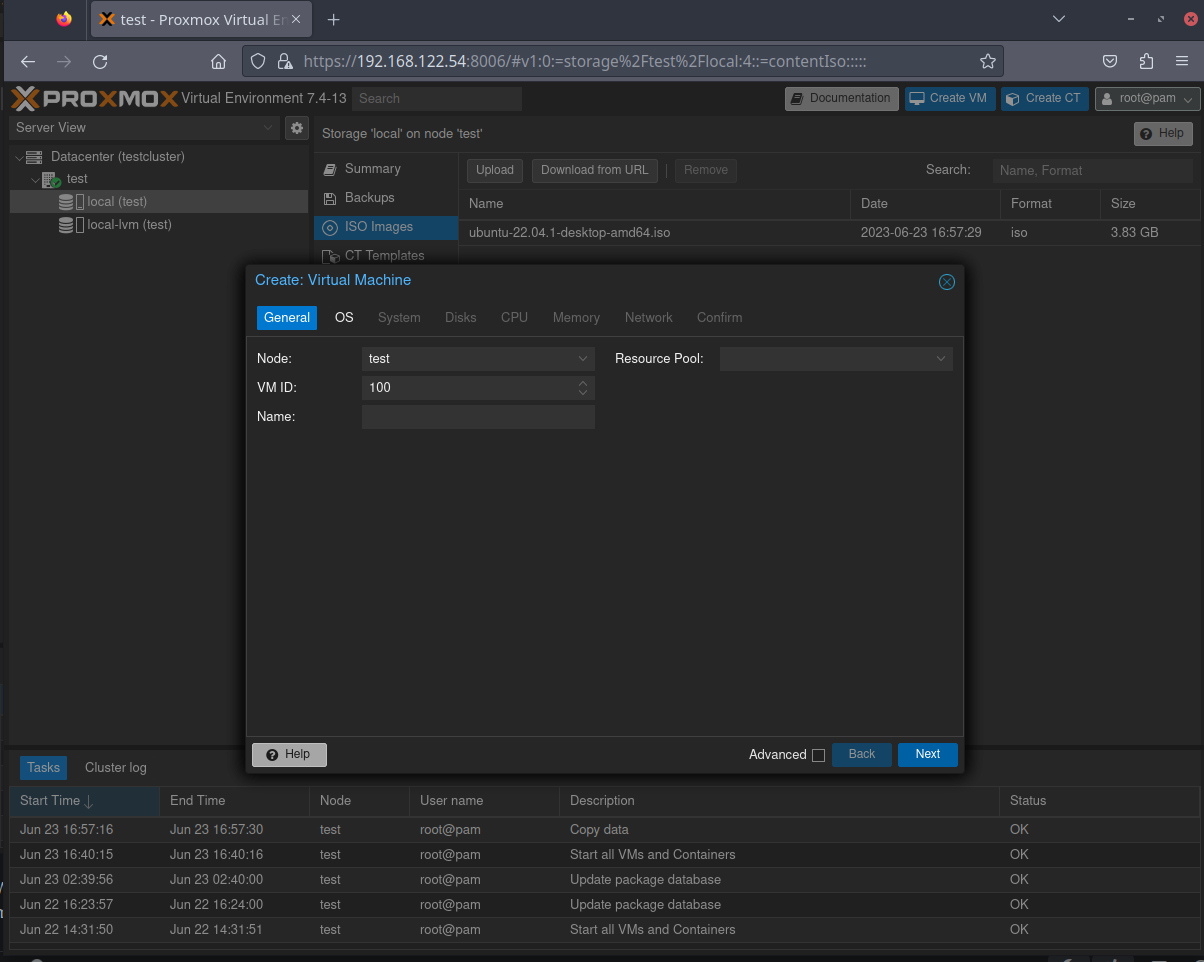
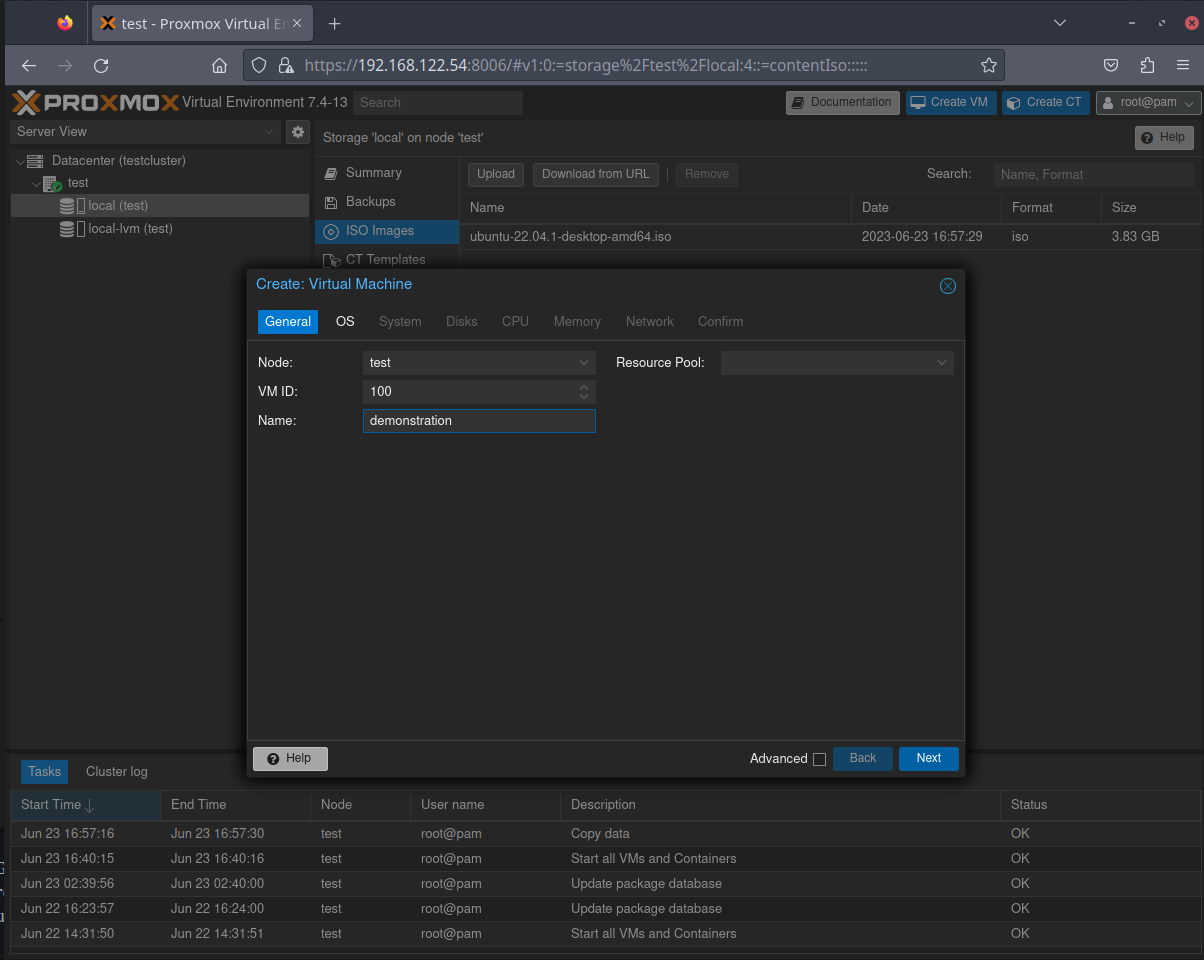
Go ahead and give your VM a name in the field provided. Notice the VM ID above - you can set this to anything you want, but do not go below 100 - those IDs are reserved by the system and doing so will break it. Resource Pool can be left as is right now because there’s only one server in our pool - the one I am currently using.
In the OS tab, you can leave everything as it is, except for the “ISO Image” field. Click the down arrow on that and you’ll see your ISO file. Go ahead and select it:
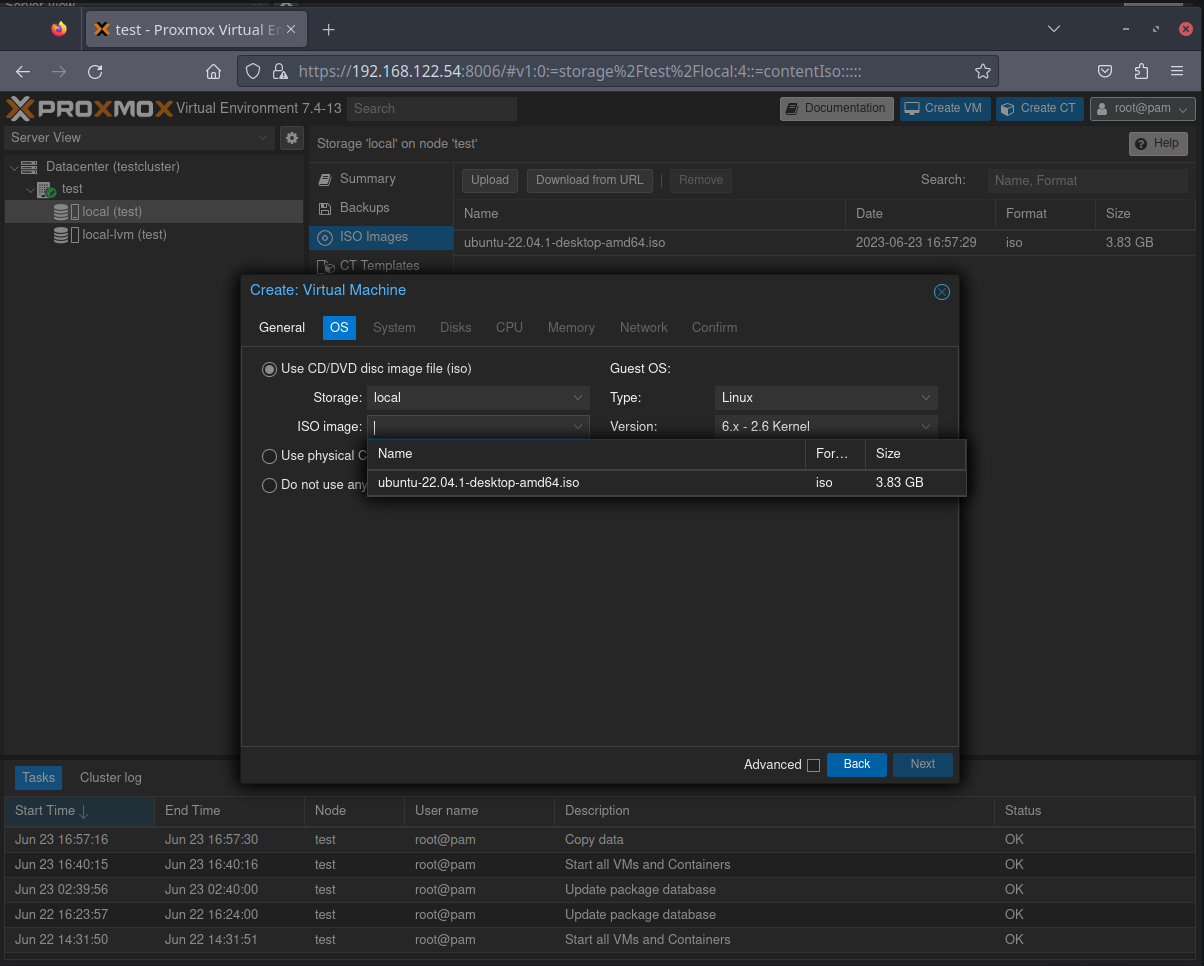
And hit "Next"...
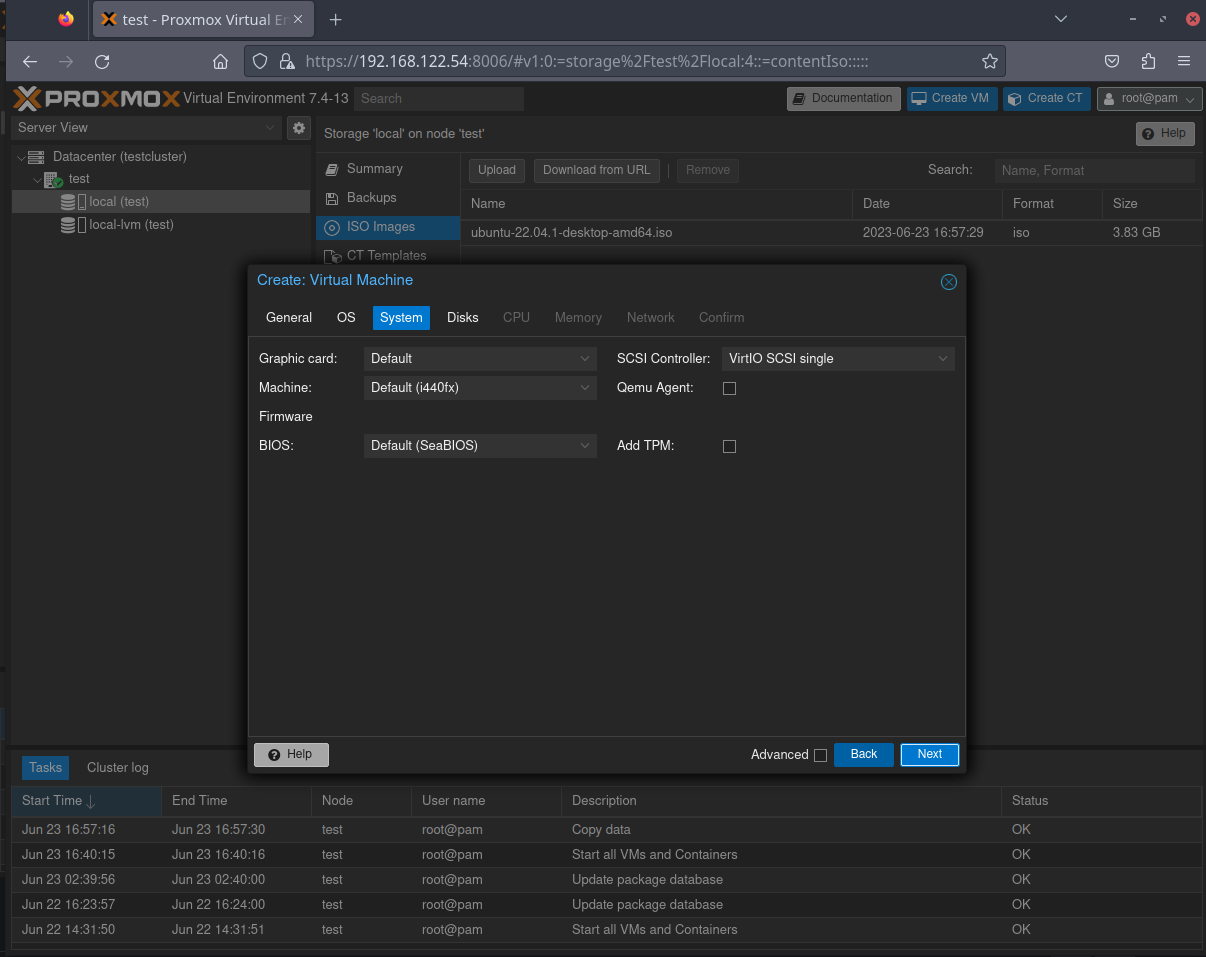
The "System tab" can be left as is - go ahead and click right on into the "Disks" tab.

The only thing to do here right now is tell ProxMox how much disk space the virtual machine will get. If you set ProxMox up to share storage on a NAS for instance, you could set that up here. For now, I'll be leaving the default 32 GB of disk space. Feel free to adjust this to your needs.
Moving on to CPU...
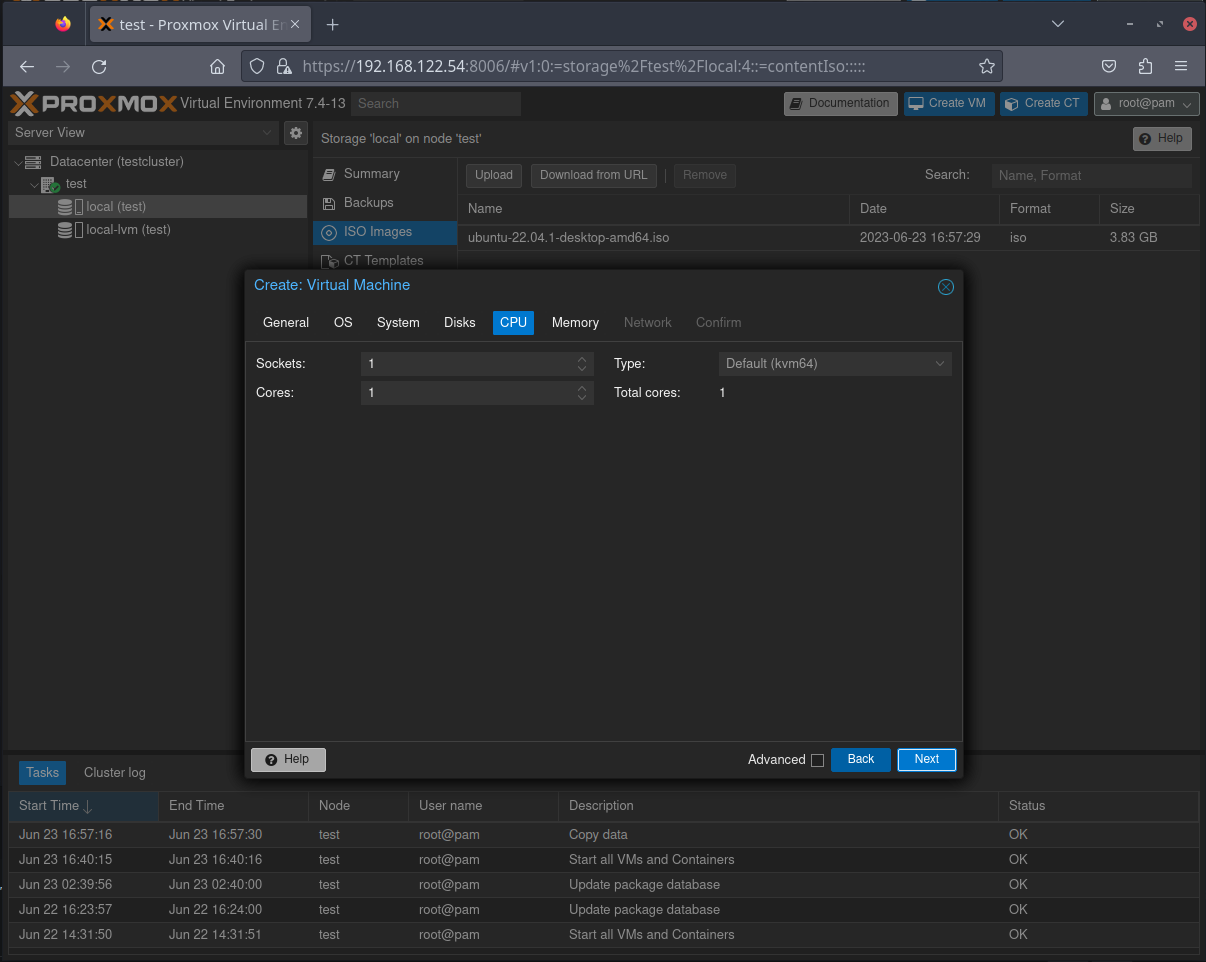
Go ahead and set the number of sockets and CPU cores to give the virtual machine. Do not exceed the number of sockets/cores that are physically in your server/machine. After that move on to Memory...
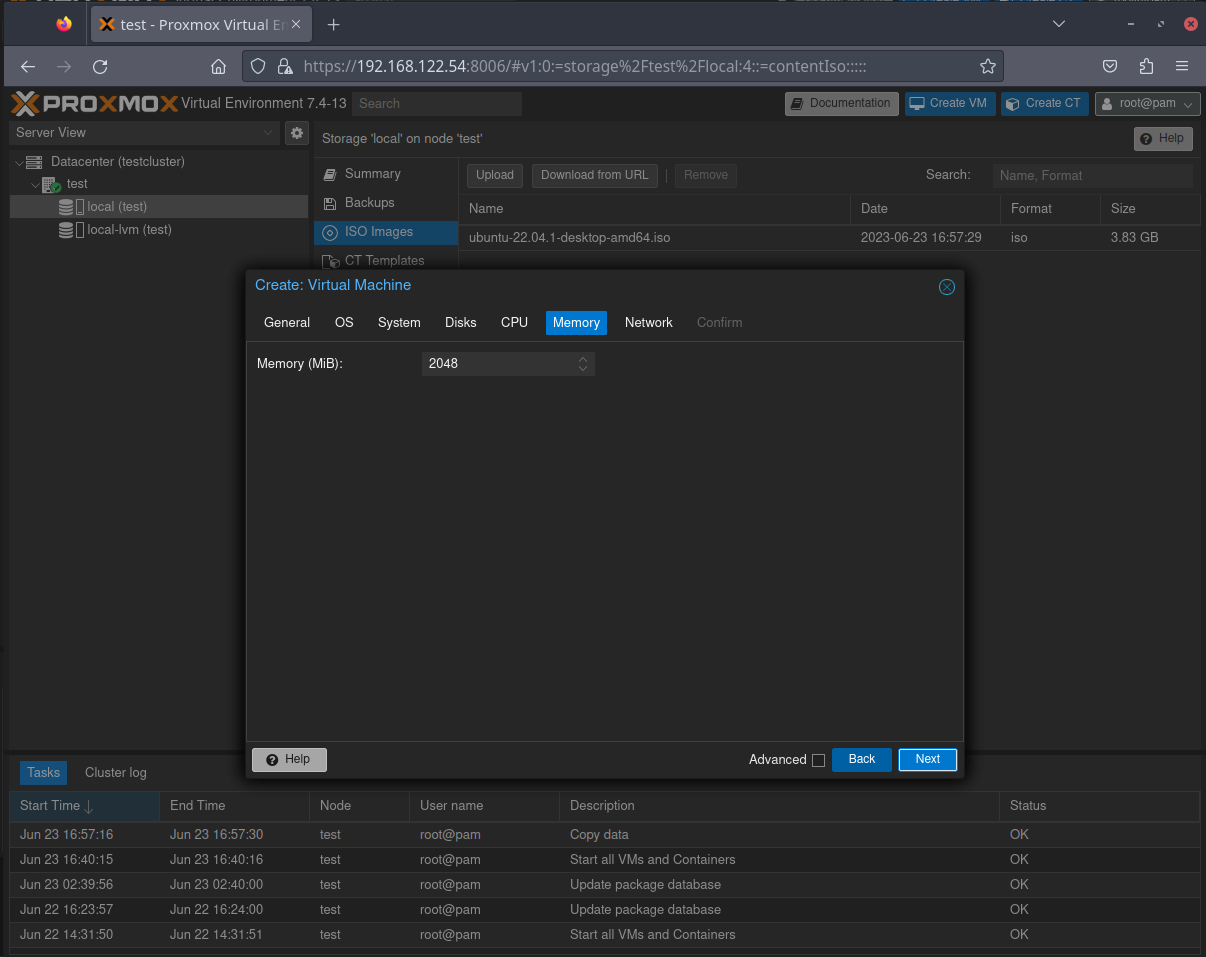
Make sure when you set your VM's memory, you leave some for the host machine as well. Otherwise, you'll notice sluggish behavior. Enter the amount of memory in megabytes (1024,2048,4096,8096, etc..)
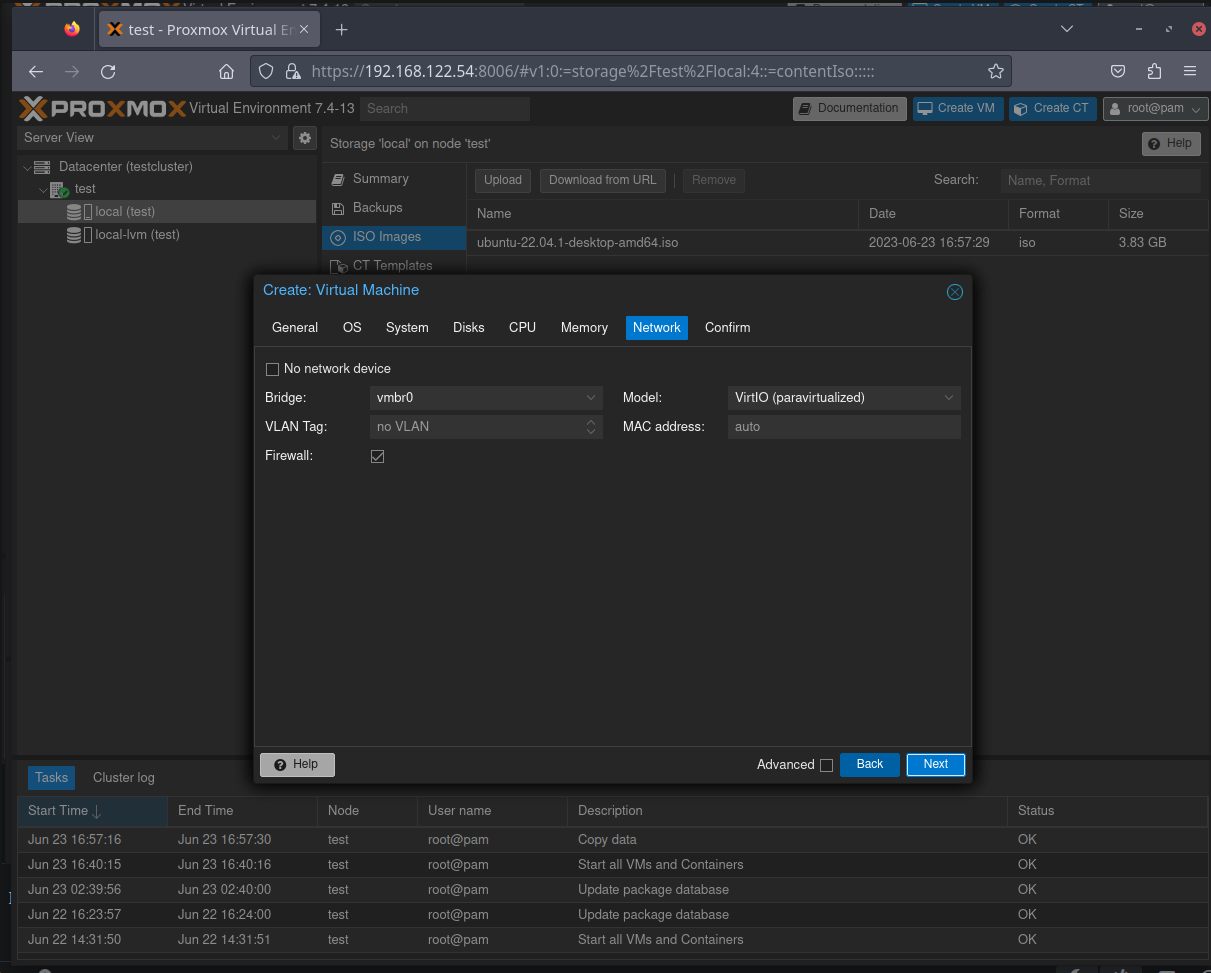
The network tab can be left as-is unless you have special requirements, in which case I'll assume you know what you're doing here. You are just about there!
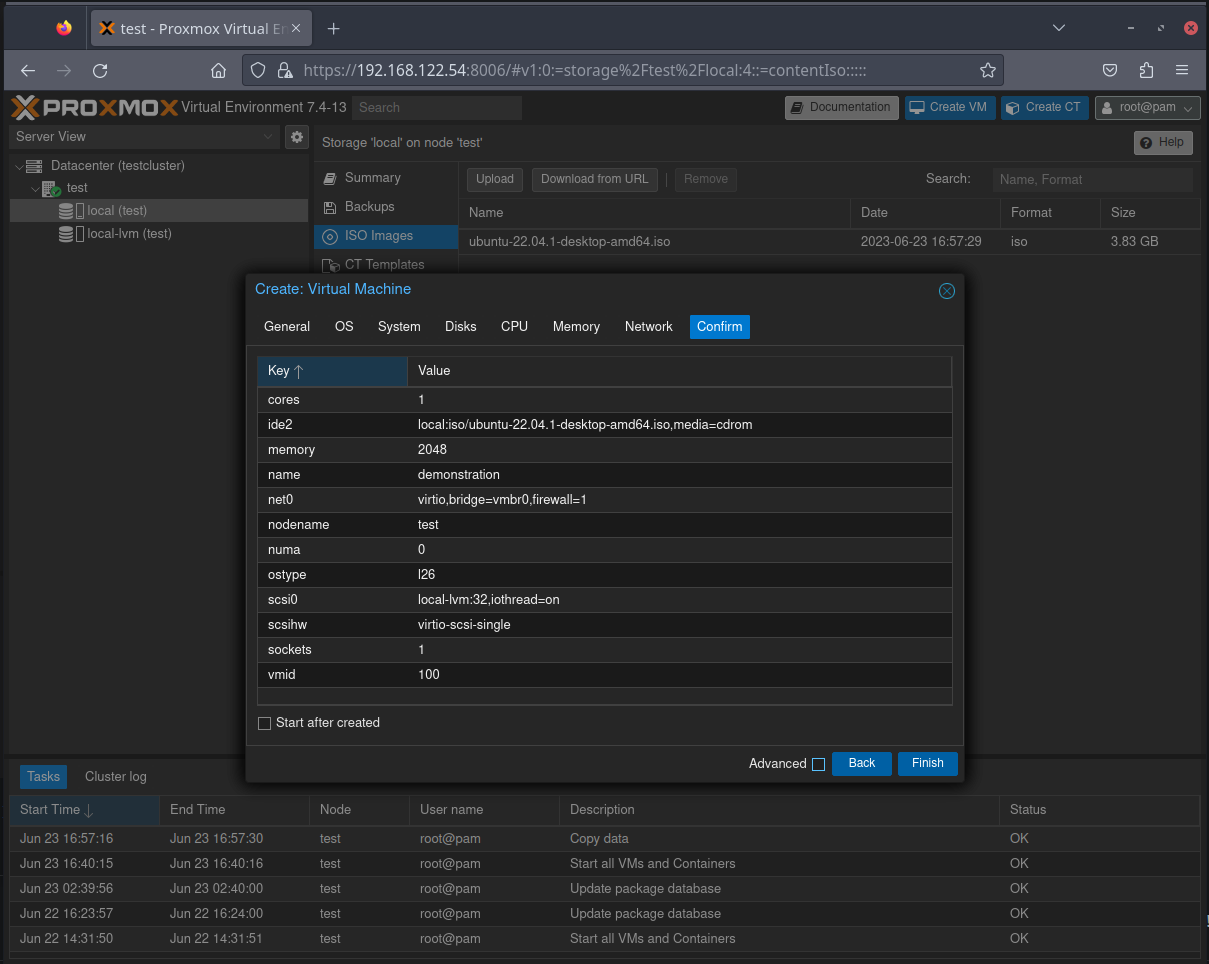
Go ahead and look everything over, and if all looks well you can click on "Finish". Notice the option down in the lower left corner of that box that you can start as soon as your VM is created. I want to show you how to do it the other way, so I'm leaving that unchecked for now.
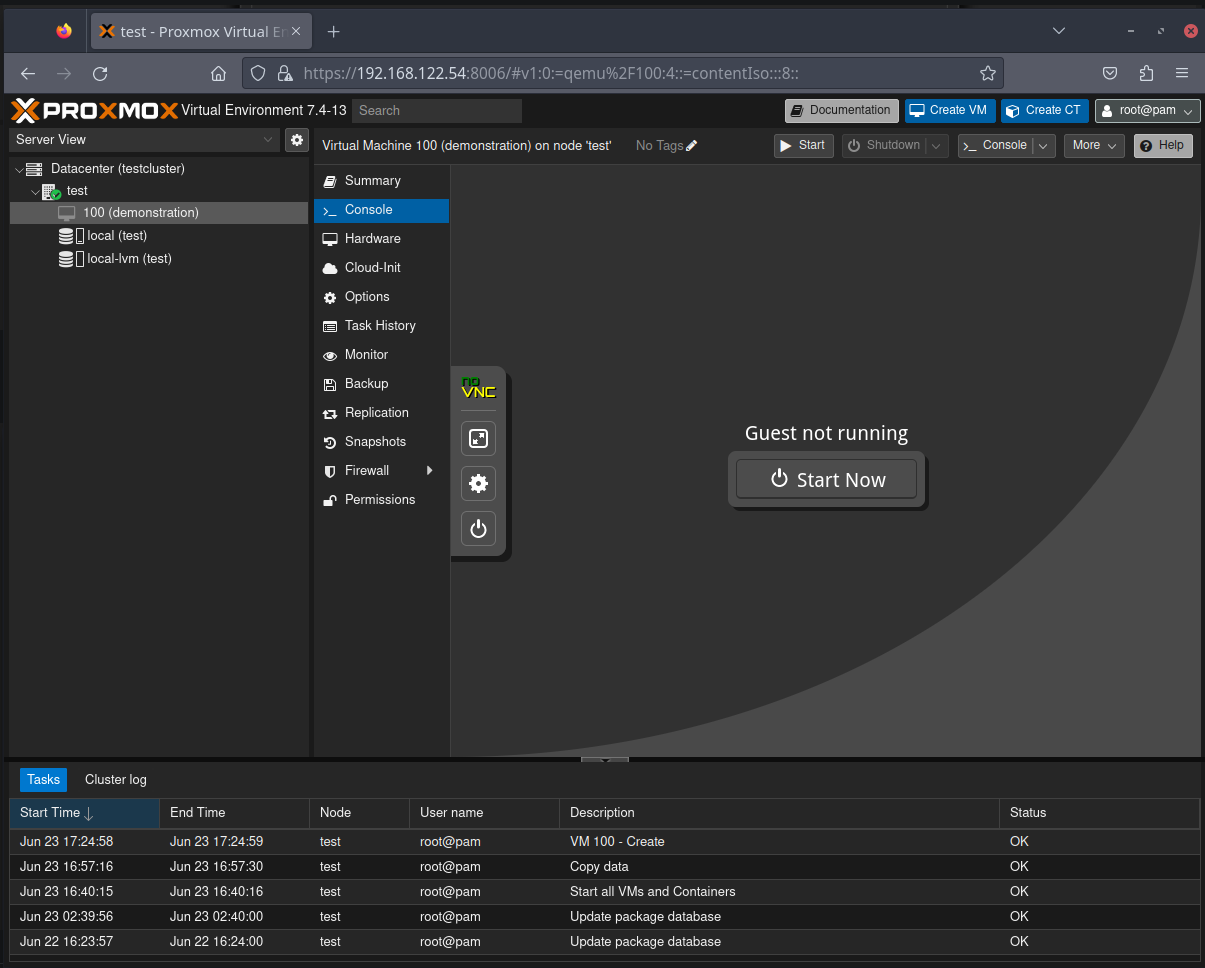
Step 4: Start the newly created VM
The only thing left to do now is start it up!
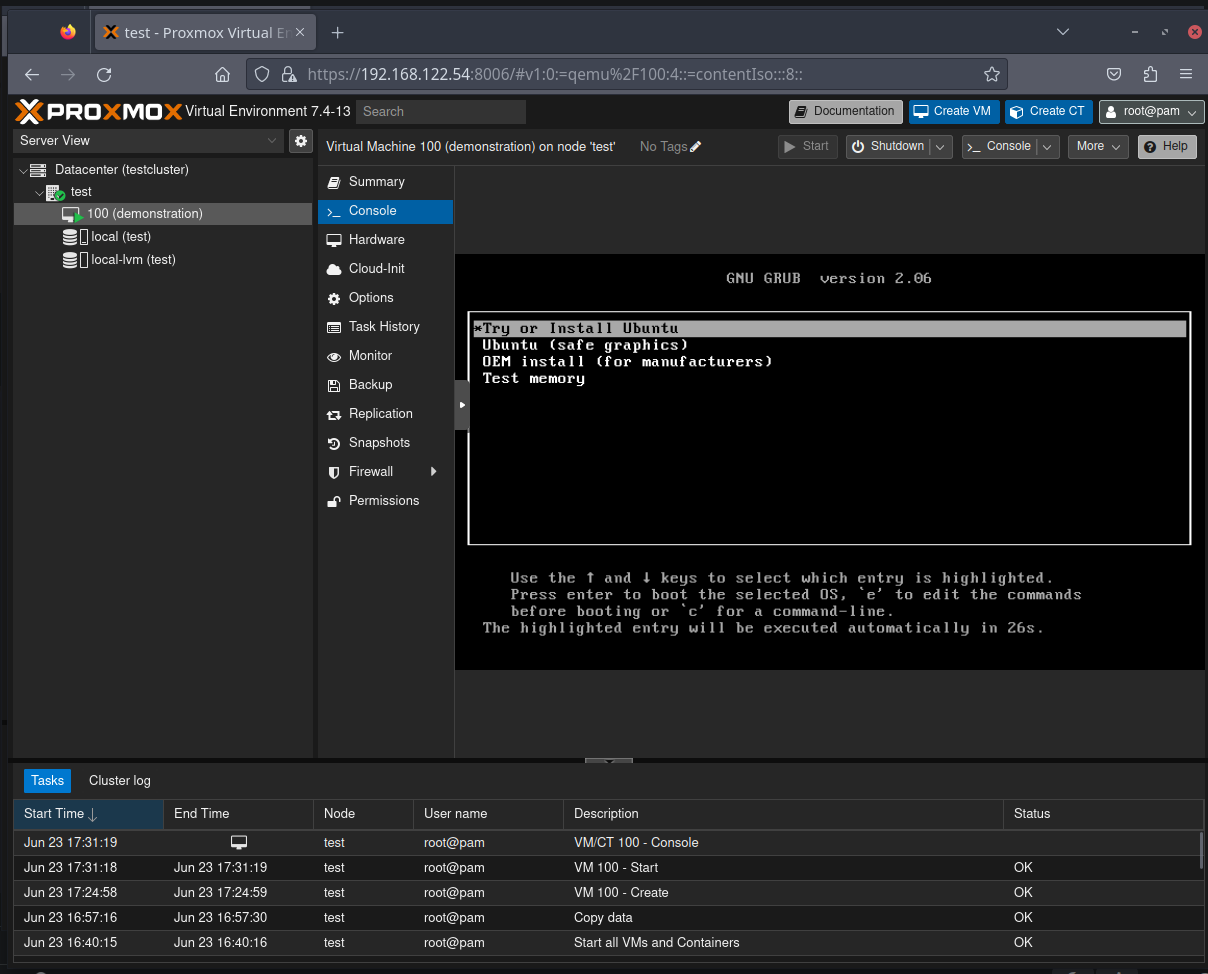
From this point on, it's like a normal installation of Ubuntu, or whatever guest operating system you have selected.
And that wraps it up for creating a virtual machine in ProxMox. Keep your eyes on this space for when I show you how to create a container in the next article. I hope this helped you!