Chapter 6: Panes - Split, Navigate, Resize and Zoom
In the previous chapter, you learned how to use windows to organize different tasks inside a tmux session.
Now let's make those windows more useful.
Imagine you are working on a server and want to watch your application logs while running commands at the same time. Opening another window would work, but you'd have to keep switching back and forth.
What if you could see both at once? That's exactly what panes are for.
A pane is simply a terminal area inside a tmux window. You can split one window into multiple panes and work in each of them independently.
By the end of this chapter, you'll be able to create splits, move between panes, resize them, and temporarily make one pane fill the entire screen.
What Is a Pane?
Let's start with the hierarchy you've already learned:
Session
   │
   └── Window
          │
          ├── Pane
          └── Pane
A window can contain one pane or several panes. For example, a single window normally looks like:
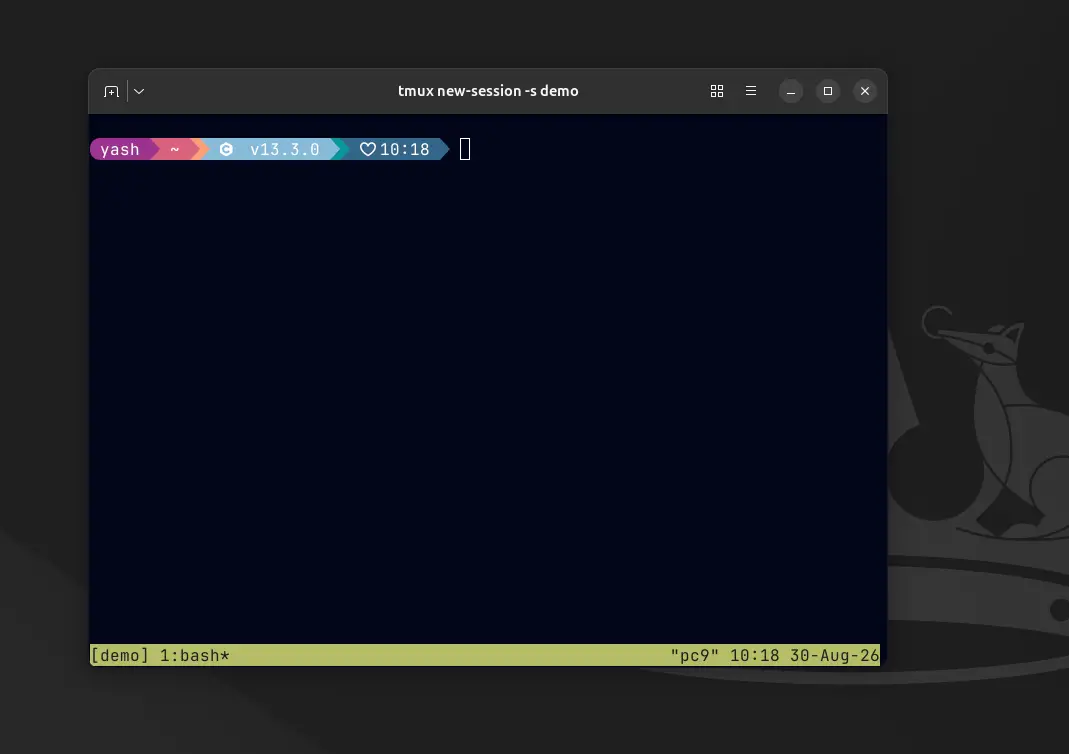
After splitting it vertically:
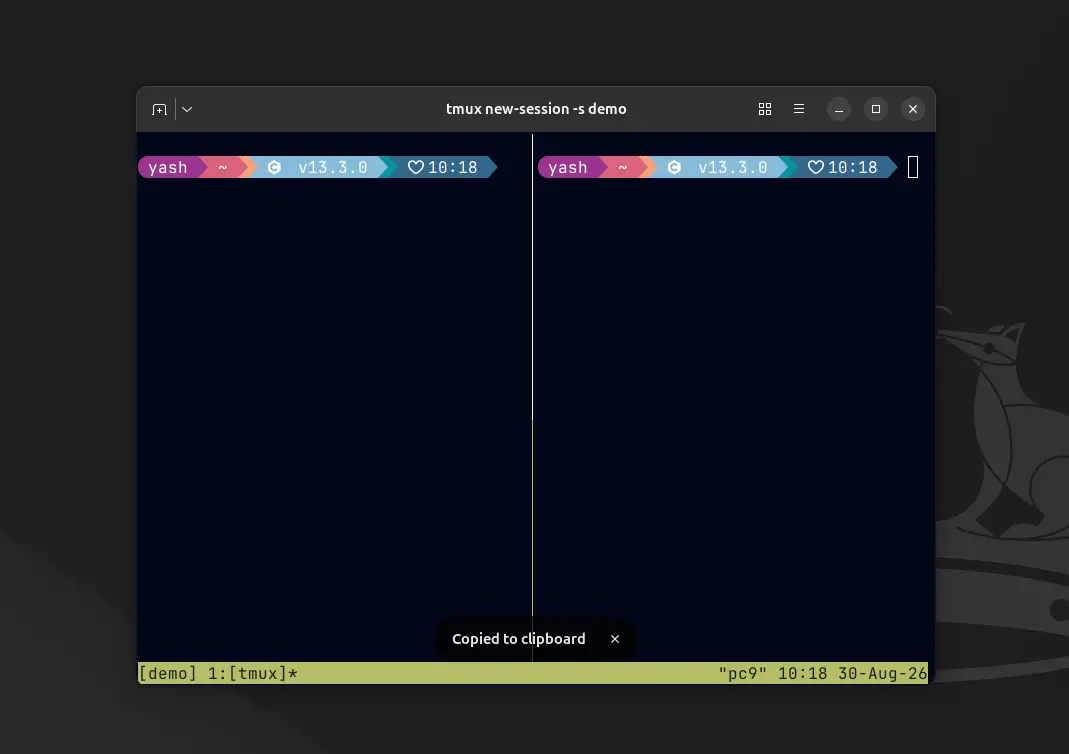
Now both panes are terminals, and you can run a different command in each one. This is one of the most useful everyday features of tmux.
Create Your First Pane Split
Let's try it. Start inside a tmux session and press:
Ctrl+b %The % tells tmux to split the current window vertically. You'll now have two panes side by side. Try running a command in one pane:
lsThen move to the other pane and run:
pwdsplit panes and perform indivisual commands
You now have two independent shells visible at the same time.
Split Horizontally
You can also split the window from top to bottom.
Press:
Ctrl+b "This creates a horizontal split.
For example:
split pane horizantally
The two split commands are easy to confuse at first:
Ctrl+b %   → vertical split
Ctrl+b "   → horizontal split
Don't worry if these shortcuts don't feel intuitive yet. After using them a few times, they become much easier to remember.
Move Between Panes
Creating panes is only half the job. Now you need to move between them.
Use:
Ctrl+b ↑
Ctrl+b ↓
Ctrl+b ←
Ctrl+b →
Press the prefix first, release it, and then press the arrow key.
So, for example:
Ctrl+b →moves you to the pane on the right.
Similarly:
Ctrl+b ↓moves you to the pane below.
Moving between panes
This is one of those shortcuts that becomes second nature fairly quickly.
Resize a Pane
By default, tmux gives your panes roughly equal space. But sometimes you need one pane to be larger.
For example, your logs might need most of the screen while your command pane only needs a small section.
You can resize panes using the prefix and arrow keys:
Ctrl+b Ctrl+↑
Ctrl+b Ctrl+↓
Ctrl+b Ctrl+←
Ctrl+b Ctrl+→
Notice that this is slightly different from navigation.
For navigation:
Ctrl+b ↑For resizing:
Ctrl+b Ctrl+↑Resizing panes
You press the prefix, then hold Ctrl while pressing the arrow key. You can repeat the command to make the pane larger or smaller.
Why Would You Resize Panes?
Let's use a practical example.
Suppose you're following a log:
tail -f application.logYou may want that pane to be large because you're constantly reading new output. Your second pane might only be used for occasional commands.
So instead of:
┌────────────────────┬────────────────────┐
│                    │                    │
│       logs         │      shell         │
│                    │                    │
└────────────────────┴────────────────────┘
you could resize it to:
┌──────────────────────────────┬───────────┐
│                              │           │
│            logs              │   shell   │
│                              │           │
│                              │           │
└──────────────────────────────┴───────────┘
This is one of the reasons panes are more useful than simply opening multiple terminal windows. You can adjust the layout to match the task you're doing.
Zoom a Pane
Sometimes even a resized pane isn't enough. Maybe you're working inside a small pane and suddenly need the whole screen.
You don't need to destroy your layout. You can zoom the current pane.
Press:
Ctrl+b zThe current pane expands to fill the entire tmux window. The other panes are still there; they're simply hidden temporarily.
Press:
Ctrl+b zagain to return to the previous layout. For more clarity, you can see below.
Zooming into one pane and return
This is particularly useful when you have a complicated layout but need to focus on one task for a moment.
Close a Pane
When you're finished with a pane, you can simply type:
exitThat closes the shell running inside that pane.
You can also use:
Ctrl+b xClosing a pane
Tmux will ask you to confirm before closing the pane. Remember that closing a pane also closes the processes running inside it.
So if you have a server running there, closing the pane can stop that server.
Panes in a Real Workflow
Now think about the kind of workflow you might actually use.
For a web application, you could have:
┌──────────────────────────────┬─────────────────┐
│                              │                 │
│        Application           │      Logs       │
│                              │                 │
├──────────────────────────────┴─────────────────┤
│               Monitoring                       │
│          top / htop / other tool               │
└────────────────────────────────────────────────┘
For a development workflow:
┌───────────────────────────┬─────────────────────┐
│                           │                     │
│         Editor            │      Terminal       │
│                           │                     │
├───────────────────────────┴─────────────────────┤
│                 Test output                     │
└─────────────────────────────────────────────────┘
And for remote server troubleshooting:
┌──────────────────────────┬──────────────────────┐
│                          │                      │
│          Logs            │       Commands       │
│                          │                      │
├──────────────────────────┴──────────────────────┤
│               System monitoring                 │
└─────────────────────────────────────────────────┘
The important idea isn't to memorize one perfect layout.
It's to understand that you can build the layout around the work you're doing.
In the next chapter, we'll learn how to move through terminal history, search output, select text, and copy information from a tmux pane.