Chapter 9: Your First Tmux Configuration
At this point, you can create sessions, organize them with windows, split windows into panes, navigate between them, resize and zoom panes, search terminal history, and build a complete tmux workspace.
So why configure tmux at all? The answer is simple.
After using tmux for a while, you'll start noticing small things you'd like to change. Maybe you want to use the mouse. Maybe you don't like the default prefix key. Maybe you want a shortcut for something you do repeatedly.
This is where the tmux configuration file comes in.
Don't worry, we're not going to turn this into an advanced configuration tutorial. The goal of this chapter is to make a few useful changes and, more importantly, help you understand how tmux configuration works.
What Is .tmux.conf?
Tmux reads its configuration from a file called:
~/.tmux.confThe ~ means your home directory. So if your username is yash, the file would normally be:
/home/yash/.tmux.confThis file contains settings and key bindings that tell tmux how you want it to behave.
Think of it like this:
Your preferences
      ↓
~/.tmux.conf
      ↓
Tmux
      ↓
Your customized workflow
Without this file, tmux uses its default settings. With it, you can change those defaults.
Do You Need a Configuration File?
Not at all.
Tmux works perfectly well without one. The default configuration is enough to learn everything we've covered so far. In fact, I recommend using the defaults for a while before customizing anything.
Why?
Because you first want to understand how tmux works. Once you've actually used it, you'll know what you want to change. So think of configuration as: Making tmux fit your workflow, not fixing something that is broken.
Create Your First .tmux.conf
Let's create the file. From your normal shell, run:
touch ~/.tmux.confNow open it in your editor. For example:
nano ~/.tmux.confYou now have an empty tmux configuration file. Don't add ten settings at once. We'll start with something simple.
Enable Mouse Support
One of the easiest beginner-friendly customizations is mouse support.
Add:
set -g mouse on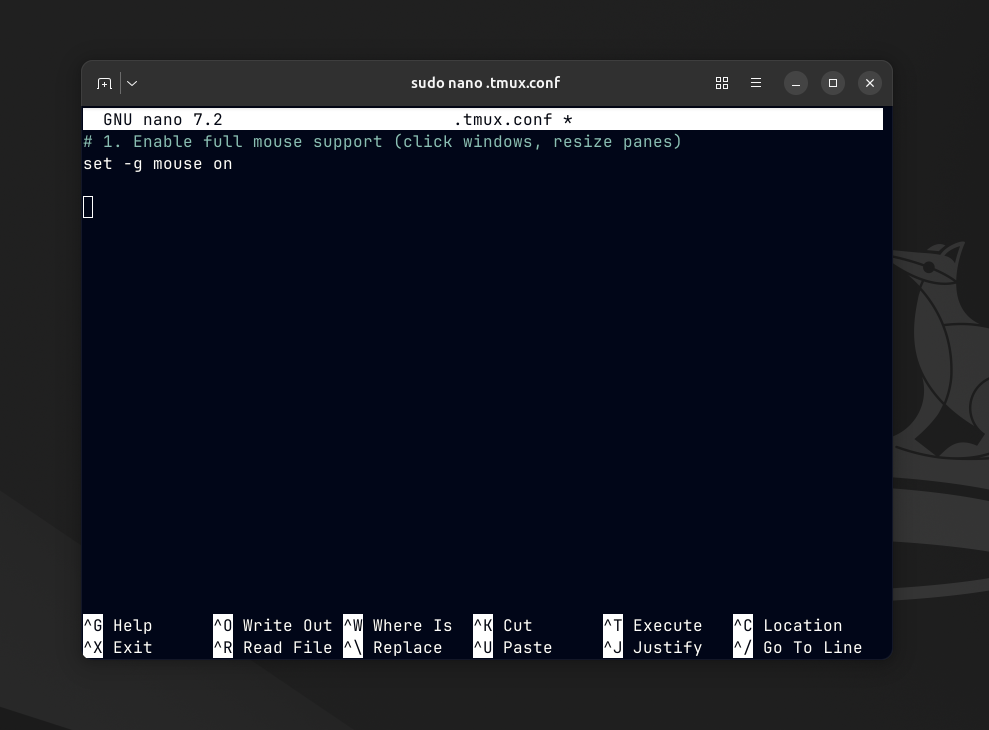
Save the file. This enables mouse interaction for things such as selecting panes, resizing panes, scrolling and switching between windows.
This can make tmux feel much more familiar when you're just getting started.
Reload the Configuration
There is one thing you need to understand before testing the change. Editing .tmux.conf does not automatically change an already-running tmux server. You need to tell tmux to reload the file.
Inside tmux, press:
Ctrl+b :This opens the tmux command prompt. Now type:
source-file ~/.tmux.confand press Enter. Tmux will read the configuration file again. You can also run the same command from a shell using:
tmux source-file ~/.tmux.confSource config file
You might wonder: Why not just close tmux and start it again?
You can. But reloading the configuration is much more convenient when you're experimenting. Imagine you are changing a key binding.
You edit the configuration:
saveThen reload:
tmux source-file ~/.tmux.confTest it. If you don't like it, change the file again and reload. You don't need to destroy your existing sessions and windows every time you make a small configuration change.
This becomes especially useful as your configuration grows.
Customizing the Prefix Key
You've been using the default prefix throughout this course:
Ctrl+bTmux uses this prefix to distinguish tmux commands from commands intended for your shell. For example:
Ctrl+b cmeans: Send c to tmux to create a new window. Some users eventually change the prefix because Ctrl+b can feel inconvenient. A popular alternative is:
Ctrl+aYou can configure it with:
set -g prefix C-a
unbind C-b
bind C-a send-prefix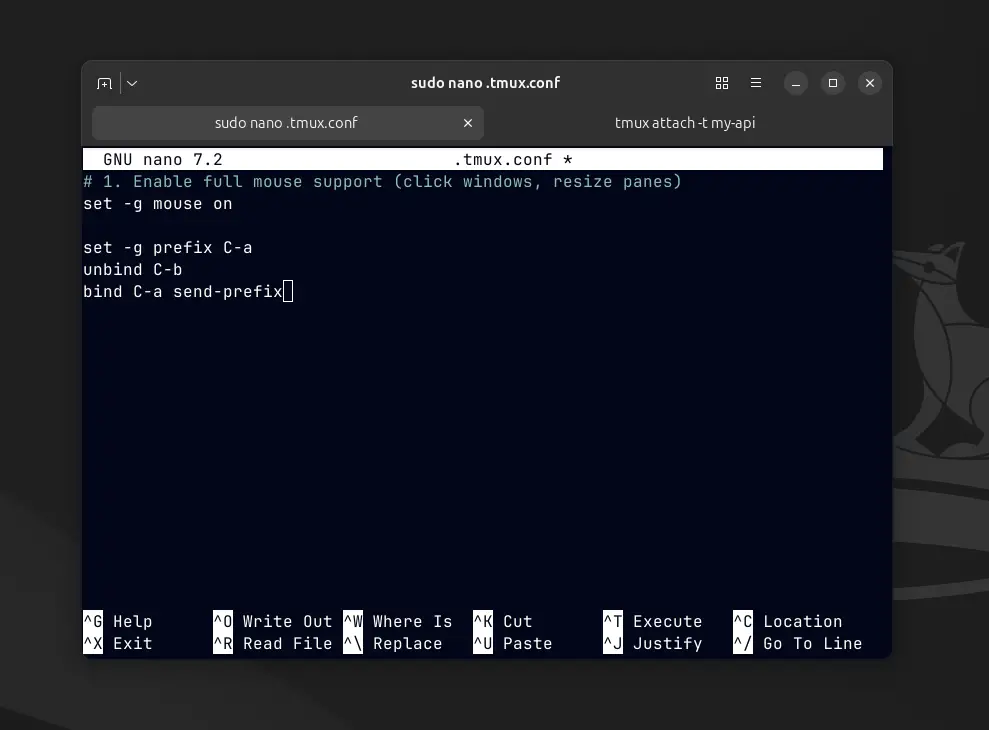
Let's not rush into this one. If you're comfortable with Ctrl+b, there is no requirement to change it. In fact, for this beginner course, I recommend keeping the default unless you have a specific reason to change it.
Adding a Simple Custom Key Binding
Configuration becomes much more interesting when you start creating your own shortcuts. For example, suppose you frequently reload your tmux configuration. Instead of typing:
Ctrl+b :
source-file ~/.tmux.conf
you can create a shortcut. Add:
bind r source-file ~/.tmux.confNow:
Ctrl+b rreloads your configuration. This is a simple example of the power of .tmux.conf:
Shortcut
   ↓
Custom action
   ↓
Less repetitive typing
Reload the configuration after adding it:
tmux source-file ~/.tmux.confThen test:
Ctrl+b rAt this point, you might have something like:
set -g mouse on
bind r source-file ~/.tmux.conf
That's enough. You do not need a huge configuration file to be productive. In fact, starting small makes troubleshooting much easier.
If something breaks later, you have only a few settings to investigate.
What You Have Learned
You've now gone from starting your first tmux session to customizing how tmux behaves.
More importantly, you've learned the complete beginner workflow:
Start tmux
    ↓
Create a session
    ↓
Organize with windows
    ↓
Split into panes
    ↓
Navigate and resize
    ↓
Search terminal history
    ↓
Detach
    ↓
Reconnect
    ↓
Customize
You no longer need to think of tmux as a collection of shortcuts.
You can now think of it as a persistent workspace that you can organize and adapt to your own workflow.
You've completed the beginner tmux workflow. From here, the best way to improve is simply to keep using it! See you next time!