wget Command Examples
The wget command allows you to download files over the internet in the Linux command line.


Wget is a simple command line utility that allows you to download files from the internet.
Sure, you can use the curl command to download the files but it is meant to automate tasks, and using it just to download files? Nah, the wget command is much easier to use.
So in this tutorial, I will walk you through how you can use the wget command with a set of practical examples.
How to use the wget command
To use the wget command to its full potential, you must know its syntax so let's start with the syntax of the wget command:
wget [options] <URL>Here,
[options]: it is used to change the default behavior of the wget command. Such as you can use the-bflag to download files in the background.<URL>: here's where you specify the URL from which you want to download the file.
Here are some common options used with the wget command:
| Option | Description |
|---|---|
-O |
Specify the output filename for the downloaded file. |
-c |
Resume an interrupted download. |
-q |
Suppress non-essential output messages. |
-v |
Print more verbose messages about the download process. |
-b |
Run the download in the background. |
-P |
Specify the directory to save the downloaded file. |
-r |
Download recursively, including all linked files and directories (requires specifying a directory with -P). |
-t |
Specify the number of times to retry on failed downloads. |
Now, let's have a look at some practical examples of the wget command.
1. Downloading a file using the wget command
If you want to download a file using the wget command, you don't require any options and it will download a file in the current working directory having a pre-defined name:
wget <URL>For example, here, I downloaded an image file in my current directory using the wget command and the URL:
wget https://cdn.pixabay.com/photo/2023/09/20/17/23/frog-8265261_640.jpg
2. Specify the name of the file
By default, the wget will save the file having a filename defined by the file uploader himself. In most cases, these filenames are long and do not serve their purpose and you may want to specify the filename for downloading the file.
The good news is you can define the filename using the -O flag as shown here:
wget -O <Filename> <URL>For example, here, I used the FROG.jpg as a filename for the file:
wget -O FROG.jpg https://cdn.pixabay.com/photo/2023/09/20/17/23/frog-8265261_640.jpg
3. Download files to a specific directory
To download a file inside a specific directory, all you have to do is use the -P flag and append the path to the directory where you want to store the file:
wget -P /path/to/download <URL>Let's say I want to download files in the test directory, so I will be using the following:
wget -P ~/test/ https://cdn.pixabay.com/photo/2023/09/20/17/23/frog-8265261_640.jpg
4. Download files in the background
This is my favorite.
Suppose you are about to download a large file using the wget command. It will hijack your input stream for a while. Frustrating, right?
In that case, you can download the file in the background using the -b flag:
wget -b <URL>For example, here I'm about to download an Ubuntu ISO file which should take a while so will perform this task in the background:
wget -b https://releases.ubuntu.com/mantic/ubuntu-23.10-live-server-amd64.iso
It will print the PID of the background and will update the data in the wget-log file.
You can use the tail command to check the log file in real-time as shown here:
tail -f wget-log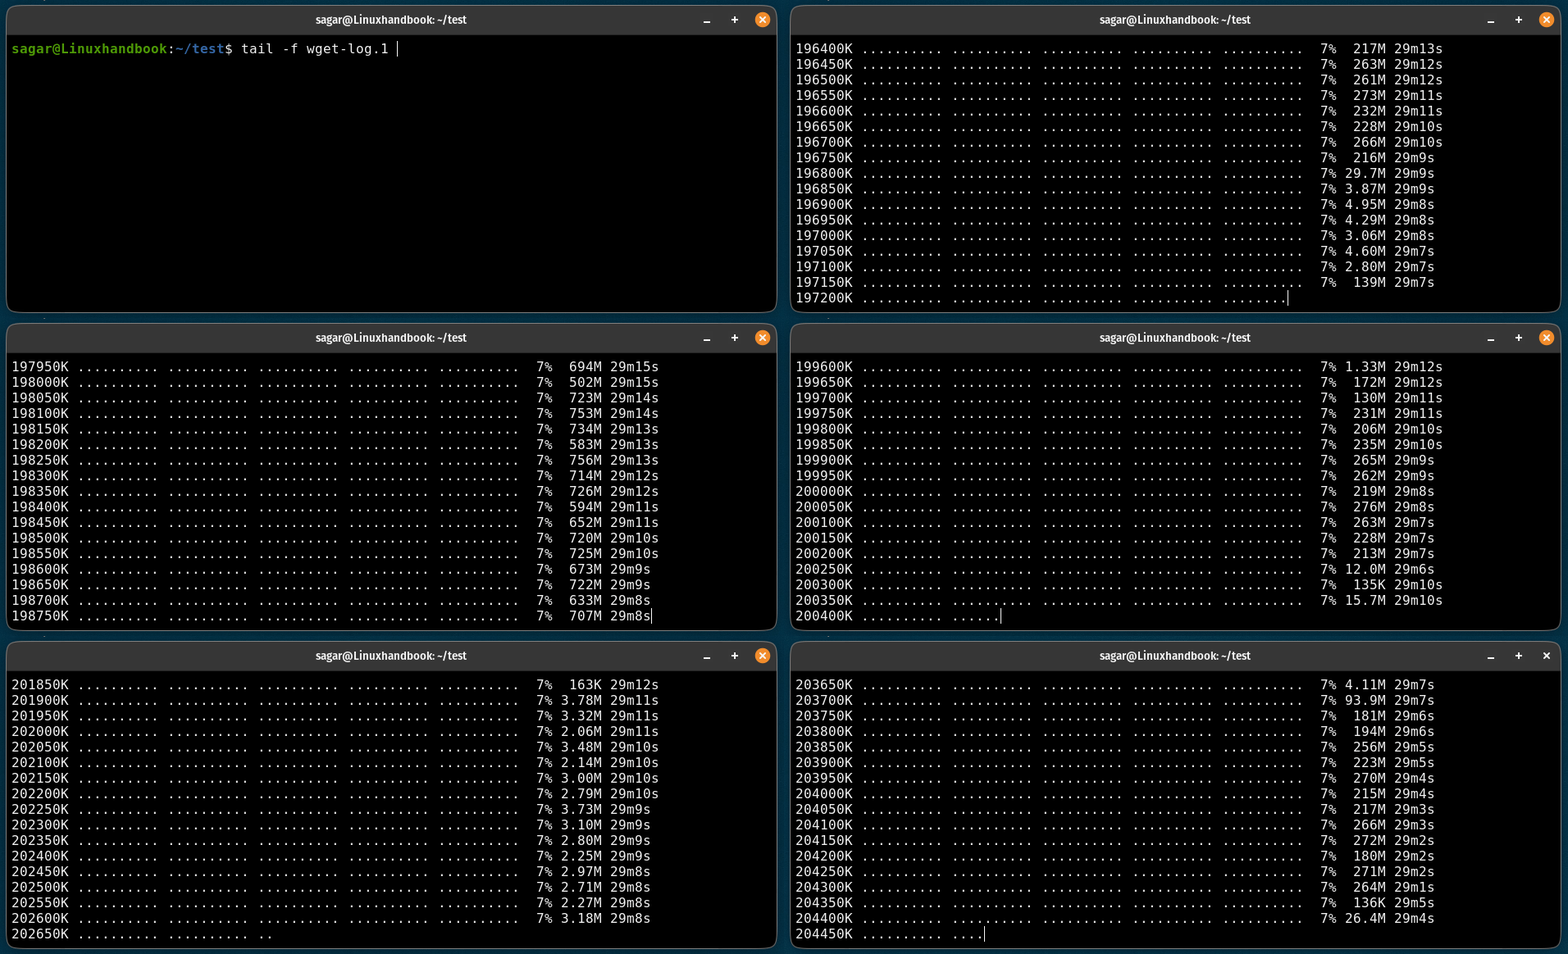
To stop the download, you can kill the process using the PID displayed in the previous response as shown here:
kill <PID>5. Download multiple files at once
To download multiple files at once, first, you have to add all the URLs to a single file.
So the first and obvious step is to create a new file:
nano wget.txtNow, add multiple links inside the newly created file:
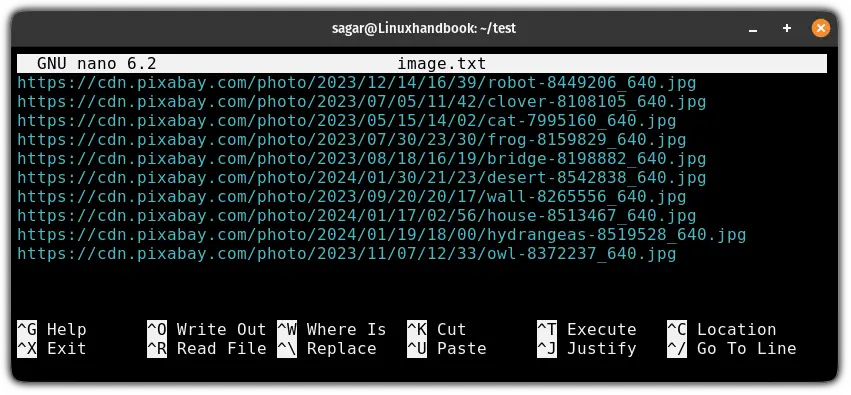
Next, save changes and exit from the nano editor.
Finally, use the wget command with the -i flag and append the file to download files from the links entered in the file:
wget -i Filename
6. Resume the interrupted download
Due to network interruption, the download process gets affected and you may not want to start the download from the beginning. This is quite common while downloading large files.
So in that case, you can start the interrupted download using the -c flag as shown:
wget -c <URL>For example, here, I resumed the interrupted download of the Ubuntu ISO file:
wget -c -O Ubuntu.iso https://releases.ubuntu.com/mantic/ubuntu-23.10-live-server-amd64.iso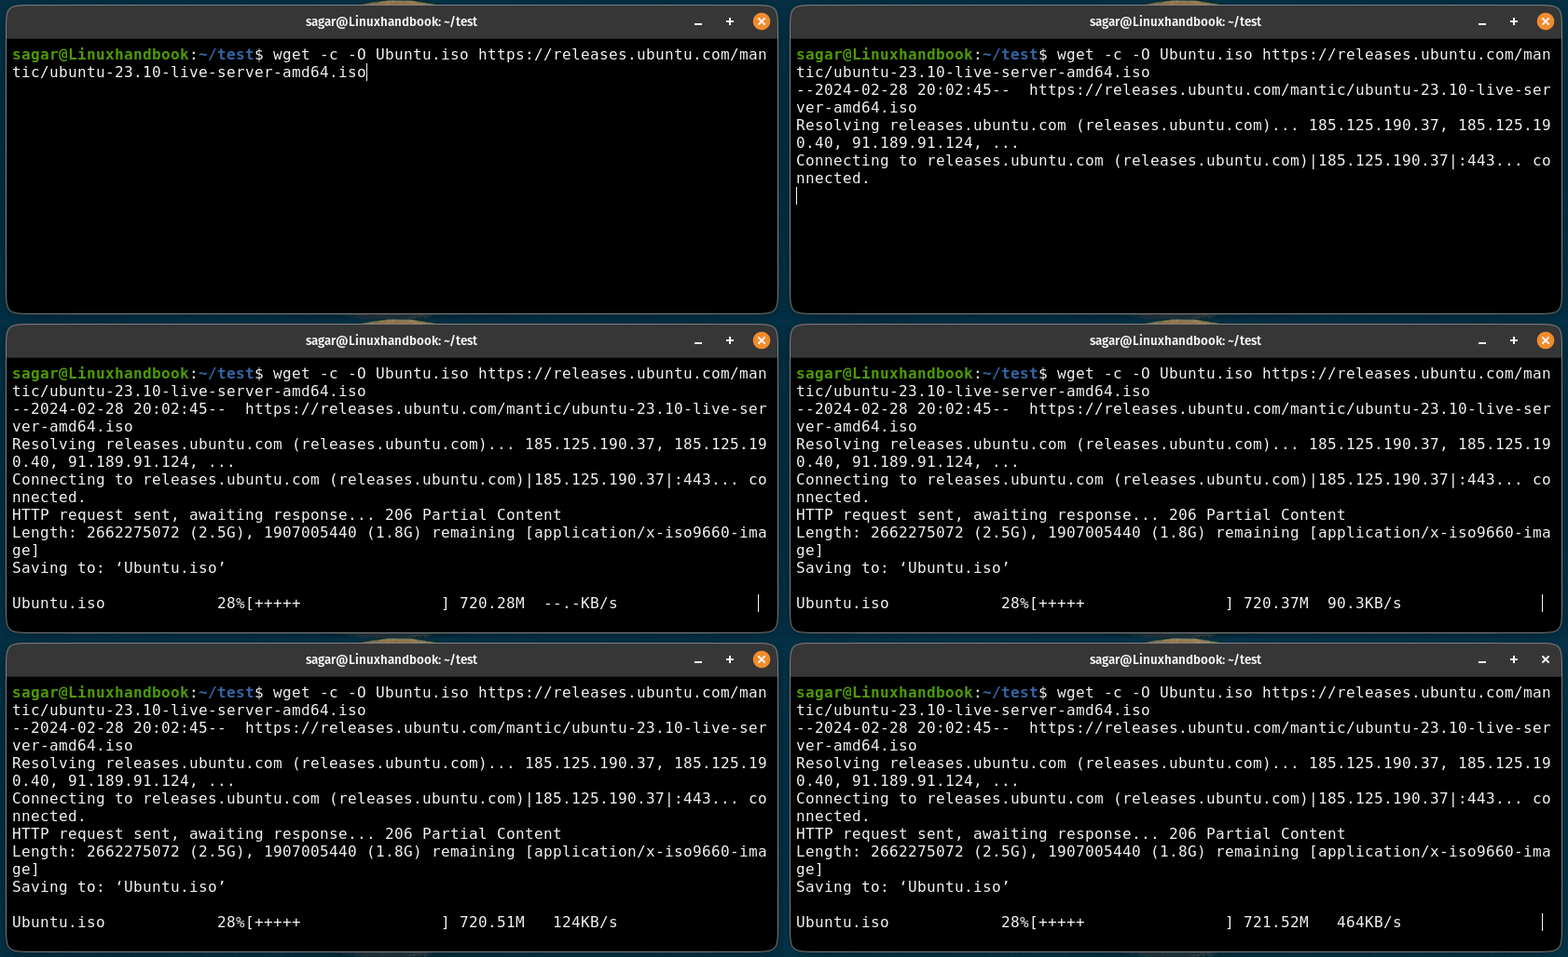
7. Specify how many times to try to download a file
While downloading the file, it may get interrupted due to network or other system error and when that happens, downloading stops.
But using the wget, you can specify how many times to try again to download the before quitting by using the --tries flag as shown here:
wget --tries=number_of_tries <URL>For example, here, I've configured the wget utility to try 50 times before canceling the query:
wget --tries=50 testme.com8. Limit the download speed
Sometimes, the downloading tasks eat up the majority of the bandwidth whereas other tasks are thirsty for more bandwidth and one task chews everything.
In that case, you can limit the download speed using the --limit-rate flag:
wget --limit-rate=speed <URL>For example, here, I restricted the download speeds to not exceed 500KB/s:
wget --limit-rate=500k https://releases.ubuntu.com/mantic/ubuntu-23.10-live-server-amd64.iso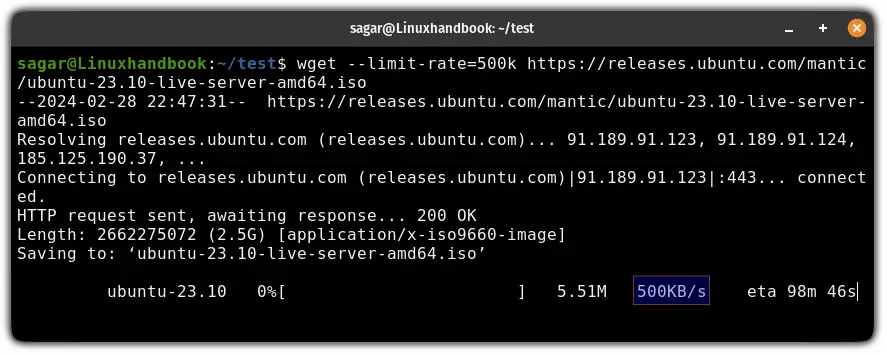
Still confused between Wget and cURL? Let me explain
If you want to learn more about it, you can read its manual page on the GNU website.
You can use the curl command and wget command to download files from the internet and this raises confusion between users. Not anymore.
We wrote a detailed guide explaining the difference between curl and wget so answer all your questions:

I hope you will find this guide helpful.
About the author
 Sagar Sharma
A software engineer who loves to tinker with hardware till it gets crashed. While reviving my crashed system, you can find me reading literature, manga, or watering my plants.
