How to Fork a GitHub Repository
The first step in contributing to an open source project is to fork it. Learn to fork a repo on GitHub in this quick tutorial.


Forking a repository on GitHub is one of the fundamental concepts in open source contribution on GitHub.
You can't directly contribute to a repository, so you need to fork it first, make changes to the fork, and then make a PR for those changes to be accepted in the original repo.
What does the word Forking mean?
Just like a fork in a road (a metaphor) divides a path into different directions, forking a repository creates a divergence in the project's development path.
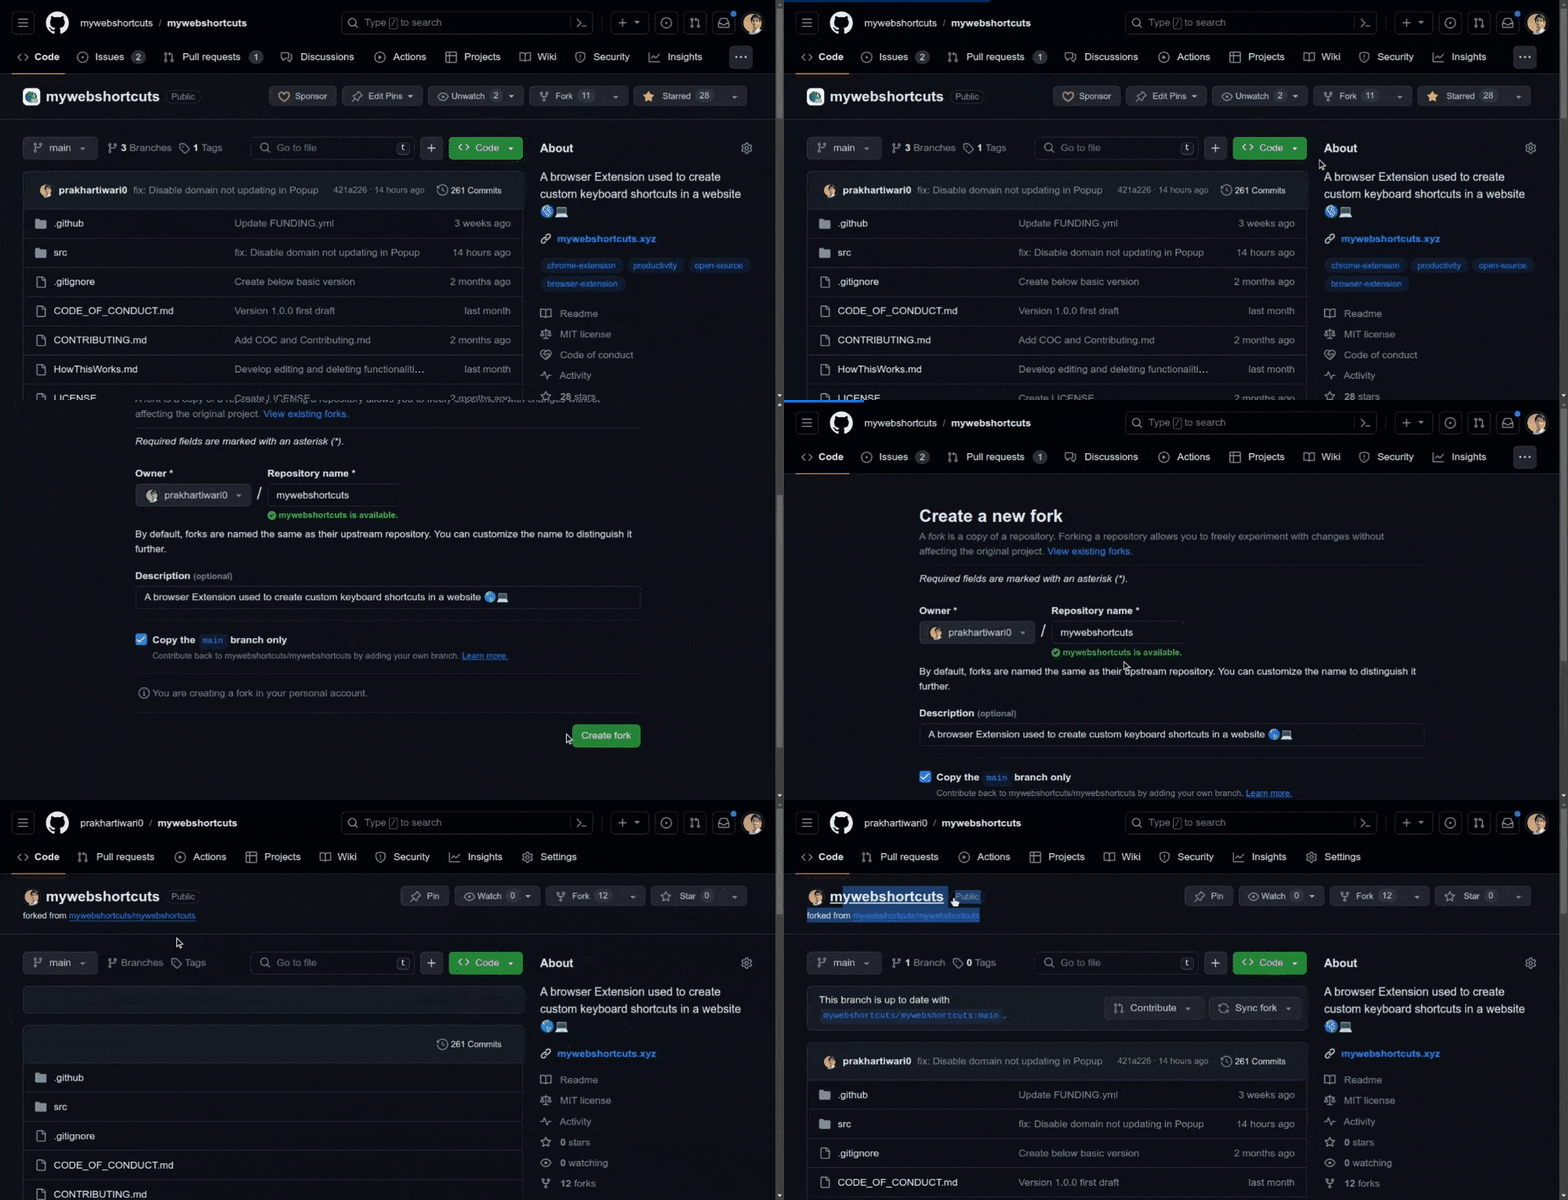
In GitHub, forking a repo means copying it into your account, which will be owned by you and you can make changes to it.
How to Fork a Repository on GitHub
- Open the GitHub repo
- Click on the Fork button at the top

Is the fork dependent on the source repo? What if the original one gets deleted?
Here are your answers in points:
- If the original private repo is deleted: all of its forks will be deleted.
- If the original public repo is deleted: its forks will not be deleted.
- If the public repo is converted to private, and deleted the original: Forked repo will not be deleted.
Do the changes in the fork affect the original repo? (and vice versa)
Your fork of the repository is completely independent of the original repository, and changes you make to the fork do not affect the original repository unless you use a pull request to merge your changes back into it.
The changes done to the source repo don't happen in the fork automatically, one needs to click on the "Sync fork" button that appears on the fork repo if there are any changes in the source repo.

Thanks for reading!
I hope this article helped you, keep learning & keep GitHubing!