As a sudo user, you can run commands and access files as root user but with your own password. You don't need to know the root password or switch to root user. You just add sudo before the command to run it with root privilege.
In Ubuntu and Debian-based Linux systems, sudo is practically synonymous with root but in reality, sudo is much more than that.
But I am not going to go into details on sudo here. I'll just show how you can add a sudo user to Ubuntu or Debian.
sudo usermod -aG sudo <username>That was too short, right? Don't worry! I explain the steps in detail.
Adding a sudo user in Ubuntu and Debian
I am using Ubuntu in this tutorial, but the steps mentioned here should apply to Debian and many other Linux distributions as well.
The commands used here are standard Linux commands and these should be installed on most Linux distributions by default. However, I am not sure if all Linux distributions have a group named sudo.
Let’s now get started on creating a sudo user or sudoer in Linux command line.
Step 1: Create a new user [if it doesn’t exist already]
Please check the users present on your Linux system. If the user that you want to grant sudo access doesn't exist, the first step would be to create that user.
Keep in mind that the user will be a regular user when you create it. You add it to the sudoer list in the next step.
Note: Adding a new user will also create a user group named the same as the user in Ubuntu.
To create a user, one must be a sudoer or a root. This is to ensure that only people who are having rights over the system or in charge of protecting the system are creating new users and nobody else.
You can either adduser or useradd command for adding a new user. You can read the difference between adduser and useradd here.
I am going to use adduser command here.
sudo adduser <username>When you type your password, it will be invisible, but you can also use delete or backspace whenever you like. You may also use Ctrl+U Linux shortcut to delete the entire line and start from the beginning.
Here's a sample screenshot for the creation of a new user named handbook:
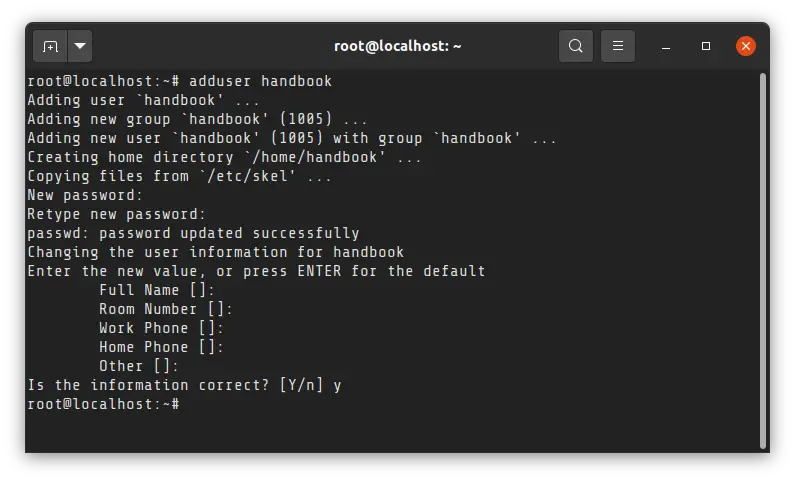
With the adduser command, the home directory for the user is also created.
It also asks for details for name, phone numbers, and others. You may enter the details if you want to, but it is not mandatory. After confirmation, the user will be created successfully.
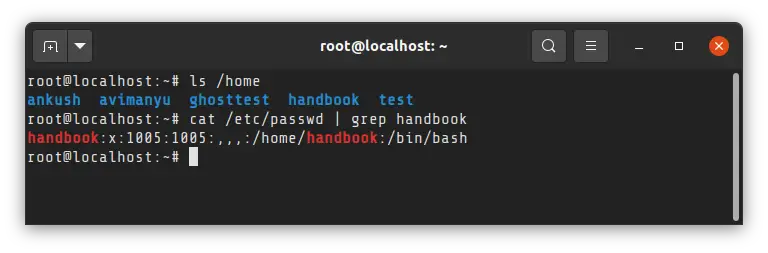
You may verify the creation of the new user by checking the content of the /home directory or grep on the username in /etc/passwd file.

Step 2: Make it a sudo user
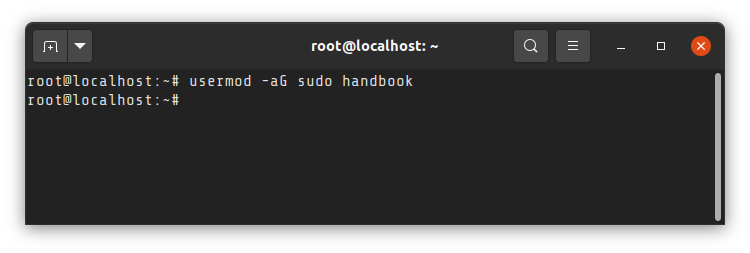
Once the user is created, he/she can be easily converted into sudo user by adding it to the sudo group. Yes, that's it.
You must use -aG options. The a ensures that you are appending the group.
sudo usermod -aG sudo <username>In the above command:
- usermod changes user’s properties and rights
- –a option tells to append the given group to the user without removing the user from existing groups. If you miss it, the user will be removed from other existing group and that will become a pain for you.
- Option -G lists the groups to which user is to be added. In our case, it is “sudo”. So it is added directly to the command.
Successful addition doesn't produce any output.

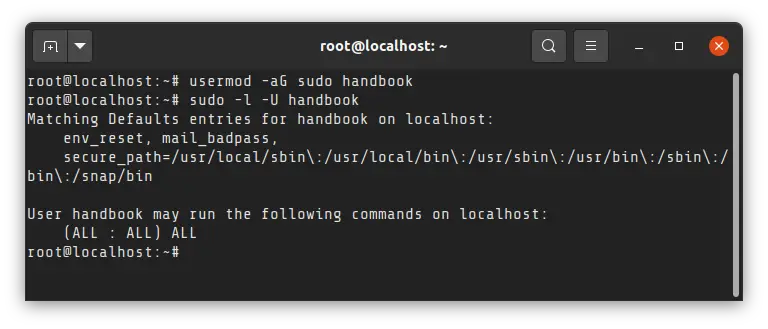
Step 3: Verify sudo access
Now, you should verify if the user has sudo access or not. My favorite way is to use this command:
sudo -l -U <username>At the end of this command's output, you can see if you can run all commands as sudo (ALL : ALL) ALL.
Alternatively, you can change user in command line or simply log out and log in as the new sudo user and then try to run a command as sudo.
From this point, You can write any command that needed sudoer privileges by prepending the command with “sudo”.
That's it. You successfully created a sudo user.
With great power, comes great responsibility
I hope you liked this quick tip. If you have any questions or suggestions, feel free to leave a comment below.