

This guide will make your remote work life a lot easier by transforming your phone into a portable workstation. It helps me a lot in my day-to-day remote work activities, and so I really wanted to share how I did it with you!
But before I start with the technical details, please allow me to share a few thoughts about the transformational shifts in remote work in these changing times.
The Remote Work Revolution
It's far more than a year since the pandemic spread, and that has given new recognition to the idea of #WorkFromHome. People who were new to the idea learned a lot from the already existing remote work community back in the early days of the epidemic.
But for remote workers, business is as usual.
This guide, particularly, focuses on that aspect — to make it easy to work from anywhere with minimal hardware necessity. Take me for example — I've been working with It's FOSS, Linux Handbook and High On Cloud for many years since the pre-CoViD era of remote work.
My current line of work includes taking regular care of our cloud servers and the web apps running on them from time to time.
I'm going to show how I do that when I don't have my laptop around. It makes your remote work life immensely easier and convenient! If you are into core DevOps and SysAdmin work roles, this is really going to help you.
So let's dive in…
Prerequisites
Before I begin, it is necessary to walk you through the software and hardware requirements quickly:
- A cloud server on Linode, Digital Ocean or any other cloud service.
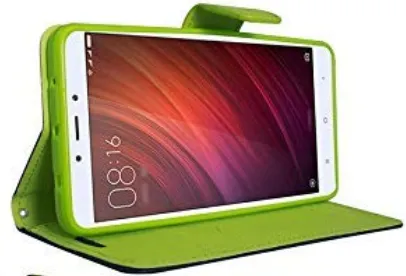
- An Android phone oriented in landscape fashion(preferably with flip cover for stand)
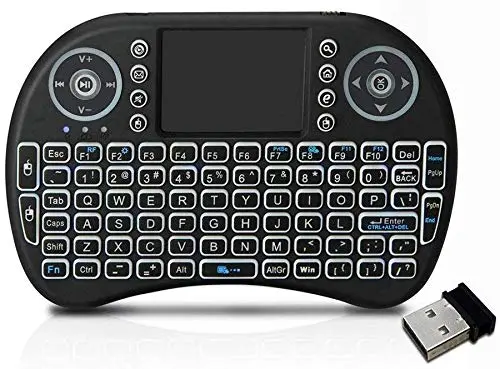
- A Mini Wireless Keyboard with Touchpad for the “mini-workstation” experience [optional]
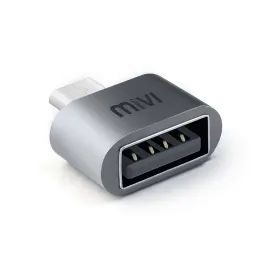
- USB Type C 3.0 to USB A Female OTG Adapter (For phones with USB Type C port) [optional]
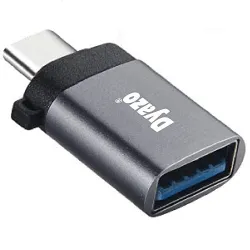
- Micro USB to USB A Female OTG Adapter (For phones with Micro USB port) [optional]
- ConnectBot Android App or any other Terminal based App
- Android phone's SSH public key added on your cloud server (generated from ConnectBot)
So, that's the recipe! Let's now begin cooking :) :
Software Setup
You can either install the ConnectBot app from F-Droid or Google Play. I prefer F-Droid.
Once that's installed, it's time to generate your SSH key and add your cloud server on the app.
Generating SSH Key on ConnectBot
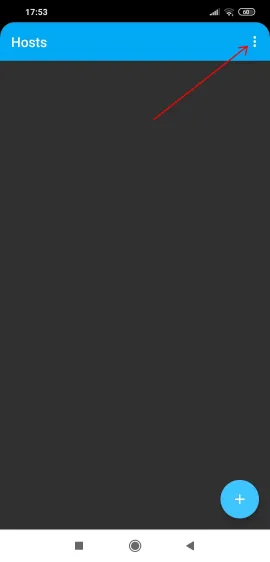
Open the app on your phone and tap on the three dots on the top right:
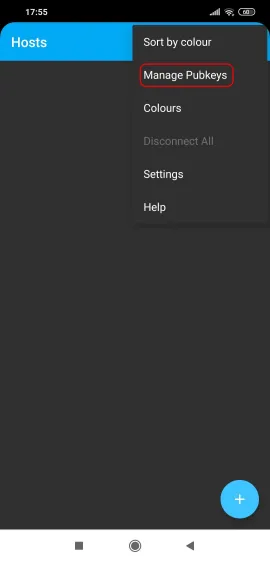
Select Manage Pubkeys from the menu that appears.
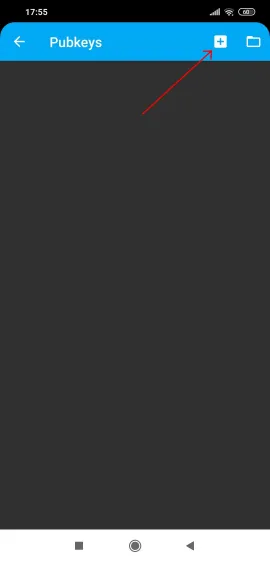
Tap on the "+" symbol as shown below:
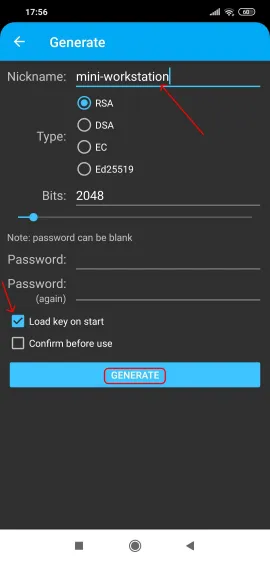
Now, generate your key. Here, I've named it mini-workstation and also made sure Load key on start is enabled. Tap on GENERATE located at the bottom:
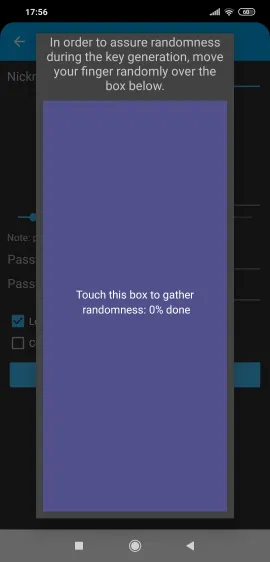
Keep touching the box until it reaches 100%. This action ensures randomness during key generation:
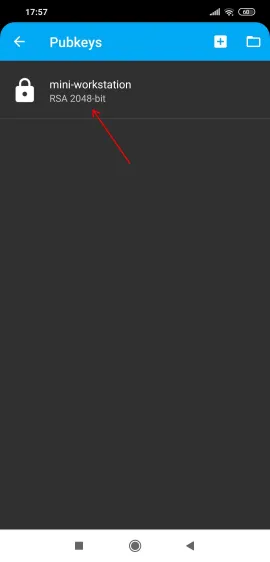
There, your key has now been generated:
Press and hold on it to reveal a drop-down menu:
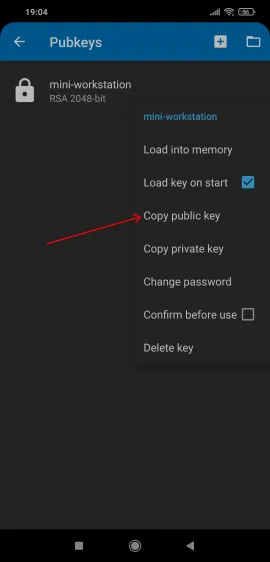
Copy the public key. You are going to need this on the server you'd be logging in, towards enabling portable accessibility. To do that easily for future servers, you can save it on your cloud service account profile. You could also keep the private key(seen below Copy public key above) backed up in a safe location for safekeeping.
Once you successfully add your SSH public key to your cloud server, you are now ready to add the server to access it from anywhere with your phone.
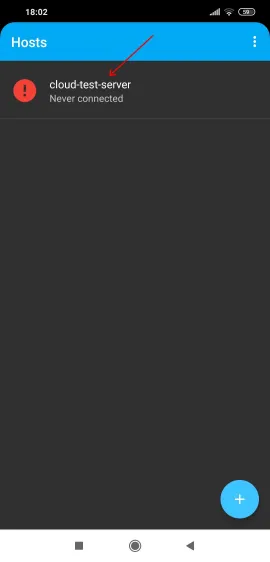
Now let's get back to the same ConnectBot homescreen. Tap on the "+" inside the blue circle down below on the right:

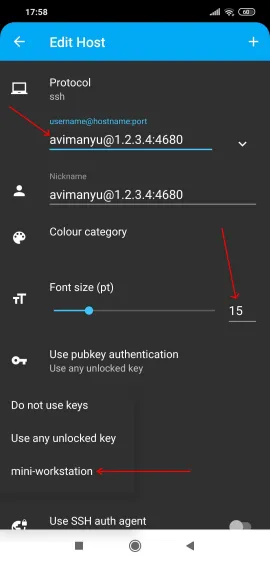
As the syntax reveals what you must do, enter your server username with IP/domain and specify the port number your SSH configuration uses.
After that is done, set the font size to 15 for better readability when you'll be using the server terminal on your phone. Now press and hold on Use pubkey authentication and select the SSH public key that was just created and added:
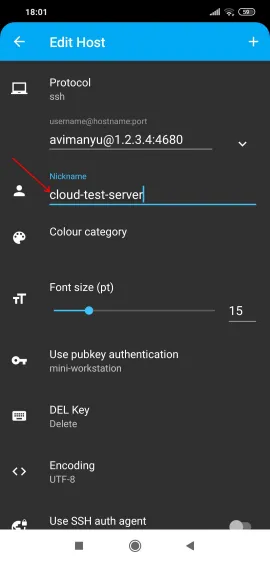
Once that's set, it's better you give it an easy-to-understand nickname as well:
Now, enable Use SSH auth agent. require confirmation would be automatically enabled once you select it.
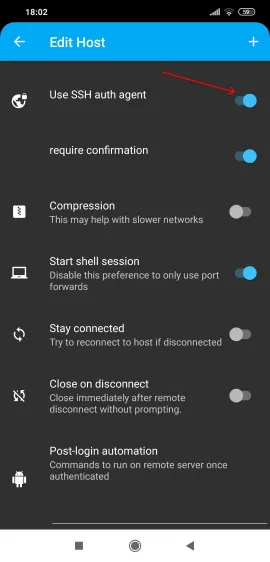
If you have a slow internet connection, you can enable Compression. You can also enable Stay connected if you get disconnected due to SSH security timeouts while working. Enabling it will automatically reconnect you to the host in such a case.
There, you now have your server added to ConnectBot!:
This way you can add more servers and with this setup, your phone becomes a portable device to access them from anywhere with an internet connection!
Hardware Setup
But wait, this isn't quite enough, because when you get access via a terminal, there is less screen space to view because of the on-screen keyboard. This inconvenience can be taken care of with a portable mini wireless keyboard(including touchpad!) that I've linked above in our list of “ingredients” ;) .
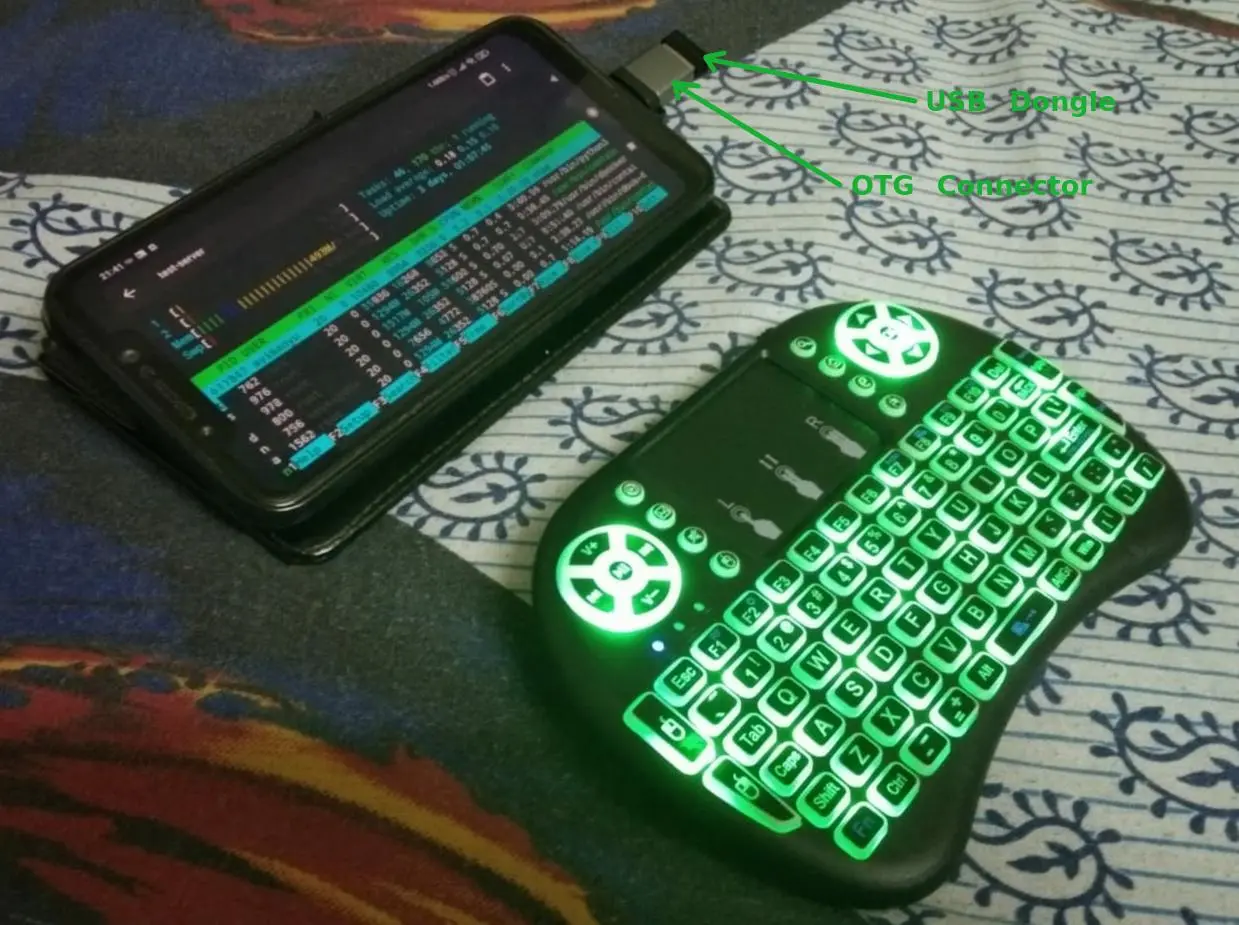
It comes with a Nokia BL-4C battery that can last for days on a single charge! The charging cable is available with it, along-with the USB dongle for wireless connectivity. Lastly, you also require an OTG adapter to be able to connect the dongle to your phone. In general, depending upon the phone's USB port type, you either need a USB-C or a Micro-USB type OTG converter(linked above in the prerequisites section).
So, the “mini-workstation transformation” process consists of the following steps below:
- Connect the USB dongle, available with the keyboard, to the OTG connector.
- Make sure OTG is enabled on your phone settings.
- Connect that USB+OTG combo to your mobile phone.
- Enable orientation on your phone for the “mini-workstation” experience when you rotate/tilt it sideways.
- Flip the power-on switch, located in the top right corner of the mini device.
- Use the mini-touchpad on the keyboard to notice a new cursor appear on your mobile screen as you move your finger(that means it's working!).
- After the touchpad test, open any notes app on your phone and test your keyboard by typing in random keys.
- You're all set! Launch ConnectBot and go Neo!
Adopting this setup has been a lot of fun and helpful for me since recently, particularly because this is a full-fledged multimedia keyboard!
Here's my “mini-workstation” in action, running the htop command on a Linode test server :) !:
That's not it, actually. There's a lot more you can do with such a portable and remote-work friendly setup. You can also have a desktop experience with amazing tools such as Andronix on your phone! Here's a little something from a past experiment ;) !:
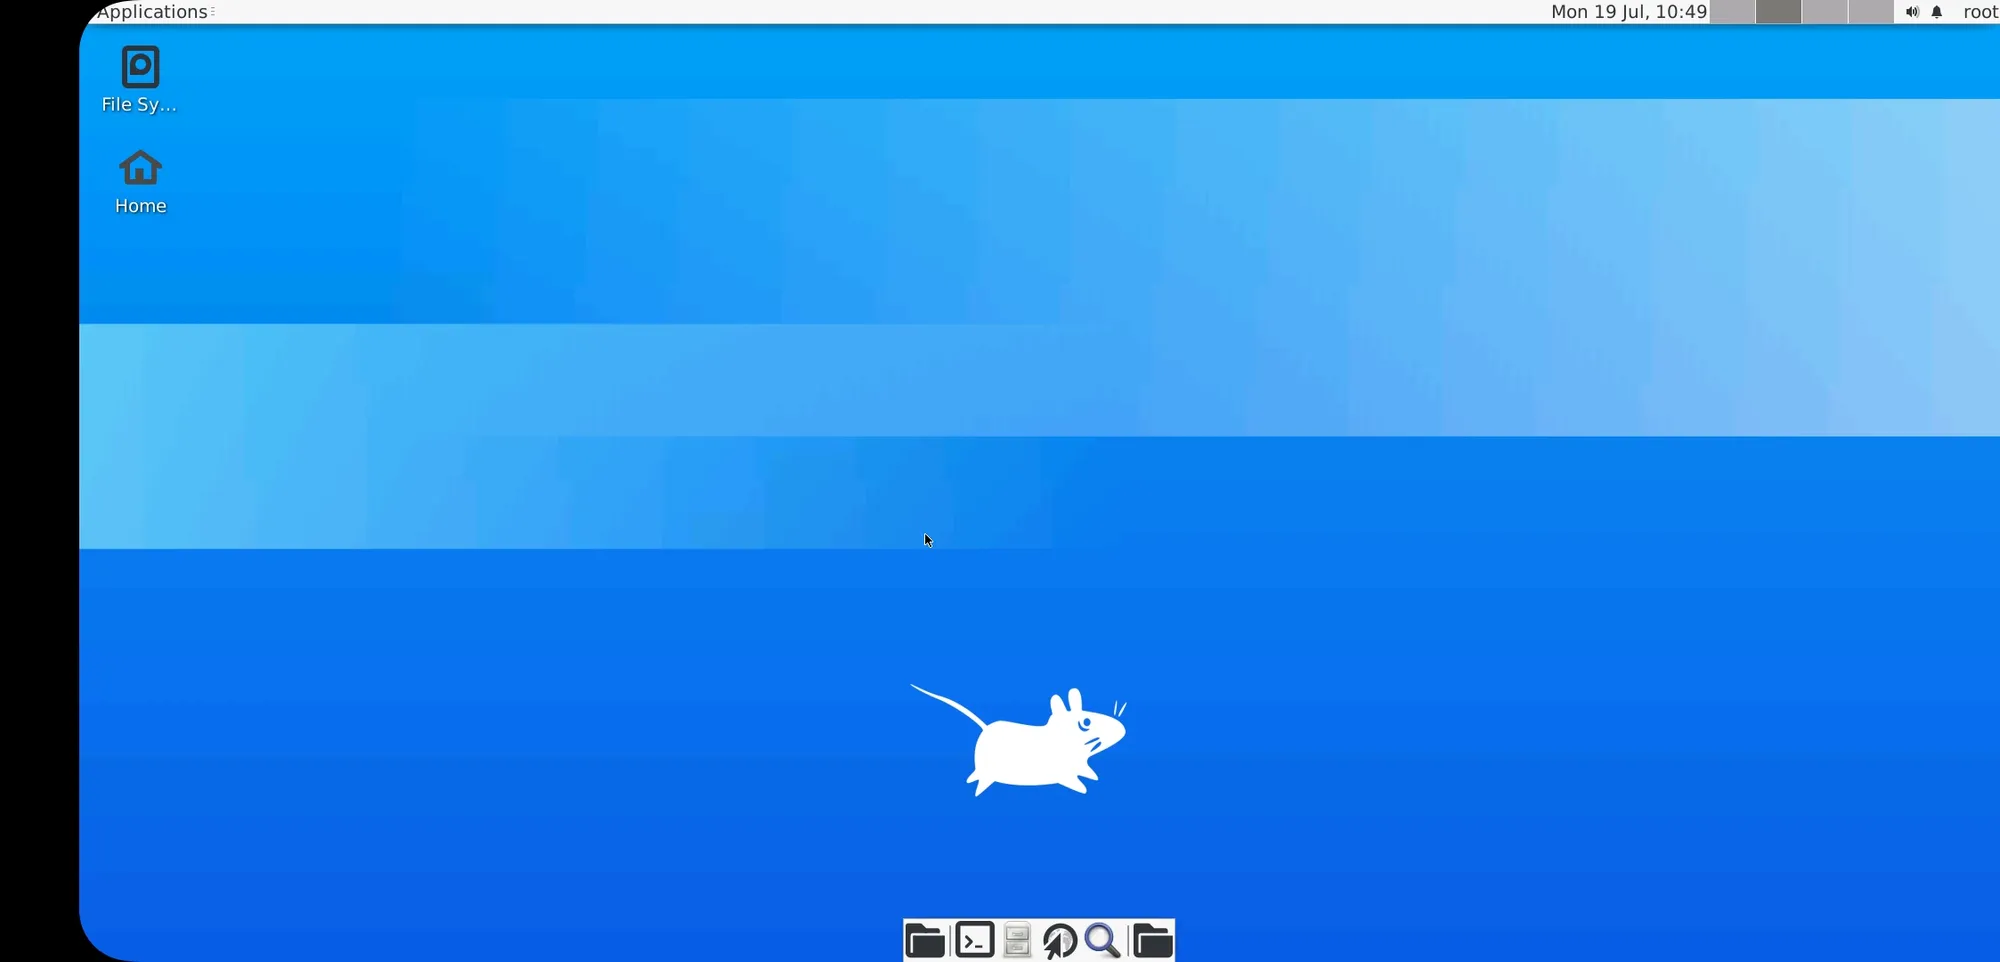
Perhaps I'll discuss it another day on It's FOSS!
Hope you enjoyed this little adventure on transforming your existing gadget into a mini-pc! Thank you for reading! If you try this guide somewhere down the line, do let us know your experiences in the comment section below! Till then, adios!
