

It’s common knowledge that Nextcloud is an ideal self-hosted replacement for Google Drive, OneDrive, Dropbox and other proprietary cloud storage software. It allows you to create a secure Sync&Share environment on your local server where you can keep files without putting your privacy under threat.
However, Nextcloud is not only about file-sharing and file storage. This platform can become much more powerful if you integrate it with third-party services. For example, you can easily enable real-time document editing and collaboration within your Nextcloud instance by connecting ONLYOFFICE Docs, an open-source office suite.
In this tutorial, you will learn the basics of deploying ONLYOFFICE Docs on your Linux server, integrating it with Nextcloud and properly configuring the official integration app for maximum performance.
Why ONLYOFFICE Docs?
Among all available office suites for Nextcloud, ONLYOFFICE Docs seems to be the perfect choice for a number of reasons. Firstly, it’s an open-source office package the source code of which is available on GitHubas ONLYOFFICE Document Server. Secondly, ONLYOFFICE Docs not only works with standard office files (text documents, spreadsheets and presentations) but also supports fillable forms. Thirdly, ONLYOFFICE Docs is natively compatible with the OOXML formats, so it flawlessly opens and saves Word, Excel and PowerPoint files.
In a nutshell, the integrated ONLYOFFICE and Netxlcoud solution offers the following advantages:
- Creating and editing text documents, spreadsheets and presentations right from the Nextcloud interface;
- Creating fillable forms with the ability to fill them out online;
- Viewing PDF files;
- Sharing office files using the advanced access permissions;
- Adding watermarks for better document protection;
- Real-time document collaboration with the Fast and Strict co-editing modes, Track Changes, Version History, comments, user mentions and communication via the built-in chat;
- Real-time co-editing within various federated Nextcloud instances;
- JWT to prevent unauthorized document access.
Prerequisites
Before proceeding with the installation process, you need to take care of some important requirements. Here's a brief overview of what you need:
- CPU: dual-core processor, 2 GHz or higher;
- RAM: minimum 2 GB;
- HDD: minimum 40 GB of free space;
- Swap space: minimum 4 GB;
- OS: 64-bit Linux-based distribution with kernel v3.10+;
- Docker v1.10+
Docker is needed because it provides the easiest installation way. If your OS is not equipped with this tool, you can get its latest version from the official website.
When it comes to Nextcloud, you can take a look at this detailed guide in order to install it with the proper configuration.
If you have all the required components installed, and your system fully complies with the mentioned-above requirements, you can start the installation process. Let’s dive into it!
Installation of ONLYOFFICE Docs via Docker
To get started, you simply need to run Docker and launch this command:
sudo docker run -i -t -d -p 80:80 --restart=always onlyoffice/documentserverIt’s important to highlight that ONLYOFFICE Docs uses port 80 for incoming connections. If you prefer another port instead of the default port, run this command:
sudo docker run -i -t -d -p <PORT_NUMBER>:80 --restart=always onlyoffice/documentserverIn this command, <PORT_NUMBER> is the port number for ONLYOFFICE Docs.
After that, ONLYOFFICE Docs and all the essential dependencies will be installed automatically.
Configuration of data storage
ONLYOFFICE stores data in special directories, also known as data volumes. For example, all ONLYOFFICE Docs logs are stored at /var/log/onlyoffice, the certificates can be found at /var/lib/onlyoffice and the database is located at /var/lib/postgresql.
It’s a good practice to store your data outside the Docker container. This way you can easily upgrade to a new version of ONLYOFFICE Docs when it’s available without losing anything.
To be able to access your data, it’s necessary to mount the mentioned-above data volumes. For this purpose, simply specify the -v option when running Docker:
sudo docker run -i -t -d -p 80:80 --restart=always \
    -v /app/onlyoffice/DocumentServer/logs:/var/log/onlyoffice  \
    -v /app/onlyoffice/DocumentServer/data:/var/www/onlyoffice/Data  \
    -v /app/onlyoffice/DocumentServer/lib:/var/lib/onlyoffice \
    -v /app/onlyoffice/DocumentServer/db:/var/lib/postgresql  onlyoffice/documentserver
If the folders that you are trying to mount don’t exist, they will be created anyway. However, your access will be restricted. With that being said, you will have to change the access rights on your own.
Generally, there is no need to store container data. However, it might be a wise idea to save such data in order to easily access logs or remove the data size limit within the Docker container. Also, it is very helpful if you use services (for example, PostgreSQL, RabbitMQ or Redis) that are not launched via Docker.
Enabling HTTPS
Let’s run ONLYOFFICE Docs via HTTPS:
sudo docker run -i -t -d -p 443:443 --restart=always \
-v /app/onlyoffice/DocumentServer/data:/var/www/onlyoffice/Data onlyoffice/documentserver
It is also possible to use Secure Sockets Layer (SSL) to prevent unauthorized access. SSL certificates can be issued by a certificate authority (CA) or you can use self-signed certificates. The latter option is not very safe and requires some additional steps. That’s why it’s advisable to resort to the services of a trusted certificate authority (CA).
To enable SSL, you need to have two files:
- Private key (.key)
- SSL certificate (.crt)
These files need to be placed in the following locations:
/app/onlyoffice/DocumentServer/data/certs/onlyoffice.key/app/onlyoffice/DocumentServer/data/certs/onlyoffice.crtRunning ONLYOFFICE Docs via HTTPS using certbot
The most effortless way to run ONLYOFFICE Docs via HTTPS is to automatically get SSL certificates by Let's Encrypt, a non-profit certificate authority, using certbot. This free software tool makes it possible to use Let’s Encrypt certificates.
To do so, you need to run ONLYOFFICE Docs via Docker. Don’t forget to specify ports 80 and 443 and enter your own values:
sudo docker run -i -t -d -p 80:80 -p 443:443 \
-e LETS_ENCRYPT_DOMAIN=yourdomain.com -e [email protected]  onlyoffice/documentserver
In this command:
LETS_ENCRYPT_DOMAIN is the domain name used for SSL certificates;
LETS_ENCRYPT_MAIL is the email address used upon registration.
The SSL certificate by Let’s Encrypt will be automatically generated and installed. Open your browser and access your ONLYOFFICE Docs instance. It should be available at https://yourdomain.com.
Integration of ONLYOFFICE and Nextcloud via an official connector
Now that you have working instances of ONLYOFFICE Docs and Nextcloud, it’s time to integrate them. For this purpose, you will need an official integration application developed by the ONLYOFFICE team. You can download it from the built-in application marketplace in Nexcloud or from GitHub. The former option is much easier:
- Log into Nextcloud with administrator rights;
- Find your user name in the upper right corner of the Nextcloud interface;
- Click your user name and select Apps;
- Enter the Tools category;
- Find ONLYOFFICE and click Download and enable.
If done correctly, the ONLYOFFICE integration application will be downloaded automatically.
Alternatively, you can download the app from GitHub with this command:
wget https://github.com/ONLYOFFICE/onlyoffice-nextcloud/archive/refs/tags/vX.X.X.tar.gzIn this command, vX.X.Xshows the version of the ONLYOFFICE integration app. Always use the latest one to avoid problems. After that, unzip the downloaded archive:
tar -xvzf vX.X.X.tar.gzNow you need to change the folder name. It must be onlyoffice:
mv onlyoffice-nextcloud-X.X.X onlyofficeThen clone the source code and compile it by launching these commands one by one:
git clone https://github.com/ONLYOFFICE/onlyoffice-nextcloud.git onlyoffice
cd onlyoffice
git submodule update --init --recursive
Now move the folder to the Nextcloud apps directory:
cp -r /root/onlyoffice/ /var/www/html/apps/Enter the Nextcloud apps directory:
cd /var/www/html/appsDon’t forget to change the owner:
chown -R www-data:www-data onlyofficeGet back to your Nextcloud instance and go to Settings. Find the Apps section and select Disabled apps. Find ONLYOFFICE and click Enable. That’s it. Now the integration app requires configuration.
Configuration of the integration app
Open the Settings page. There you will see the Administration section. Find ONLYOFFICE and configure these options:
- In the ONLYOFFICE Docs address field, enter the URL address of your ONLYOFFICE Docs instance (ONLYOFFICE Document Server). If you installed the office suite on a custom port, you need to specify it. For example, http://127.0. 0.1:8081/.
- The Disable certificate verification (insecure) box is designed for disabling certificate verification to allow Nextcloud to establish a connection with the ONLYOFFICE Document Server in case you use self-signed SSL certificates. This option is not recommended.
- The Secret key field is meant for signing data. We will get back to this option later when enabling JWT protection.
Sometimes network configurations don’t allow for internal requests between Nextcloud and the ONLYOFFICE Document Server via public addresses. If this is the case, you have to specify the following addresses in Advanced server settings:
- ONLYOFFICE Docs address for internal requests from the server is the URL address that allows Nextcloud to access ONLYOFFICE Docs;
- Server address for internal requests from ONLYOFFICE Docs is the URL address that allows the ONLYOFFICE Document Server to access Nextcloud.
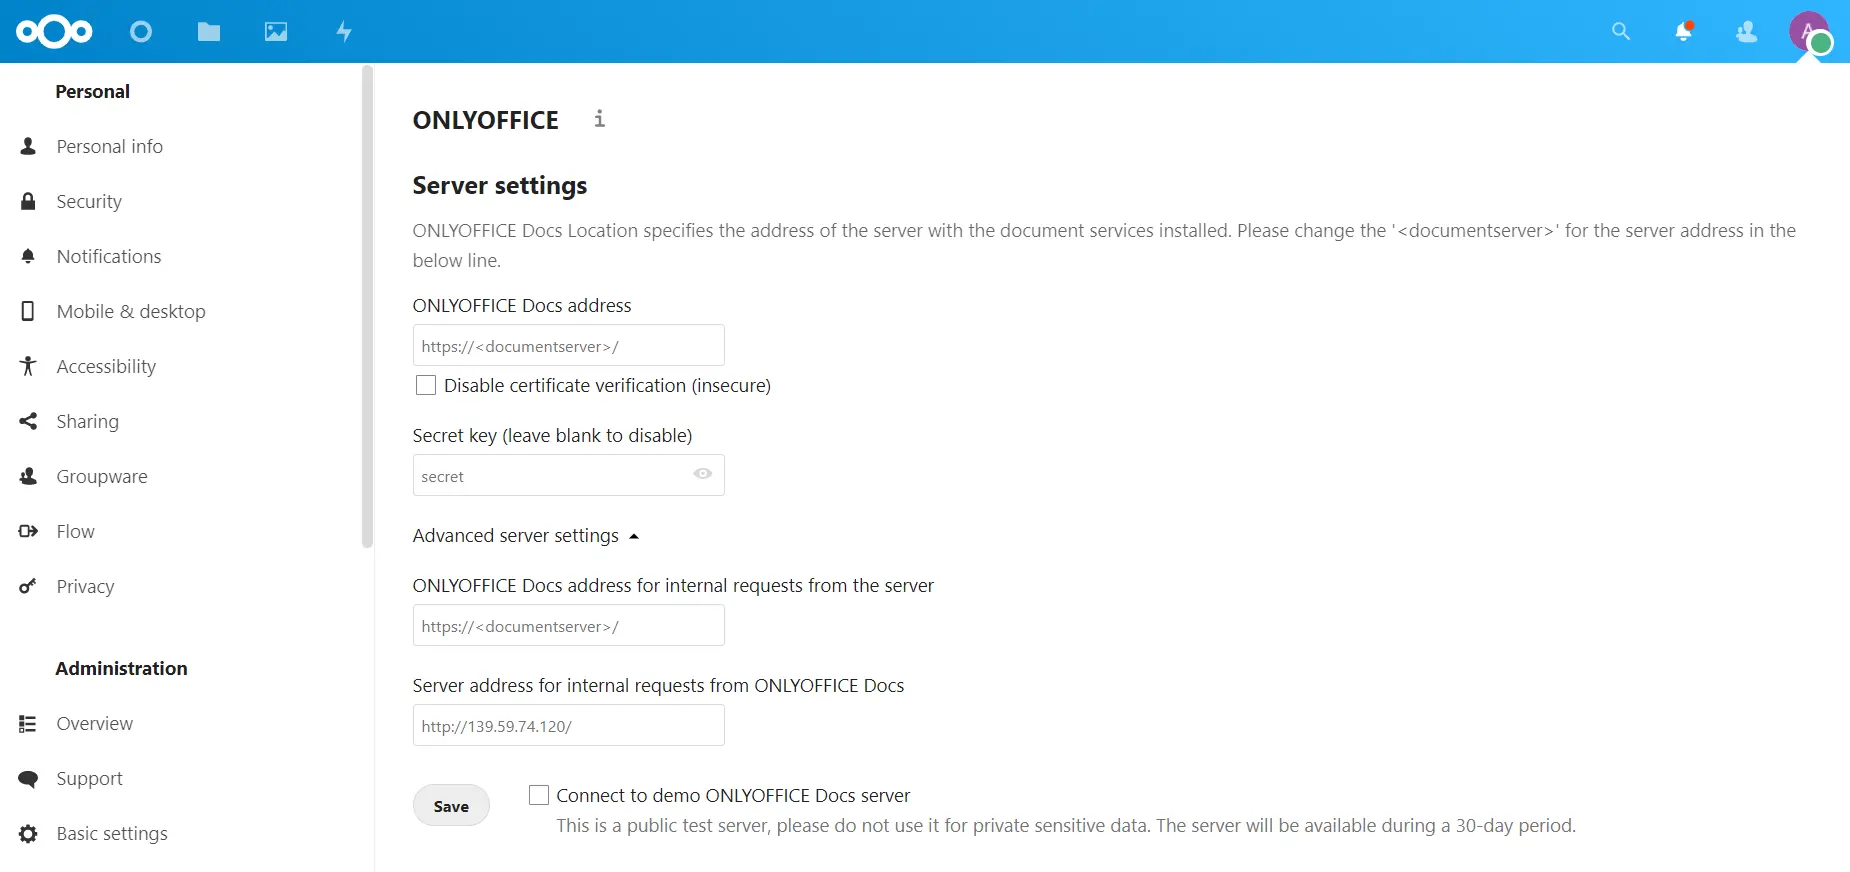
Enter the required addresses and click Save. You will see some other available options. For example, the common and customization settings. Configure the ONLYOFFICE editors the way you like and click Save again.

Enabling JWT protection
To protect your documents with JSON Web Token (JWT), you need to enable the token validation option and enter your secret key on the ONLYOFFICE settings page.
Find the local.json file and open it using a text editor. For that to happen, enter the ONLYOFFICE Docs container by launching the docker exec -it <containerID> bashcommand and open the /etc/onlyoffice/documentserver/local.jsonfile.
To enable token validation, you need to set the false values to true in these three sections:
- services.CoAuthoring.token.enable.browser
- services.CoAuthoring.token.enable.request.inbox
- services.CoAuthoring.token.enable.request.outbox
Specify your secret key. It must be the same in all three sections:
services.CoAuthoring.secret.inbox.string
services.CoAuthoring.secret.outbox.string
services.CoAuthoring.secret.session.string
{
  "services": {
    "CoAuthoring": {
      "token": {
        "enable": {
          "request": {
            "inbox": true,
            "outbox": true
          },
          "browser": true
        }
      },
      "secret": {
        "inbox": {
          "string": "yoursecret"
        },
        "outbox": {
          "string": "yoursecret"
        },
        "session": {
          "string": "yoursecret"
        }
      }
    }
  }
}
Save the file and restart the services:
supervisorctl restart allFinally, don’t forget to specify the same secret key in the ONLYOFFICE settings.
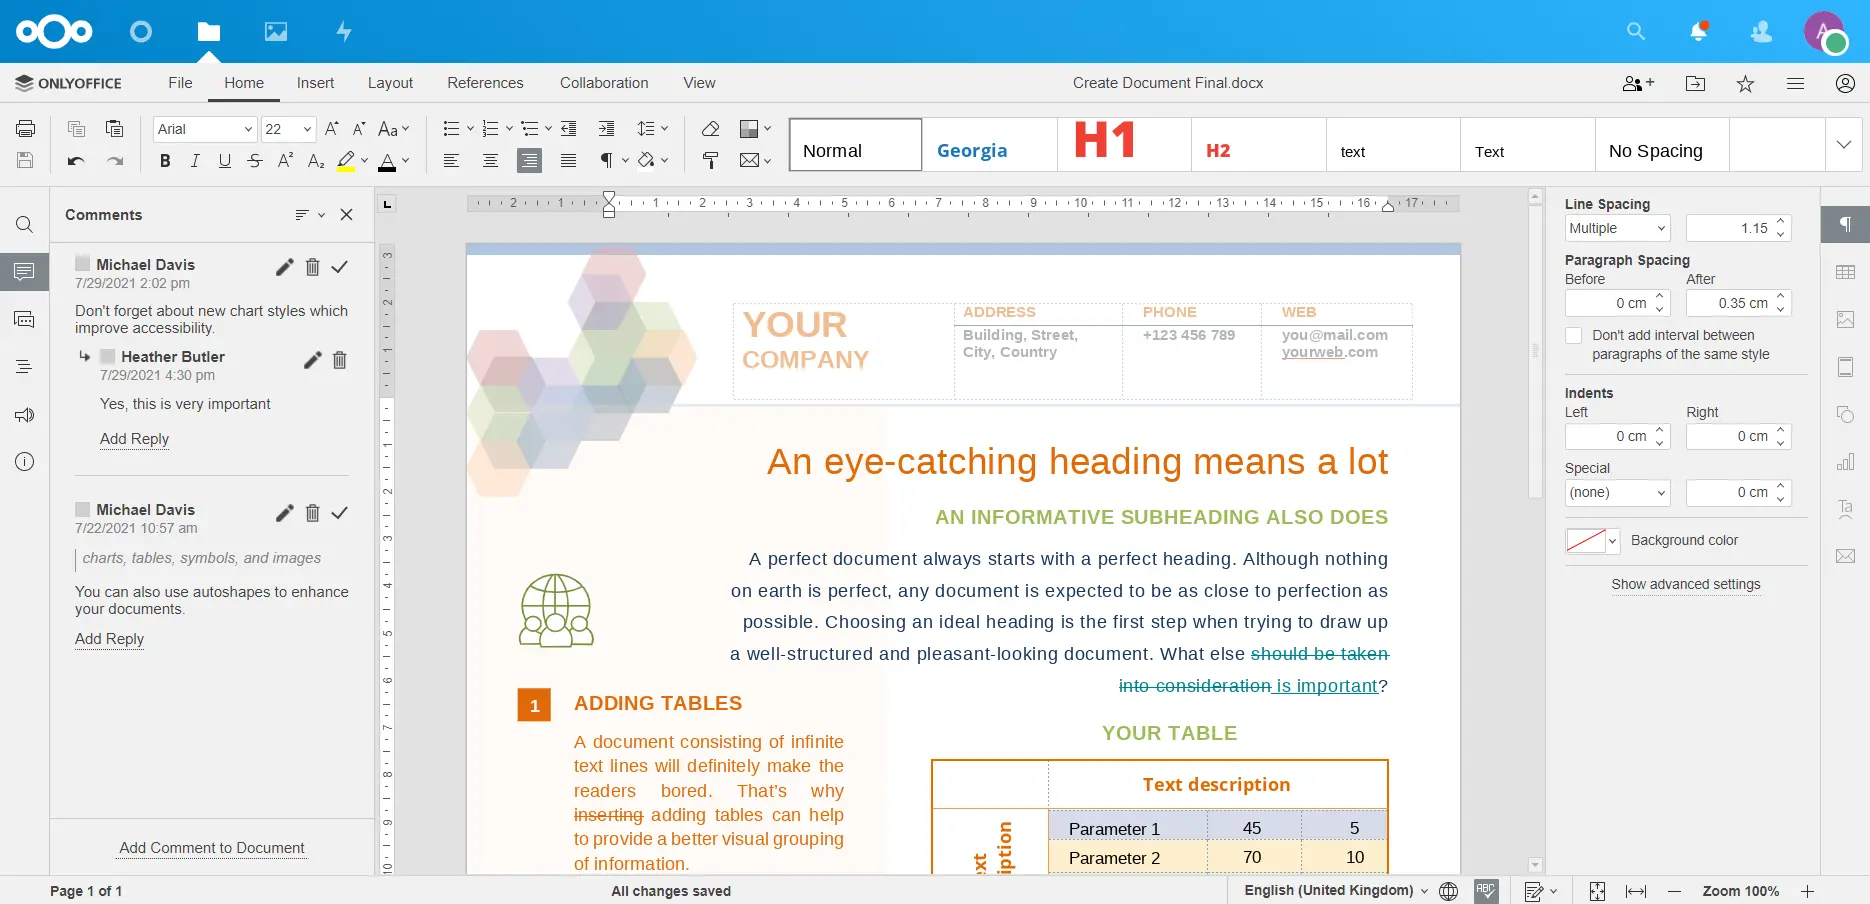
Now you have done it! You have just built a collaborative environment on your local server. From now on, you can keep all your documents in Nextcloud and open them for editing and collaboration with ONLYOFFICE Docs.
We hope this tutorial helps you to integrate Nextcloud and ONLYOFFICE Docs. If you have any questions or suggestions, don’t hesitate to let us know in the comment section below.
