Vim is an excellent command line text editor. Once you master the basics of Vim, there is no looking back.
Ubuntu is one of the most popular Linux distribution for both desktop and server usage. Unfortunately, the default command line text editor in Ubuntu is Nano.
While Nano is also a good editor, you may still prefer using Vim. If that’s the case, let me show you how to install Vim on Ubuntu.
Install Vim on Ubuntu
The good thing is that Ubuntu is available in the main Ubuntu repository. This means that you don’t have to do any extra effort in installing Vim on Ubuntu.
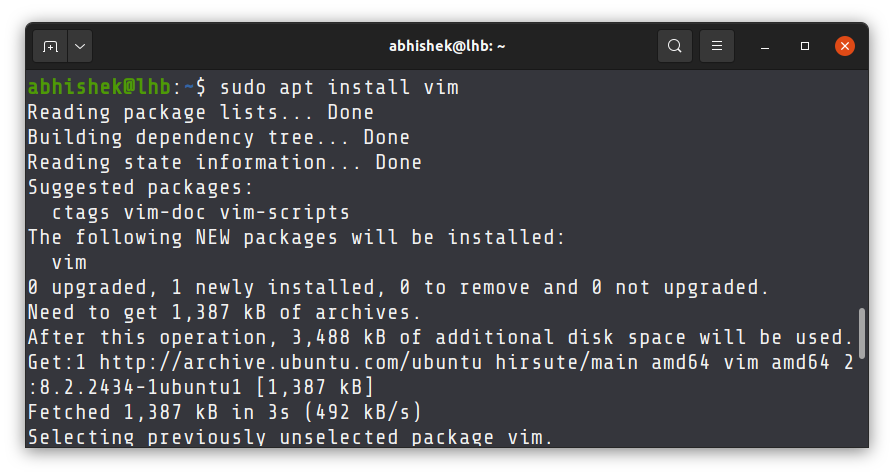
All you need to do is to use the following command:
sudo apt install vimIt will show all the packages that will be installed with Vim. Press Y or enter when prompted and you should have Vim installed in a few seconds.

Make Vim the default editor in Ubuntu and other Debian-based distributions
Normally, when you have to edit a file in the terminal, you use vim filename command for that. But some command line utilities allow you to edit their configuration files in the default text editor.
Since Nano is the default text editor in Ubuntu, you might not like that the files are being opened in Nano. What you can do is to change the default text editor to Vim in Ubuntu and other Debian based distributions.
Here’s how to do that. In the terminal, type the following command:
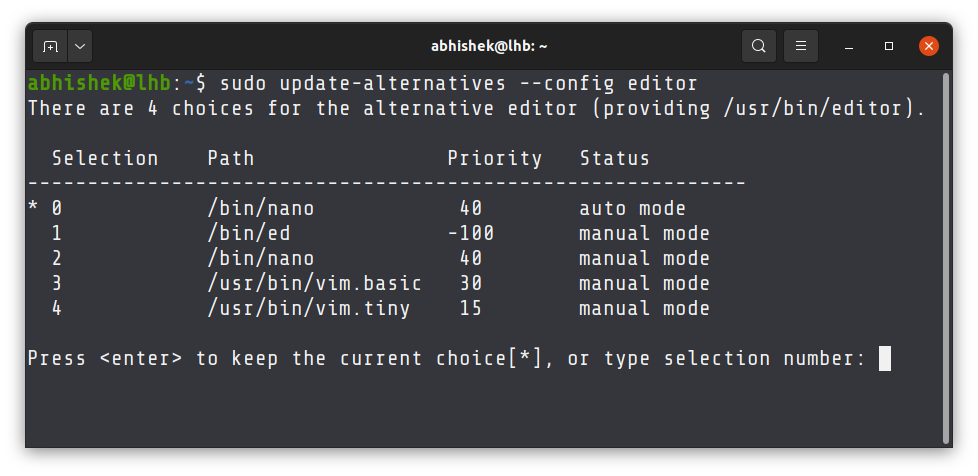
sudo update-alternatives --config editorThe output will present you all the text editors installed on your system and you’ll have to select one of them as the default editor.
sudo update-alternatives --config editor
There are 5 choices for the alternative editor (providing /usr/bin/editor).

  Selection    Path                Priority   Status
------------------------------------------------------------
* 0            /bin/nano            40        auto mode
  1            /bin/ed             -100       manual mode
  2            /bin/nano            40        manual mode
  3            /usr/bin/vim.basic   30        manual mode
  4            /usr/bin/vim.tiny    15        manual mode
  5            /usr/bin/vscodium    0         manual mode

Press <enter> to keep the current choice[*], or type selection number:
The Vim that you know and love to use is Vim Basic. That Vim tiny is a stripped down version of Vim and you may not get all the Vim features in it. To avoid bad surprises, go with Vim basic.
In my case, if I enter 3, Vim basic will become the default text editor. If you want to revert it, you can repeat the steps.
I hope this quick little tutorial helped you to install Vim on Ubuntu and make it the default text editor.
If you really want to master Vim like a pro, I highly recommend this training package from Jovica Ilic.
If you have any questions or suggestions, please feel free to leave a comment.