You are new to Docker and you are learning to create custom Docker images using Dockerfile.
You come across a variety of Dockerfile instructions like FROM, RUN etc.
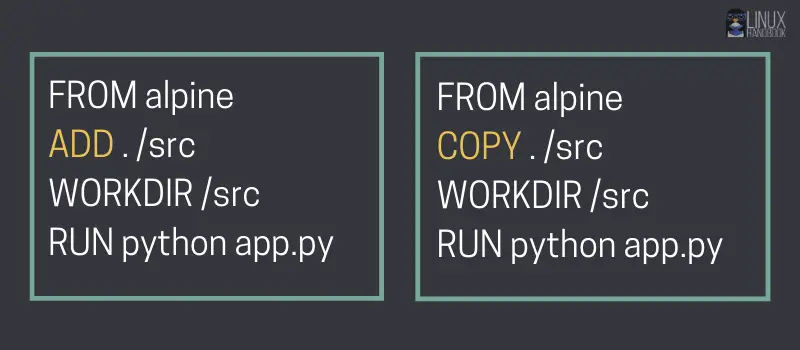
Then you come across COPY and ADD and realize that both instructions do the same job; copy the files and directories to your modified Docker image from the host.

Why does Dockerfile have two commands for the same task? Is there a difference between the two? Indeed. They have similar goals but in terms of behavior, they are different.
Let me explain that for you.
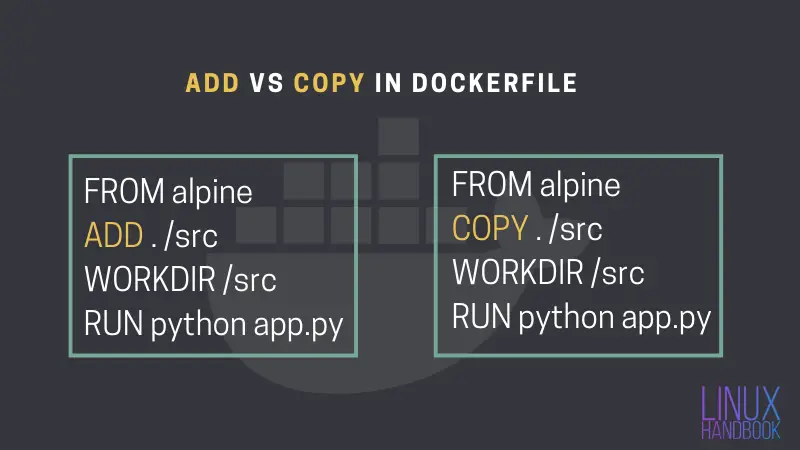
Dockerfile ADD vs COPY
Both ADD and COPY are designed to add directories and files to your Docker image.
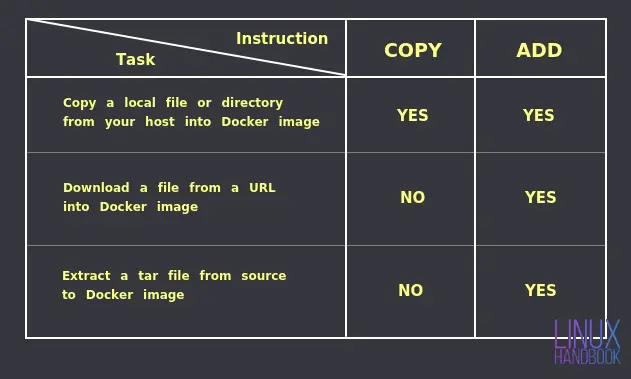
The ADD instruction is relatively older and is capable of more tha just copying files and directories. ADD can pull files from externals URLs. It can also extract compressed files assuming that it supports the archive format. This also creates a problem sometime if ADD could not support the archive format.
If ADD can do all this, why do we have COPY? It's because the Docker commands have been restructured several times so far. The focus is on providing a simple, straightforward and more streamlined command structure.
COPY was introduced as a straightforward replacement to ADD. COPY just copies files and directories. That's it. For downloading and extracting files, regular Linux commands like curl and tar are used with the RUN instructions.
This is the reason why COPY is recommended these days and you'll find ADD only in older tutorials and documentations.
Closer look at the ADD Instruction
The ADD instruction has the following three capabilities:
1. Copying of local files into the container image
Say for example, if you want to copy local files on the host system from /home/user/application into /opt/app on your Docker image, you can include the following instruction inside your Dockerfile:
ADD /home/user/application /opt/app
Here, only the contents of the /home/user/application directory is copied into /opt/app including its metadata. It is not going to copy the application directory itself.
2. Extraction of locally stored tar files
You can also use the ADD instruction to extract compressed archives with formats - identity, gzip, bzip2 or xz. The contents are unpacked as a directory inside the destination location of the Docker image you build.
ADD /home/user/test.tar.gz /opt
The behaviour is similar to what happens when you use the tar command to extract a tarball to a specific directory on your host system.
3. Download a file from a URL
It is similar to how wget -P works but for Dockerfiles. While building your Docker image, you can use the following instruction to download a file and store it a desired location on your container image:
ADD https://filesamples.com/samples/document/pdf/sample2.pdf /home/user
After the image is built, you can have this PDF document beforehand you launch a container based on it. This is one of many unique use cases.
The COPY Instruction
The COPY instruction is an evolution of the ADD instruction that was designed to mitigate confusion among Docker users. Its function is just one - copy files or directories from the source location on the host to the destination location on the Docker image.
So, it is basically the first point in the ADD instruction section that was discussed above. The corresponding instruction would be:
COPY /home/user/application /opt/app
As best practice, the developers at Docker officially recommend using the above instruction to avoid confusion.

So if you just want to copy files or directories, you should use the COPY instruction alone. Try and avoid using ADD wherever possible. Use the RUN instructions with regular Linux commands for downloading and extracting files.
Hope that you now can understand the basic difference between the two instructions. To understand them individually, you can take a look at the official and complete reference of ADD and COPY.
If you have any suggestions, feedback or comments to share about the above comparison, please leave your thoughts in the section below.
