

ddrescue is a free data recovery tool that is part of the GNU Project. It is designed to copy data from one block device, like a hard disk, to an image file on another (good) hard drive.
It does so by first reading the whole block device and skipping all errors while keeping a logfile, which is later used to attempt to read all problematic sectors of the drive.
In this article, I'll share my experience and advice on using ddrescue for disk repair and data recovery.
Approach with caution: What you should know before using ddrescue
If you have a currently failing hard drive that makes weird click noises, shows errors in dmesg and/or only creates a device file like /dev/sda sometimes when you attach it, you MOST LIKELY ONLY HAVE A FEW CHANCES LEFT to recover the data from it.
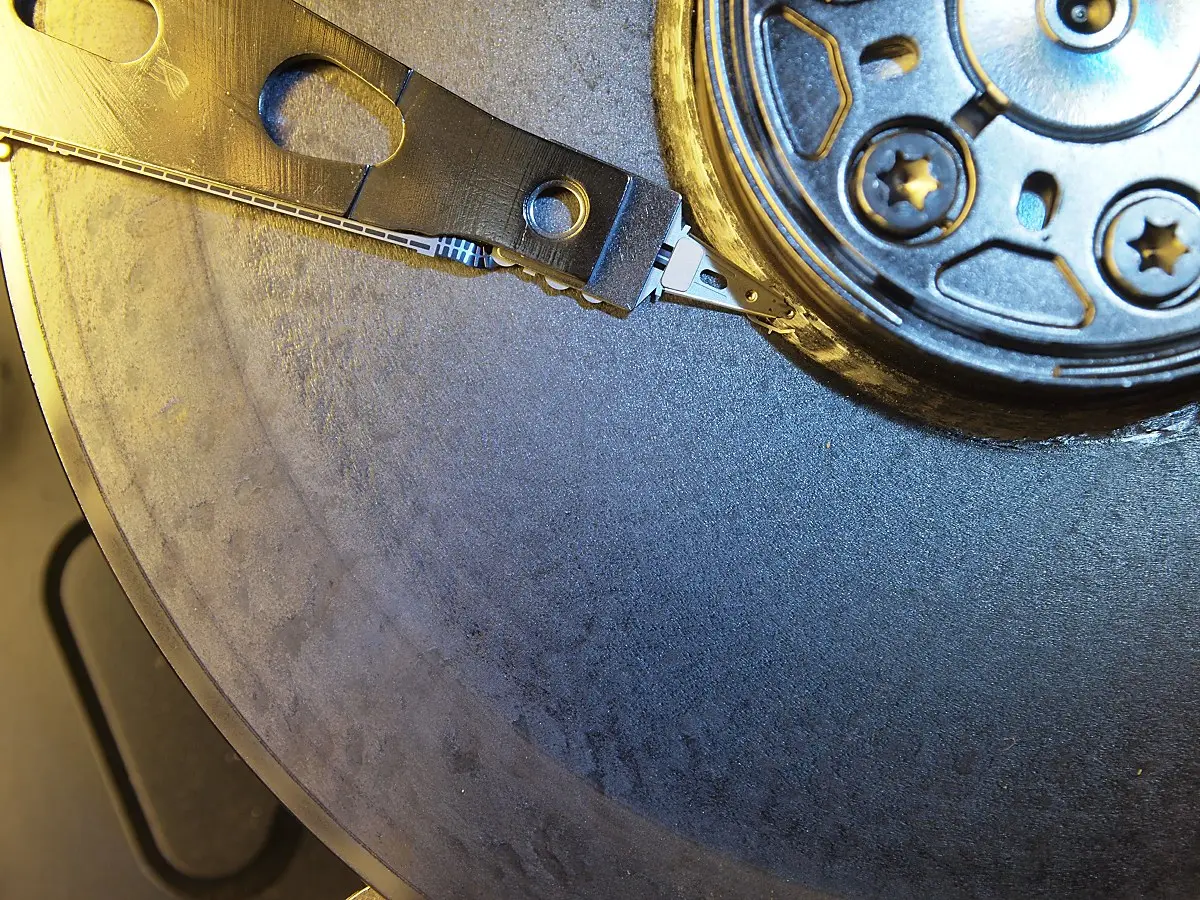
A common problem with hard drives includes the read/write head of the drive scratching on the disk, which creates dust inside the hard drive. This dust accumulates and gets stuck under the read/write head again, further increasing the problem.
Hence, you should read this article first, fully understand it and have all your ddrescue commands ready to go before you attach the hard drive again. Every time you attach your hard drive to a power source, it will spin up, which may further increase the problem.
The second most common problem with hard drives is a faulty microcontroller. There are numerous reasons why the microcontroller might fail. In this it is generally the best option to buy a "donor-drive" that has the exact same model number and to exchange the microcontroller from the donor drive. This step goes beyond the scope of this article.
It is also possible that the read-write head of the drive is physically damaged. In this case, a read-write head from a donor-drive can replace the failing read-write head of the disk drive in question. This should, however, only be done in a clean-room environment and is also best left to a data recovery company.
If the data on your hard drive is not that valuable, the drive works sometimes, and you have had it for several years, you can create a disk dump of it using ddrescue.
In this case, disconnect the electricity from the drive NOW, make sure you fully read and understood this article, and then proceed.
Setting up a data recovery environment
If the hard drive in question is the disk you are booting your main operating system from, turn off that computer IMMEDIATELY. Your operating system (may it be Windows or Linux) will continuously attempt to write logfiles and temporary files to the disk, as well as read operating system files from it. This is the last thing you want.
To run ddrescue, you will need an operating system that does not automatically mount the drive or its partitions. This is because this operation causes additional read/write operations on the drive.
An operating system that can be recommended for creating a disk dump with ddrescue is cain live linux. It includes the ddrescue tool by default. Download this Linux distribution and create a bootable USB stick. Using this USB stick, you will be able to boot a computer and then attach the failing hard drive without caine live trying to read or write from the disk right away.
After this, have a working hard drive ready that is the same size or larger than the hard drive you are trying to recover. You will need it in order to write the disk dump to it. I recommend creating one large ext4 partition on the destination disk drive, so that you can write an .img file to it. This is more easy to handle.
If you only have a disk drive that is the exact same size, you can also write the data to it directly - as in not to /dev/sdb1 which is mounted to /mnt/, but to /dev/sdb directly.
While you can attach drives using an external Sata to USB adapter, this option often provides much slower write speeds than directly attaching it to the mainboard of your computer. In general, SATA-2 and above drives are hot-swappable. Test this with another drive (not the failing one) by booting caine linux and attaching a sata drive to see if it creates a device file like /dev/sdb.
Only if you have all the steps described above ready, proceed to the next section.
- Switch off the computer that boots from the failing hard disk
- Create a live USB of Cain Live Linux that comes with ddrescue
- Have a second disk (in ext4 format) of at least same size as the failing disk
- Attach the disks to the motherboard (if possible)
Starting the recovery process
Let's first mount the destination hard drive (fresh disk).
Identify the file with:
fdisk -l /dev/sdXOr
hdparm -I /dev/sdXIn this example, we assume that /dev/sda is the working destination hard drive for the dump of the failing hard drive /dev/sdb.
Mount it to /mnt/ using:
mount /dev/sda1 /mntIn the first step, we want to run ddrescue in a way that only reads the failing disk once, sector by sector, while skipping sectors that can not be read or produce errors.
ddrescue will create a log file that it can use to start again from where it last stopped, meaning that if you are copying the disk for 10 minutes and it fails for whatever reason, you can try to disconnect and reconnect the drive to see if you can continue. This is reasonably normal when recovering failing hard drives.
In this example, we assume that /dev/sdb is the failing hard drive.
Attach the failing hard drive and LOOK IN DMESG! (dmesg) what device filename was created for it. Do not run fdisk -l on it, as this will read from the drive.
sudo ddrescue --idirect /dev/sdb /mnt/rescue.img ~/rescue.log
--idirect uses direct disc access for input file instead of using the kernel's cache.
Using these arguments, ddrescue will only attempt to read every sector one time before moving on to the next one. If a sector fails, ddrescue will note that in the ~/rescue.log file for the next try.
When ddrescue completed its run, and there have been errors logged, it is time to start the second run, where we re-attempt to read all failing sectors three times:
sudo ddrescue --idirect --retry-passes=3 /dev/sdb /mnt/rescue.img ~/rescue.log
The argument --retry-passes=3 instructs ddrescue to retry unreadable sectors three times - after this, we can be reasonably sure that they are to broken to be read.
Once this is completed as well, you can inspect and loop mount the created image /mnt/rescue.img with the mount command:
mkdir /mnt-recovered/
sudo kpartx -a /mnt/rescue.img
sudo mount -o loop /dev/mapper/loop0p1 /mnt-recovered/
Conclusion
As I mentioned at the beginning of the article, this is more for advanced Linux users. It's not straightforward; run these commands and be done with a kind of tutorial.
Here, you have to understand what's being done and replicate similar in your environment.
The ddrescue command has saved a few disks for me in the past 15 years. I still rely on this classic tool.
I hope my experience helps you recover failing hard disk with the ddrescue command as well.

Author info: Peter Thurner is a seasoned Linux expert who runs a Linux Support company Blunix GmbH from Germany.
