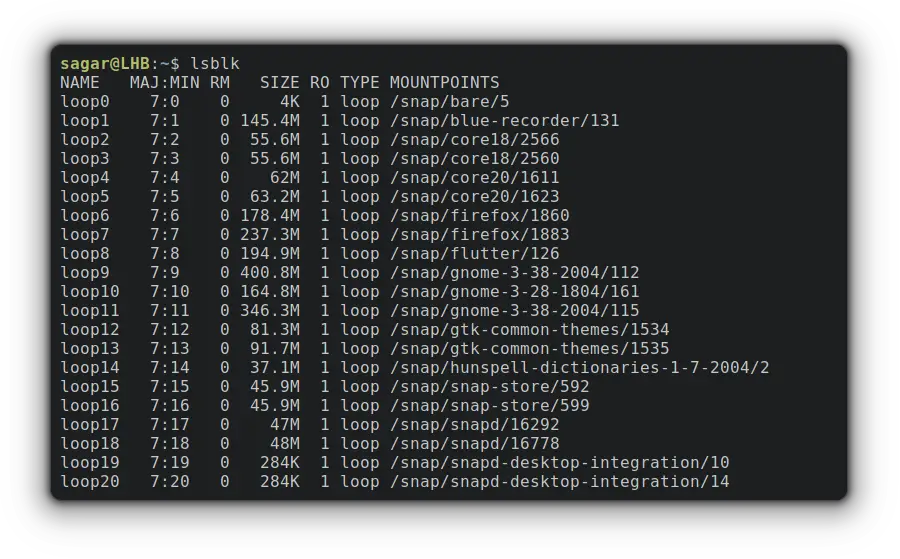
Linux users can have a virtual block device called a "loop device" that maps a normal file to a virtual block, making it ideal for tasks related to isolating processes.
And the best example for utilizing loop devices is snap packages, a sandboxed software solution containing every necessary dependency and mounted as a loop devices:
And if you're interested in creating your own virtual block device, here's a simple guide.
How to Create A Loop Device
For ease of understanding, I've decided the entire process in the form of simple steps so it can be easier to grasp.
And if you're interested in learning more about loop device in Linux and its use, I'll recommend the other guide of ours that covers the basics:

1. Create a File of Desired Size
In the first step, you're required to create a file as per your needs. For this example, I'll be creating a file of 3 Giga bytes:
dd if=/dev/zero of=VirtBlock.img bs=100M count=30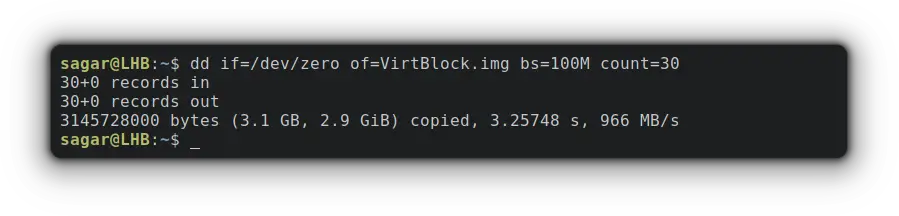
Here,
if=/dev/zerowill create a block of 0s to hold data.of=VirtBlock.imgis where you'll specify the name. I went with VirtBlock.img.bs=100Mwill set the size of a single block.count=30will create copies of single blocks for given times. Meaning 100Mb * 30 times is about 3 GB in size.
Now, let's verify the size of the recently created block by the given command:
du -sh VirtBlock.img 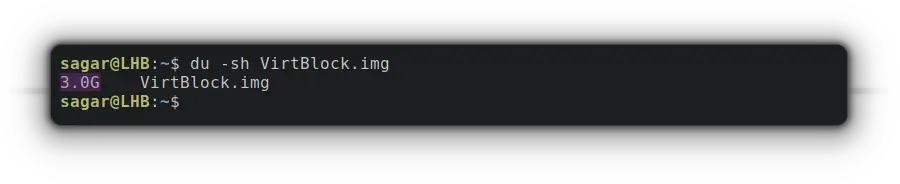
2. Create the Loop Device
In this step, I'll be utilizing the losetup utility to create a loop device mapping at a recently created file.
sudo losetup -fP VirtBlock.imgWhere,
-f(find) will find us unused loop devices and save us from errors like "losetup: TO_BLOCK: failed to set up loop device: Device or resource busy”.-Pwill force the kernel to scan the partition table on the newly created loop device.
Now, its time for us to print all the loop devices using the -a option with losetup as given:
sudo losetup -a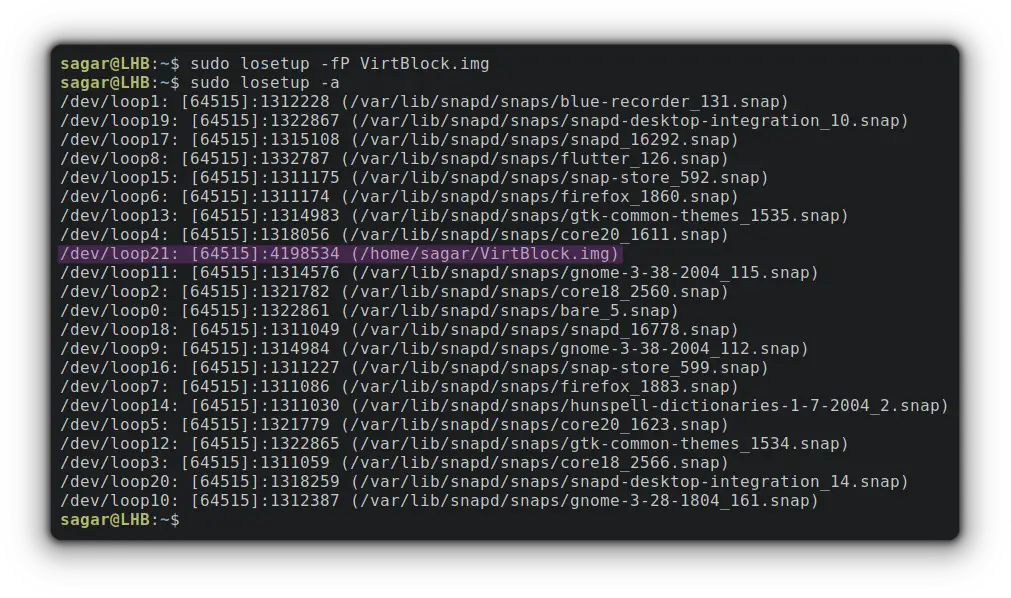
But your block needs to have a file system to create, store and configure files to that block and I'll be going with ext4:
sudo mkfs.ext4 /home/sagar/VirtBlock.img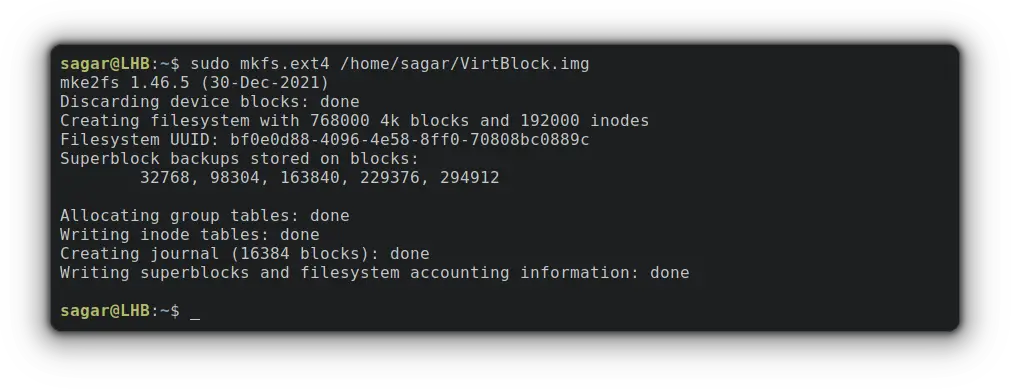
Make sure to use the exact path or it will throw an error. Use the reference from sudo losetup -a command.
3. Mount the Loop device
To mount created loop device, the first step should be creating a mounting directory which can be done through the given command:
sudo mkdir /loopfsTo mount the loop device (mine is loop21), I'll be using the -o loop option as given:
sudo mount -o loop /dev/loop21 /loopfsNow, you can verify the mounting point and size of the recently mounted loop device:
df -hP /loopfs/To verify the file system, you can go with the given command:
mount | grep loopfs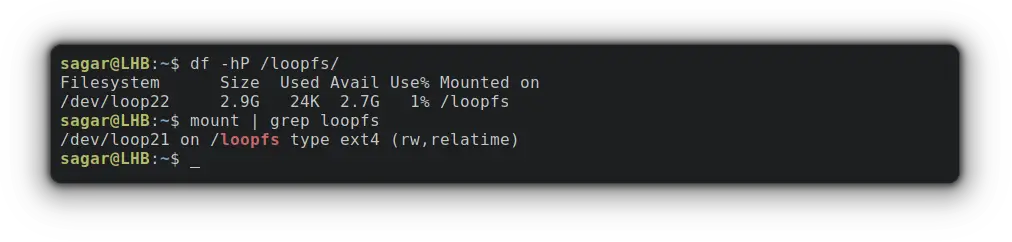
And here you have it!!
How to Remove loop device
Removing a piece of software is always easy than installation/configuration and that's the same case here!
First, you'll have to unmount and remove the mounting directory:
sudo umount /loopfs
sudo rmdir /loopfs
Now, you'll have to detach the loop device (mine is loop21) which was created by "losetup -d" command:
sudo losetup -d /dev/loop21Finally, you have to remove the file (VirtBlock.img) by the given command:
sudo rm /home/sagar/VirtBlock.imgThe process ends here.
Final Words
Using a loop device for isolation is a handy Linux feature.
This guide went through the configuration and removal process in an easy manner. If you encounter any issues, leave a comment and I'll try to help you out.