

What is Anaconda?
Anaconda is a Data Science platform. It aims to simplify development, packaging and deploying packages in certain programming languages. It currently supports Python (2 & 3 both) and R.
Anaconda comes with its own package manager called conda. It’s an alternative to pip, python-native package manager. conda also has a virtual environment (provided by virtualenv in normal python installations).
It includes several packages preinstalled. So all of these in one install is a pretty good deal for developers and sys-admins. Its community is also widespread, which has forums and a lot of documentation for learning and troubleshooting.
Anaconda has two versions:
- Anaconda Enterprise for Business uses. It has great scalability features.
- Anaconda Distribution for individual users, students, data scientists, and professionals. It’s open source.
Note that this article explains the installing and uninstalling of Anaconda Distribution rather than Anaconda Enterprise. Refer to the docs for the Enterprise edition.
Install Anaconda in Linux
Installing Anaconda is a straight forward task just like running those programs in Windows. You get an installer script and then run it.
Let’s see the steps in a little more detail.
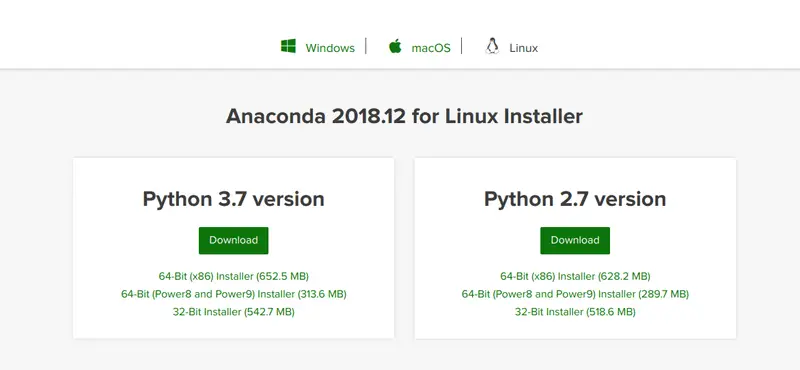
Step 1: Download the correct version of Anaconda
Head over to Anaconda official website and download the installer after selecting your OS correctly. Be sure to check which version of Python to be installed and which CPU architecture you have. They are mandatory for the correct working of the program.
Optional Step: After downloading, check the hash sum of the downloaded file using md5sum or sha256sum. Verify the hashes with the ones mentioned on this page.
md5sum /path/to/installer
(or)
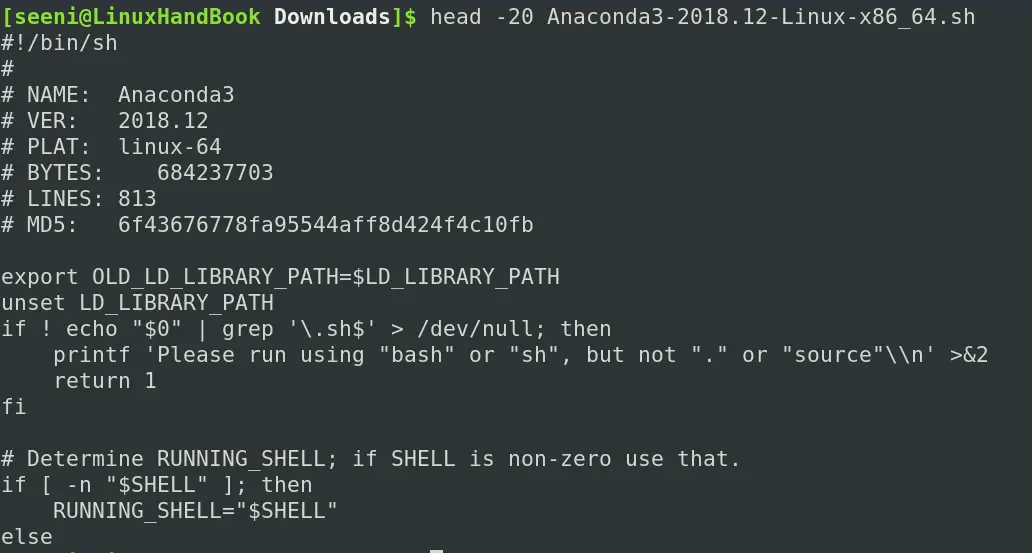
sha256sum /path/to/installerOne thing you might notice is that anaconda installer is entirely different from how you normally install a program in Linux. There is no need to extract a tar xz file because it’s just a .sh script file. You can see that from the following screenshots.

Installing anaconda is very straight forward. Everything will be done for you.
For example, .bashrc will be edited to extend the PATH environment variable. As of this writing, anaconda installer updates only ~/.bashrc of the current user. So if you want to allow other users to access this program, you need to edit /etc/profile.
You need not to extract any file or move the installer to places like /usr/local. You just need to run the installer. Installer will itself copy the files to the required location(You can change those too).
Step 2: Installing Anaconda through the command line installer
Run the installer. You can do that by going into the directory where you downloaded Anaconda or by providing the absolute path.
bash /path/to/installer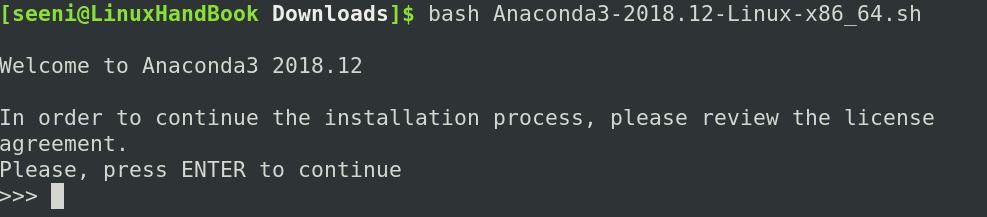
The installer will prompt the following questions regarding installation.
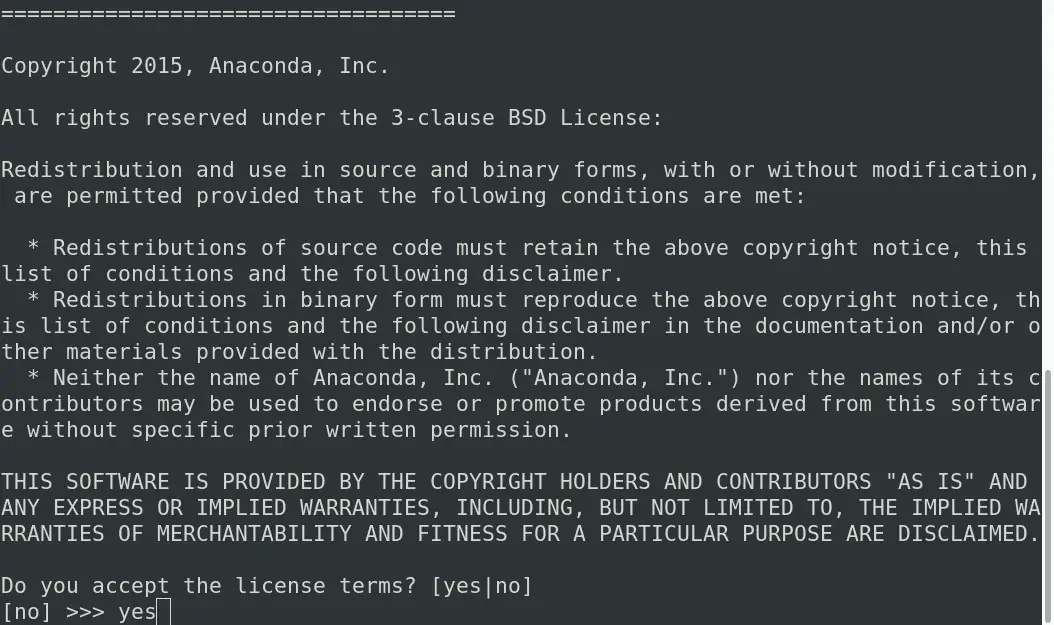
License Agreement – Read through the agreement and proceed if you agree (of course, you do have to agree).
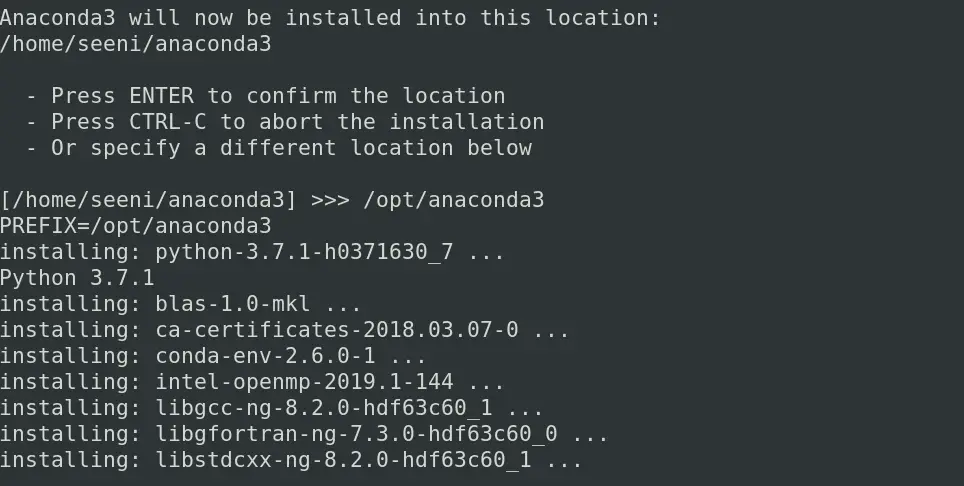
Install Location – This is the place where anaconda files (i.e., executables) will be installed.
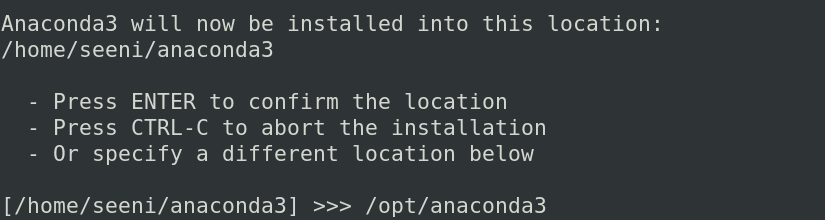
Specify places like /opt/anaconda3 or /usr/local/anaconda3 if you want to make the program available to all users.
You can also specify /home/<username>/anaconda3 or any other path if you just need to install for the current user.
If you want to share the access to anaconda, make sure that those people also have access to that directory or themselves are sudo users.
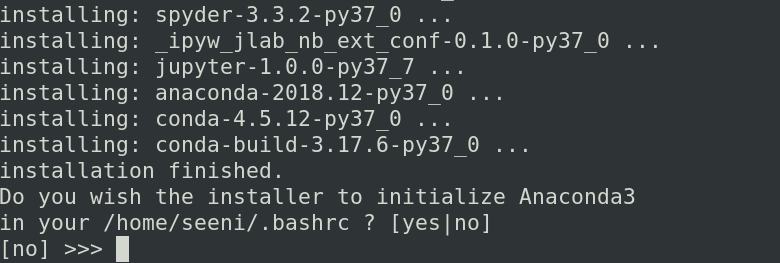
Initialize ~/.bashrc – This is the part where your executables are linked to environment variable PATH. Note that this will initialize ~/.bashrc only for the current user. So if you don’t all users to have access, you need to edit /etc/profile. You can find out about how to do that later in this article.
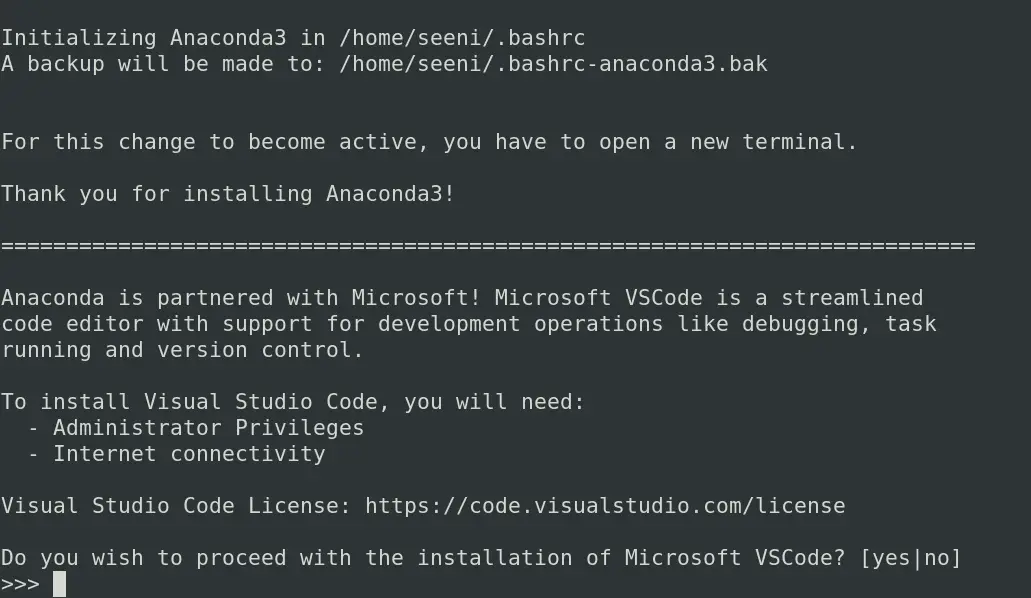
VS code install – It will prompt whether to install VS Code editor or not. Type yes/no based on your preference. Since that is not our focus in this article, I recommend typing “no” and continue with the installation later.
Installation is now complete. You will now have conda and anaconda-navigator executables.
Let us check whether they are working. Type conda --version to see the version as follows.

Type anaconda-navigator and you’ll see the following window.
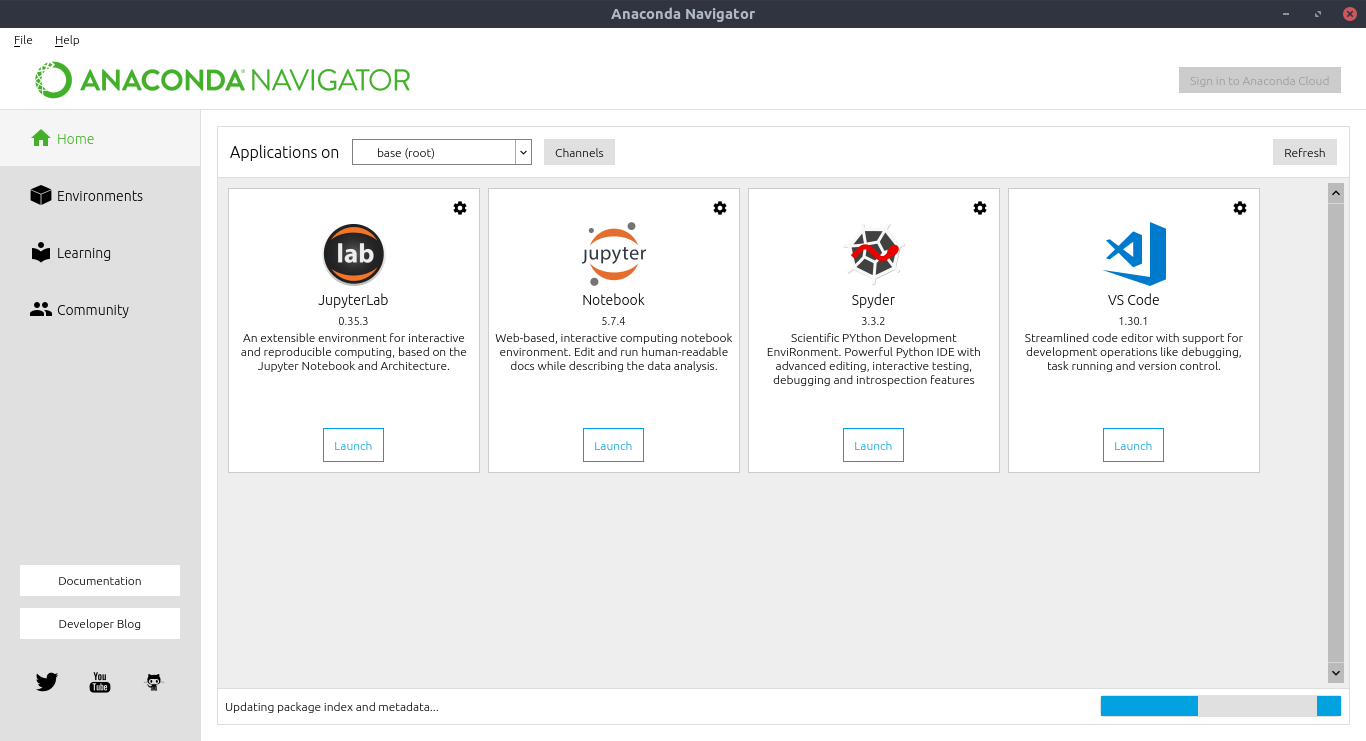
The anaconda-navigator is more than an IDE, you use code editor, Jupyter notebooks, terminals and what not. It will increase your productivity manyfold.
Make Anaconda available for other users
As of now, only current user has his/her’s ~/.bashrc file edited to link PATH to anaconda executables.
If you want all users to access anaconda, open /etc/profile and add the following line.
export PATH=$PATH:/opt/anaconda3/bin
(or)
export PATH=$PATH:/usr/local/anaconda3/bin
If you have installed anaconda other than the above two locations, just the replace /opt/ with the “install-location” where you have installed anaconda.
If you want only certain users to have access, just edit their ~/.bashrc file in their home directory by adding the above export PATH line.
After the install is complete, to make changes live immediately run source ~/.bashrc.If you have edited /etc/profile then run source /etc/profile && ~/.bashrc
Uninstall Anaconda from Linux
You can uninstall Anaconda in two easy steps.
Step 1: Remove the anaconda directory using rm -rf anaconda-install-location. You may refer to this article to know how to remove files and directories in Linux.
For example, if you installed it in the default location, you can use rm -rf ~/anaconda3
Step 2: Comment or remove the following line from the /etc/profile and ~/.bashrc (for every user).
export PATH="/path/to/anaconda-install-location/bin:$PATH"Now the uninstall is complete. Projects created with conda will not be removed unless you have saved them inside anaconda-install-location like /opt/anaconda3/myproject or /home/seeni/anaconda3/myproject.
That’s it
I hope you found this article useful. If you have suggestions or comments, feel free to drop them below. And don’t forget to share it on social media.
