While ping is one of the most basic command utilities to troubleshoot networking issues, it only sends ICMP packages (belonging to the IP layer) and ports (belonging to the Transport layer) making it impossible to ping on specific ports!
So what’s the solution? Well, I’m going to use other utilities that have the same effect as the ping command with the ability to specify ports!
- nmap
- netcat
So let's get started with the nmap utility.
Method 1: Ping UDP using nmap
The nmap utility is mainly used for security auditing as it provides real-time data, a list of live hosts, and a lot more but can also be used to do a UDP ping.
But it requires manual installation and if you're on a Debian-based distro, you can use the given command to install nmap:
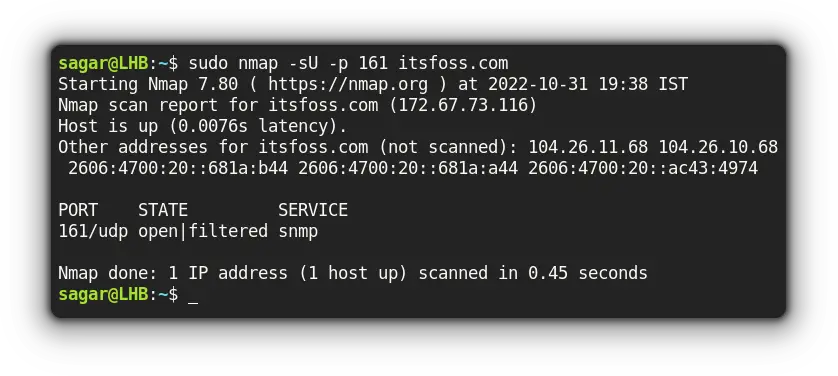
sudo apt install nmapFor example, I've used UDP port 161 of the host at itsfoss.com:
sudo nmap -sU -p 161 itsfoss.com
Now, let me break down the used options with nmap:
-sUwas used to force nmap to scan for UDP ports-poption was used to mention specific ports or you can also use a range of ports here
Method 2: Ping UDP using netcat
The netcat utility covers everything that comes under TCP and UDP which fits perfectly for our use case.
For example, I'll be pinging itsfoss.com at UDP port 161 to check for listening ports only:
netcat -v -u -z itsfoss.com 161
Here,
-vwas used to produce verbose output-uuses UDP instead of TCP (the default behavior)-zscans for listening ports only
And that should get your job done. Have more ideas? I would love to hear from you.
Final Words
This was my take on how to perform UDP ping with two different utilities so you can choose what suits your workflow.
And if you have any queries, feel free to ping them in the comments!

