The nmap (network mapper) is a network mapping tool widely used by sysadmins, Network engineers, and even hackers for host discovery.
Apart from host discovery, it can also be used to discover rules on ports, OS detection, vulnerability scanning (hello hackers), and more.
So in this guide, I will show you practical examples of the nmap command.
scanme.nmap.org as a target provided by nmap itself for most of the examples.Practical examples of the nmap command
While you would find the nmap package pre-installed on most of the Linux distros, you might not have it pre-installed.
To know whether you have it installed or not, verify the installed version:
nmap -v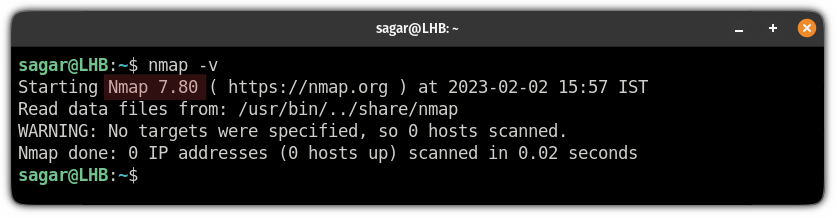
And if it shows an error, you can refer to the given command.
To install nmap on Ubuntu/Debian base:
sudo apt install nmapFor RHEL/Fedora base:
sudo dnf install nmapFor Arch-based distros:
sudo pacman -S nmapNow, let's jump to the examples.
1. Scan for open ports on the network
To search for open ports, all you have to do is append the domain name or the IP address to the nmap command:
nmap Target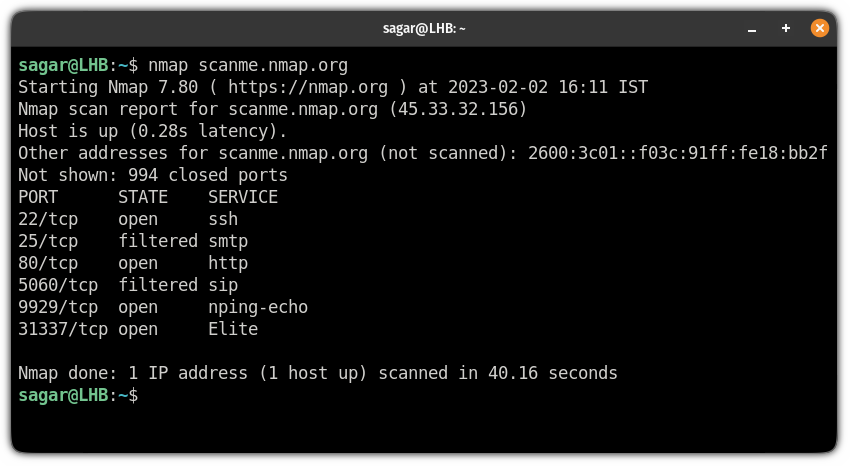
But if you are in hurry and want to finish the scan as soon as possible, you can use the -F flag:
nmap -F target2. Scan multiple hosts
You may have to scan multiple hosts and nmap offers various ways to scan multiple hosts at the same time for an extensive search.
So there are several ways to scan multiple hosts:
- Appending multiple domains or IP addresses to the nmap command
- Using wildcards to search the entire subnet at once
- By specifying a range of IP address
- You can also append the different endings of IP addresses rather than typing the entire IP.
So let's start with appending the multiple domains/IP addresses.
Scan multiple hosts by appending domains or IP addresses
So basically, if you have to scan 2-3 hosts, this is the easiest method in my opinion where you simply append the IP/domain one by one.
For example, here, I have scanned 3 IP addresses at once:
nmap 192.168.1.9 192.168.1.8 192.168.1.10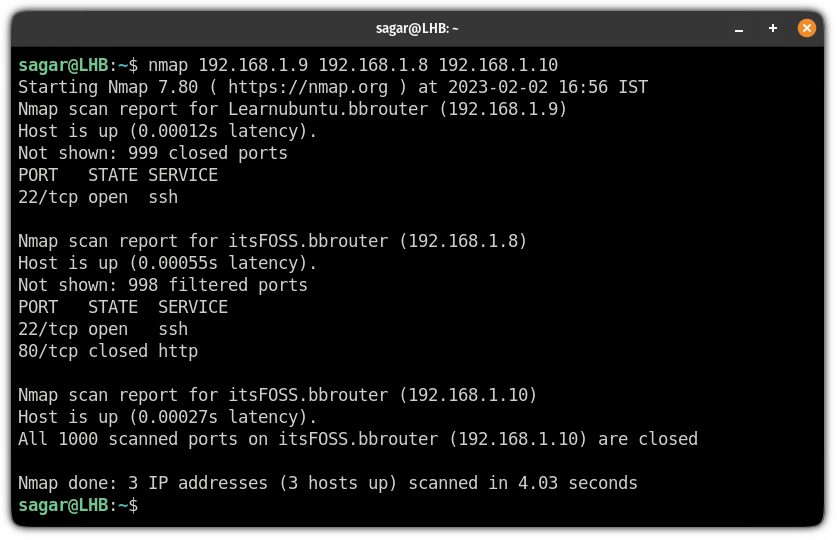
Use a wildcard to scan the entire subnet
If you have to scan multiple hosts and the list is long enough to make you tired while typing, you can use the wildcard.
To use the * wildcard, type the IP address, and replace your last octet (the last part of your IP after the . )with the * symbol:
nmap 192.168.1.*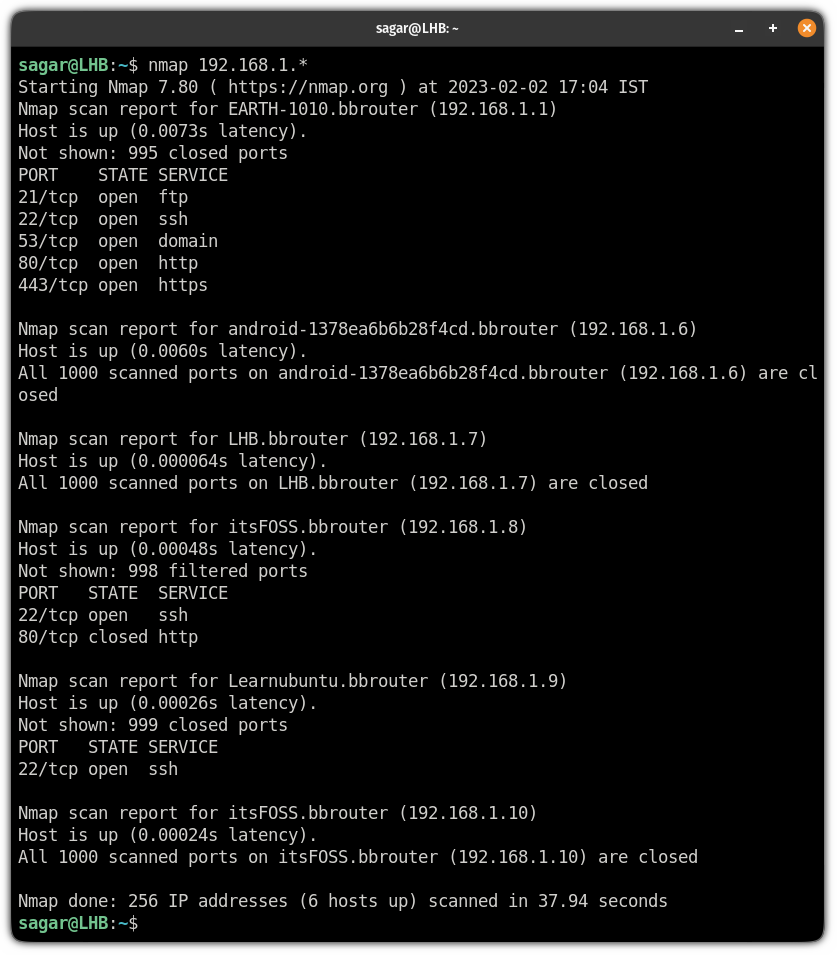
Scan multiple hosts by specifying the IP range
So let's say I want to scan 3 IP addresses. Now, typing each one manually is not the way I and most of you would prefer.
And in that case, you can specify the range of IP addresses.
For example, here, I scanned for IP addresses from 192.168.1.8 to 192.168.1.10:
nmap 192.168.1.8-10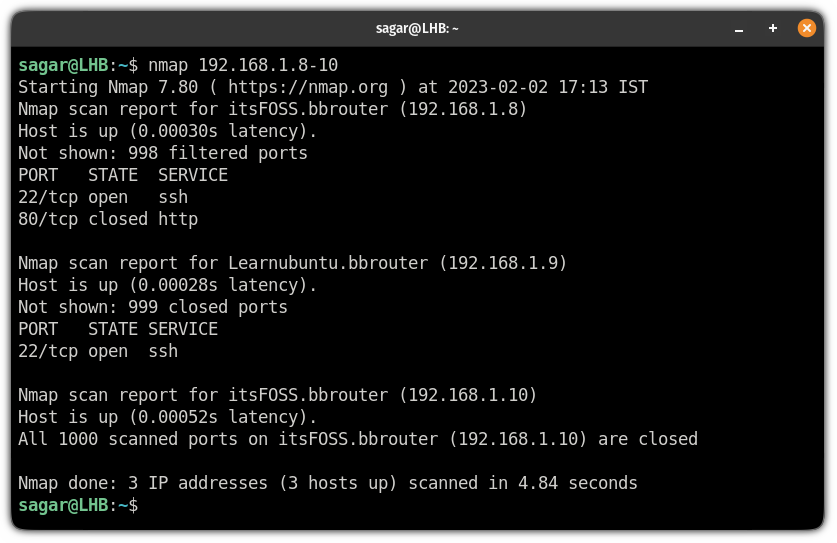
Scan multiple hosts by appending the ending octet
You can scan multiple hosts by appending the last part of your IP address.
For example, here, I have searched for: 192.168.1.8, 192.168.1.9, and 192.168.1.10 by appending the last octet:
nmap 192.168.1.8,9,10
3. Exclude the host while scanning
When you scan multiple hosts, it is not necessary you'd always want to scan each one from the given range.
And in that case, you use the --exclude flag and append the host which needs to be ignored while performing the scan.
For example, here, I want to ignore 192.168.1.6 while scanning the subnet so I will be using the following:
nmap 192.168.1.* --exclude 192.168.1.6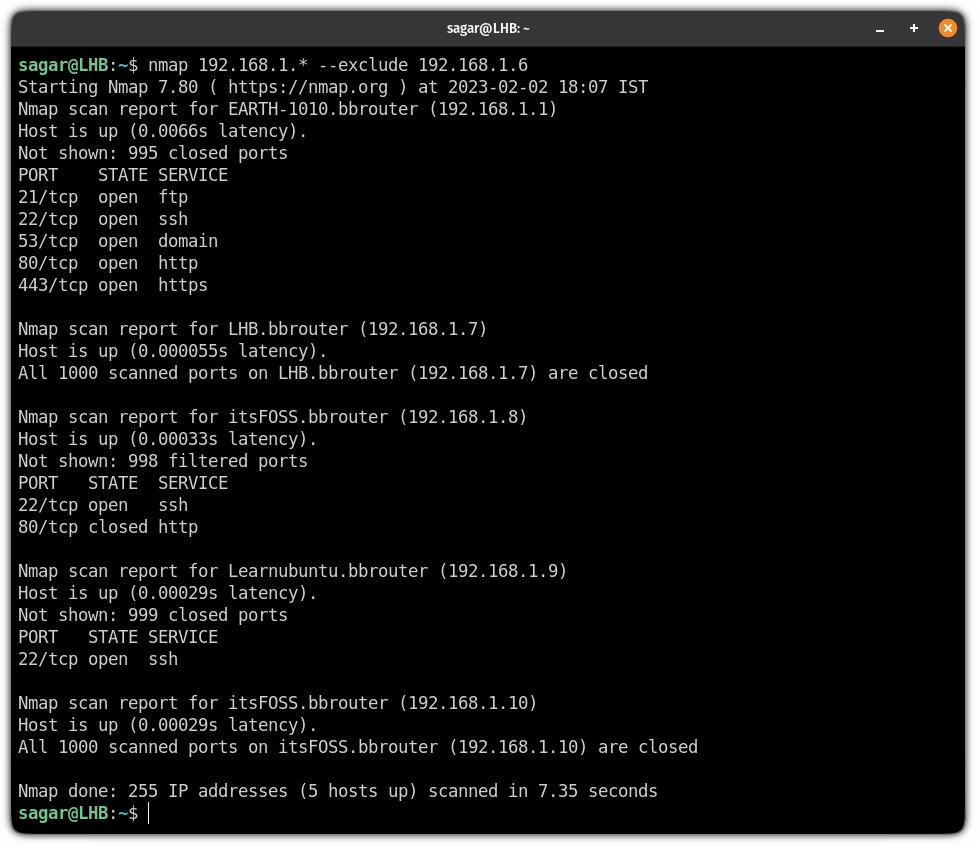
4. Perform a scan to detect filtering on the Firewall
You can use the nmap command to send ACK packets and it will check whether the target system has a firewall enabled if yes, it will list unfiltered ports.
For this purpose, you will have to use the -sA flag with superuser privileges:
sudo nmap -sA Target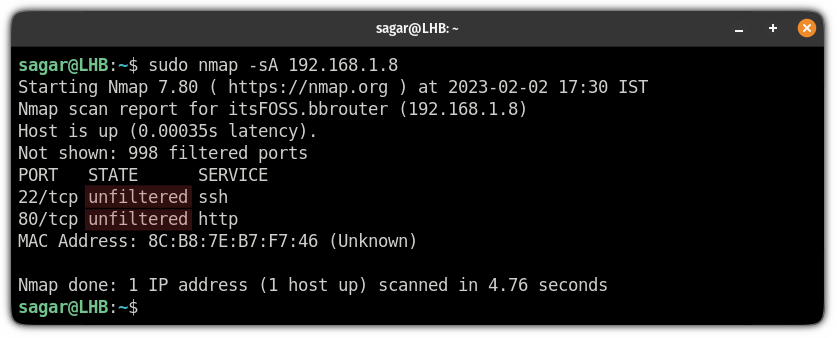
5. Get information about the services of hosts
Once you know about services after scanning ports, you may want to know more about those services.
So in that case you can use the sV flag:
nmap -sV Target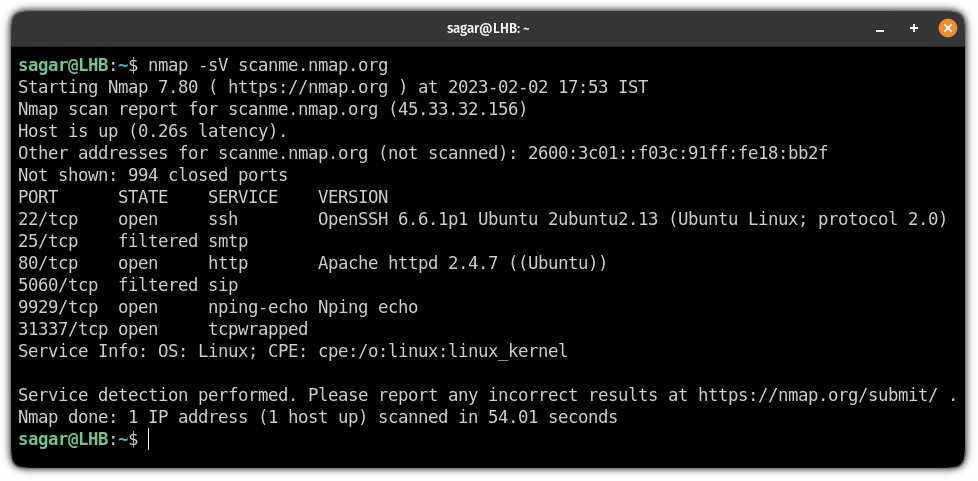
5. Scan for specific ports
To specify a port, to search, you will have to use the -p flag:
nmap -p port_no TargetSo let's say I want to perform a scan over port no 443, then I will be using the following command:
nmap -p 443 scanme.nmap.org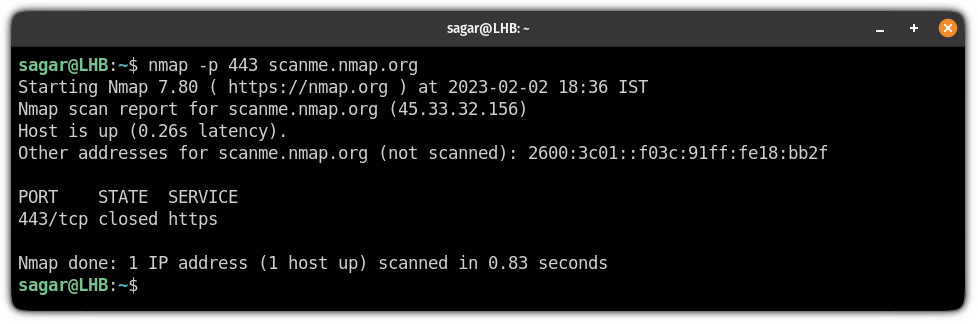
Similarly, you can append multiple port numbers if you want to scan multiple ports:
nmap -p 443,80 scanme.nmap.org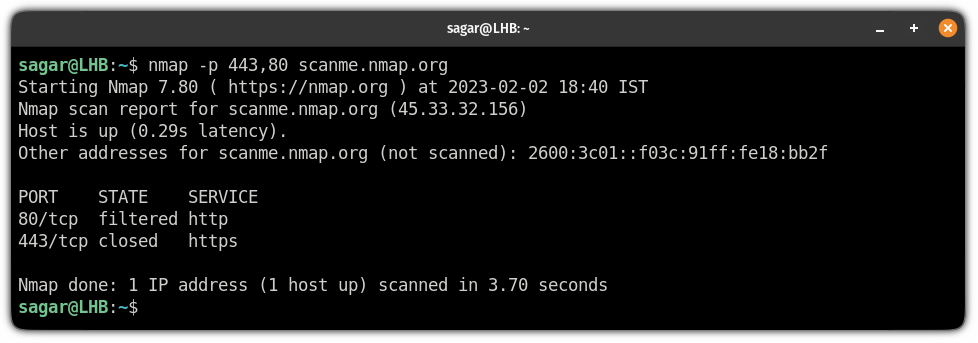
Or, you can also specify the range of ports if you want to perform extensive port scans:
nmap -p 20-80 scanme.nmap.org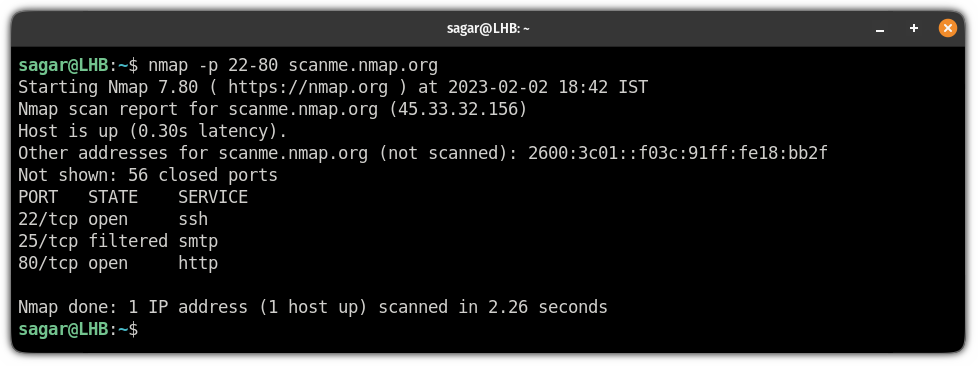
6. Perform scan in stealth mode
Stealth scans are performed when you want to bypass the firewall as these scans make the target system respond without establishing the full connection.
A yet another reason why hackers love this utility!
To perform a stealth scan, all you have to do is use -sS a flag with superuser privileges:
sudo nmap -sS Target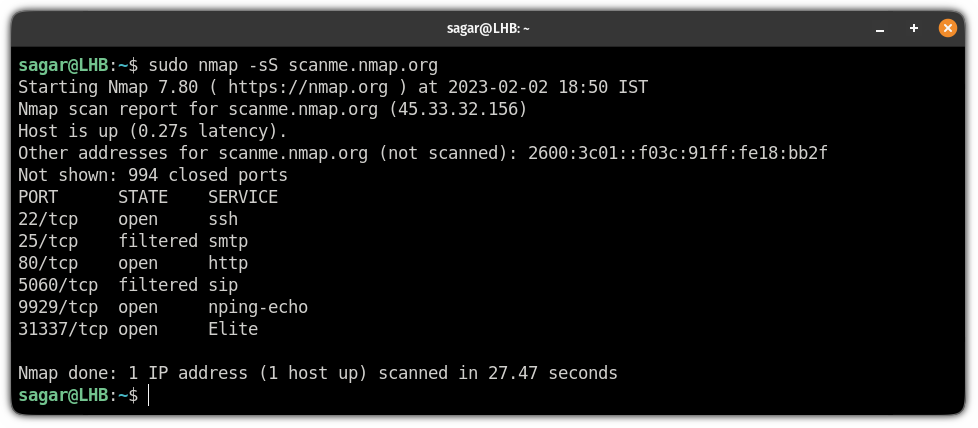
7. Get OS information of the host
As I mentioned in the beginning, the nmap command can also be used to find the OS information of the targeted host.
To get the OS info, all you have to do is use the -A flag while scanning:
nmap -A Target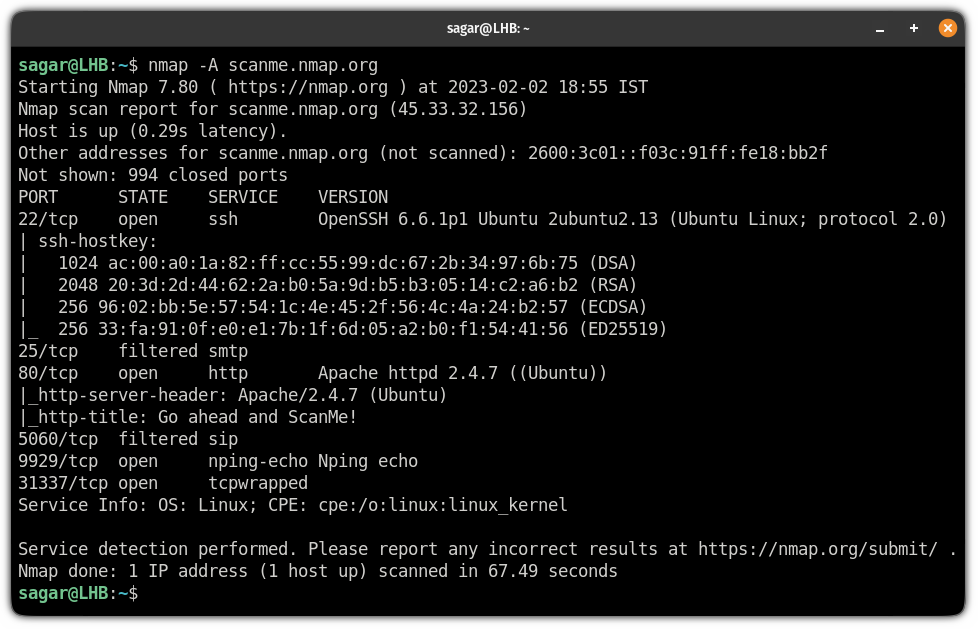
8. Identify the host
Not a huge feature but can be helpful when dealing with multiple machines at the same time.
You can append the -sL flag to the nmap command and it will get you the hostname without any additional information about the target:
nmap -sL Target
Similarly, you can use the wildcard * with the IP and it will get the hostname of every system inside the subnet:
nmap -sL 192.168.1.*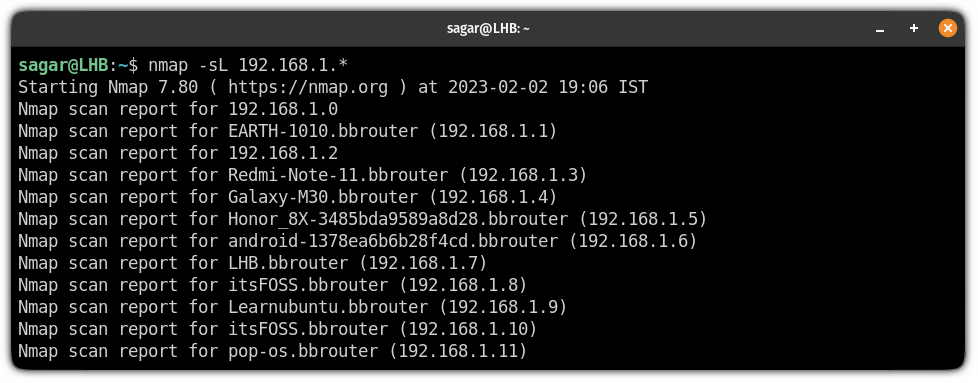
9. Find active hosts
Generally, we use the ping command to check whether the host is up or not and the nmap command can also be used to ping hosts.
To ping hosts, you will have to use the -sP flag:
nmap -sP 192.168.1.0/24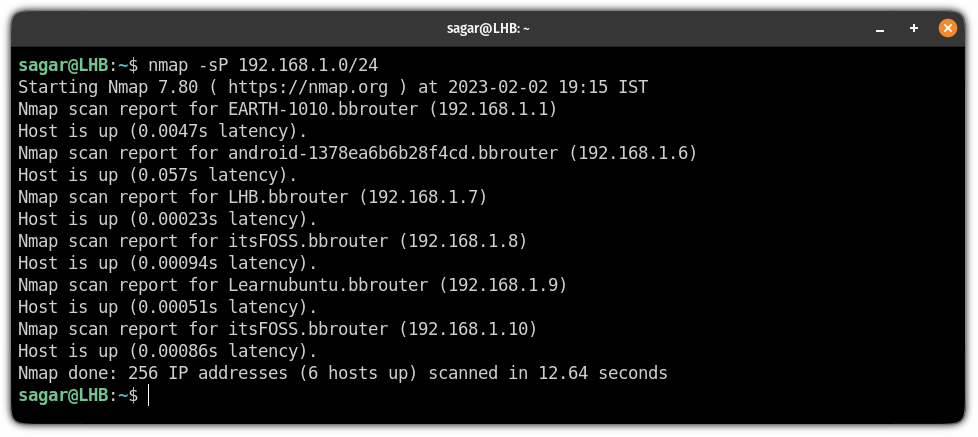
10. Scan the network faster with nmap time policies
The nmap allows you to choose from 5-time policies ranging from T0 to T5. Where the T0 is the slowest and the T5 is the fastest.
The nmap utility operates on T3 by default, so you can tweak the speeds as per your needs.
To use the time policy, follow the given command syntax:
nmap [Time_Policy] TargetFor example, here, I went with the T4 to achieve better speeds than the defaults:
nmap -T4 scanme.nmap.org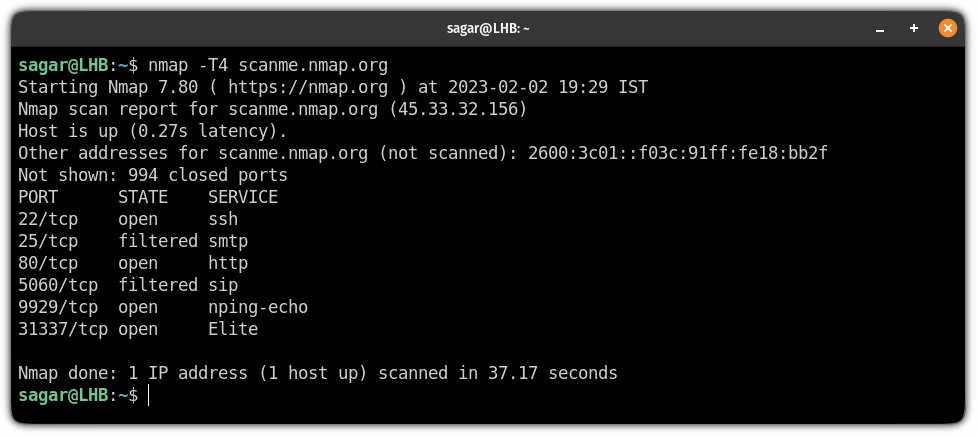
11. Find host interfaces and routes
To find the host interfaces and routes, all you have to do is execute the nmap command with the --iflist flag:
nmap --iflist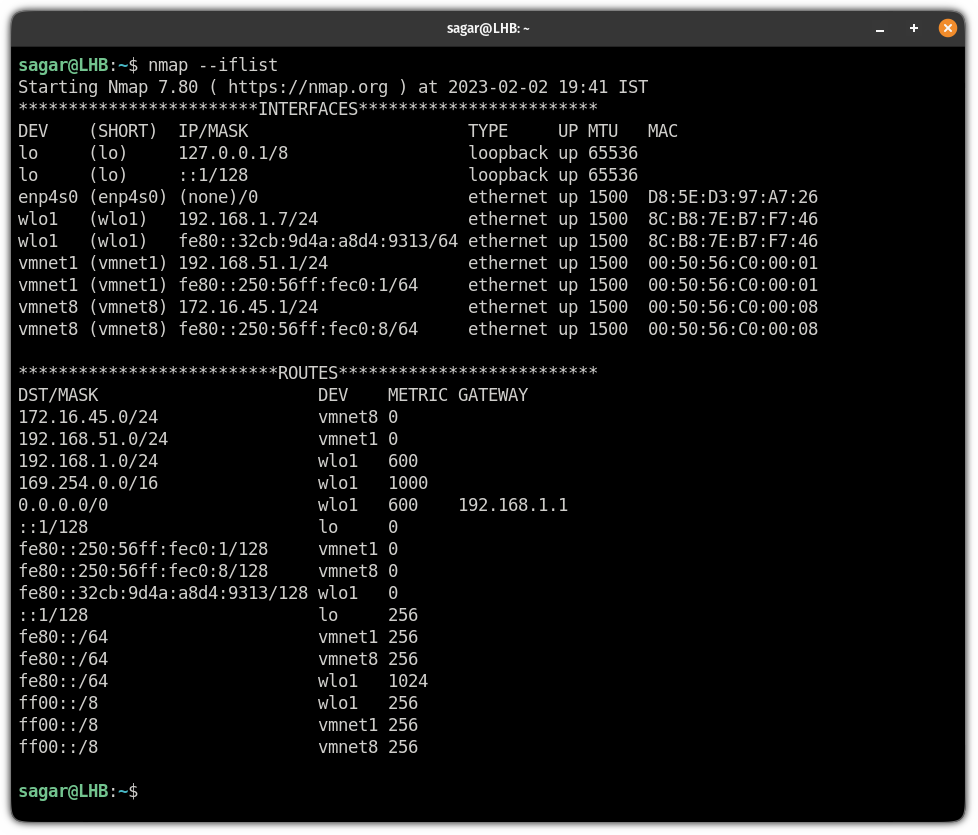
A pretty neat way of getting host interfaces and routes. Isn't it?
Seek more like nmap? We got you!
If you want to know more networking commands, we have covered 21 networking commands with their examples:
 Sagar Sharma
I hope you will find this guide helpful.
And if you want me to cover something else, or have any queries related to this guide, let me know in the comments.