How to Deploy & Manage Ghost Themes Using GitHub Actions
Making changes to the themes on a Ghost blog is a tedious process. This can be simplified with GitHub Actions.

Ghost is increasing becoming a popular open source CMS. It is lightweight and developer-friendly. And yes, it is a lot faster than WordPress.
We use Ghost for Linux Handbook. If you also use it, you might have come across the inconvenience of re-uploading your theme every-time you make changes to it.
With GitHub Actions, you can make changes to all your theme files right from GitHub without worrying about that extra step of uploading the changes again and again.
Steps for deploying Ghost theme with GitHub action
In this tutorial, I've covered each step in detail. Even if you are new to GitHub, it should not be any trouble.
I have deployed an entirely new Ghost blog to show you how it's done. I start with the default Casper theme and then show you the steps to change it to different theme deployed using GitHub Actions.
Prerequisites:
You'll need the following:
- Admin access to a ghost blog
- GitHub account
- Basic knowledge of YAML syntax is appreciated but not required
Step 1: Add custom integration for GitHub Actions
Log into your Ghost admin panel from where you host and manage your blog. It is usually yourblogdomainname.com/ghost.
Once you are logged in, go to the Integrations section under Settings. Click on the "Add custom integration" at the bottom.
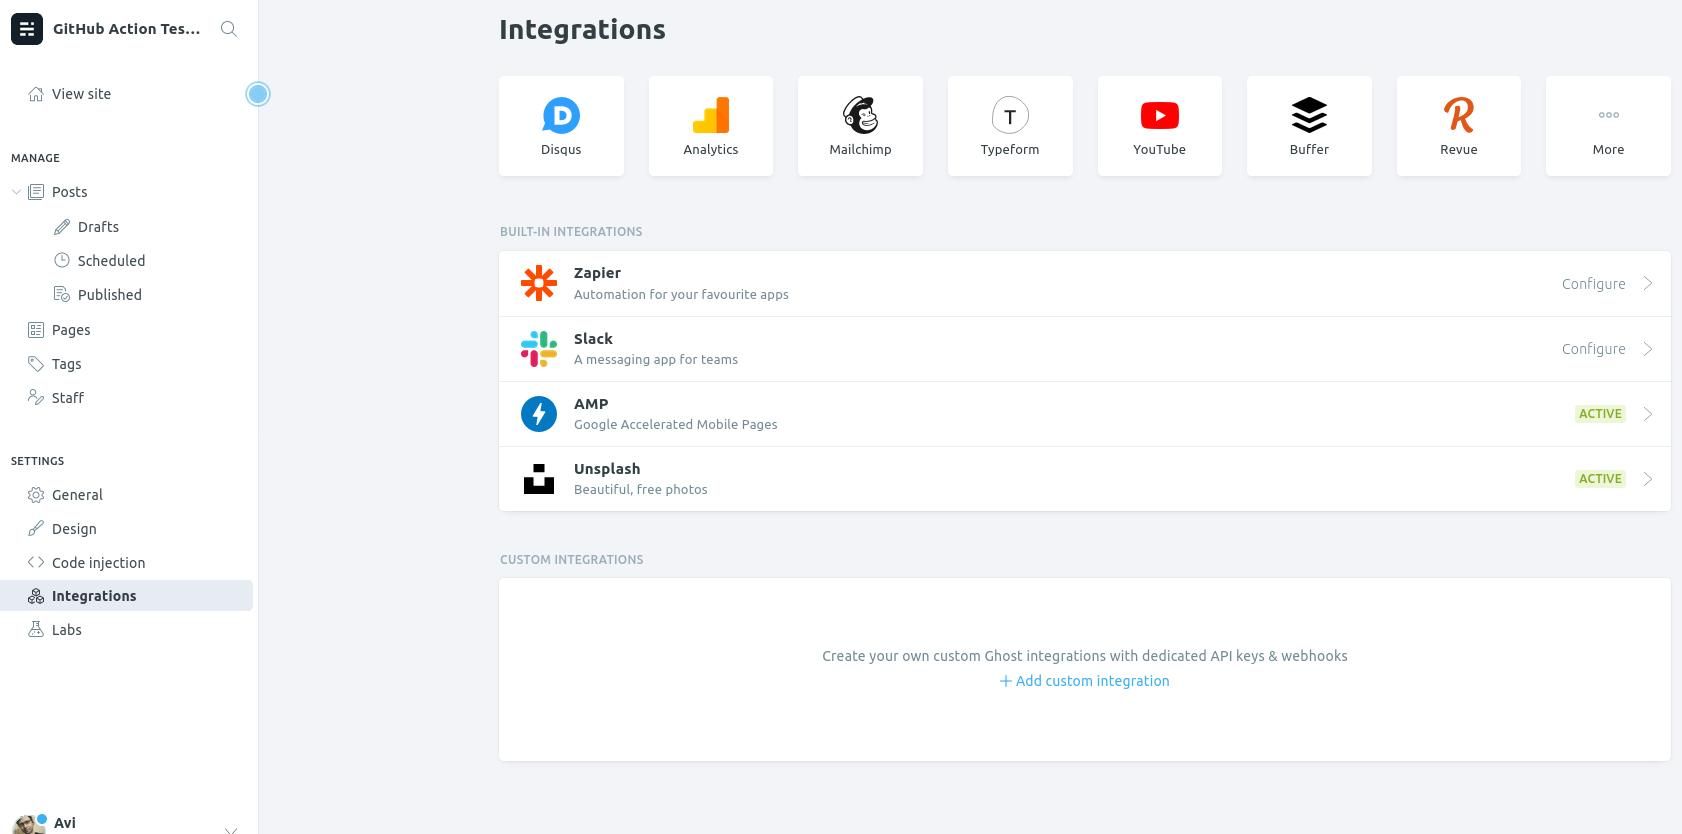
It will open a pop-up window so that you can provide necessary details.
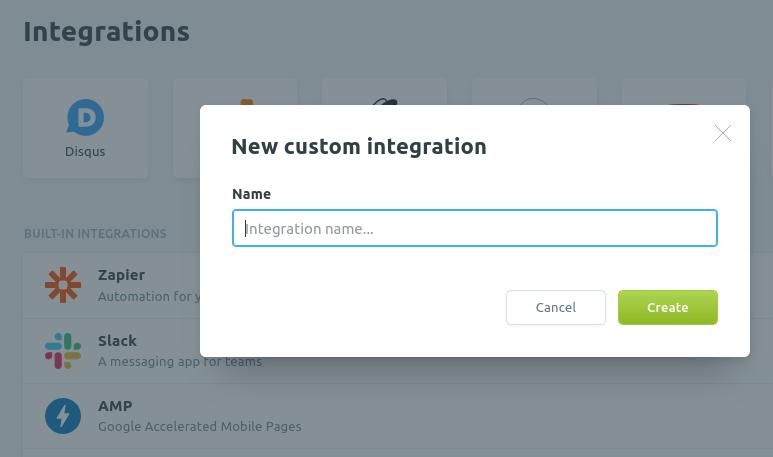
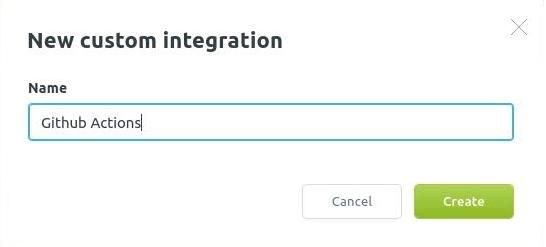
Let's call it "Github Actions" so that you can easily recall what it is used for.
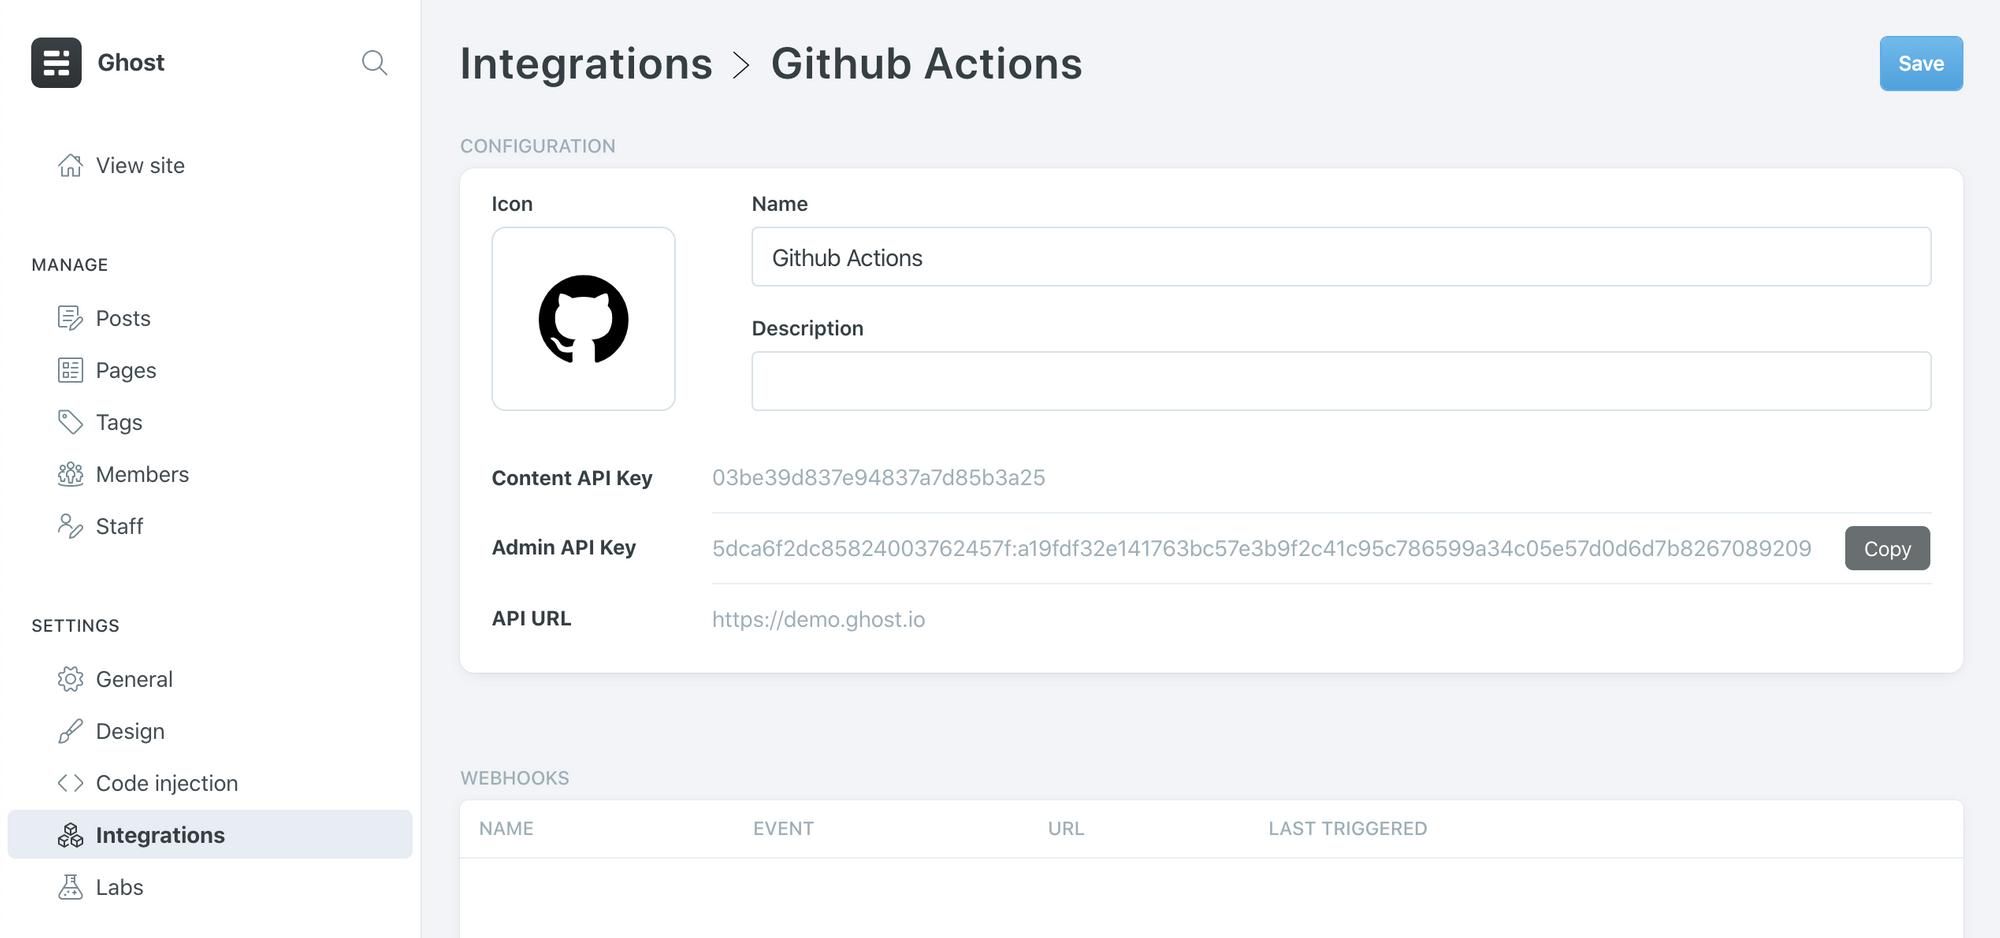
After it's done, you will see a few parameters shown to you. You'll need the Admin API Key and API URL in later stages. API URL is your blog's URL which is obviously known to you already.
You can visit the newly added custom integration anytime and get the API key.
Step 2: Create or fork theme repository on GitHub
Log in to your GitHub account. In case you don't have one, you can sign up here.
You can do either of the two things:
- If your chosen Ghost theme is open source and available on GitHub, fork the repository.
- If you have bought a Ghost theme, you should create a private repository first and then put the code here. You should check with the theme developer if you could do that without violating the terms.
Here I've used Liebling theme as an example which uses open source MIT license. I am going to fork its GitHub repository.
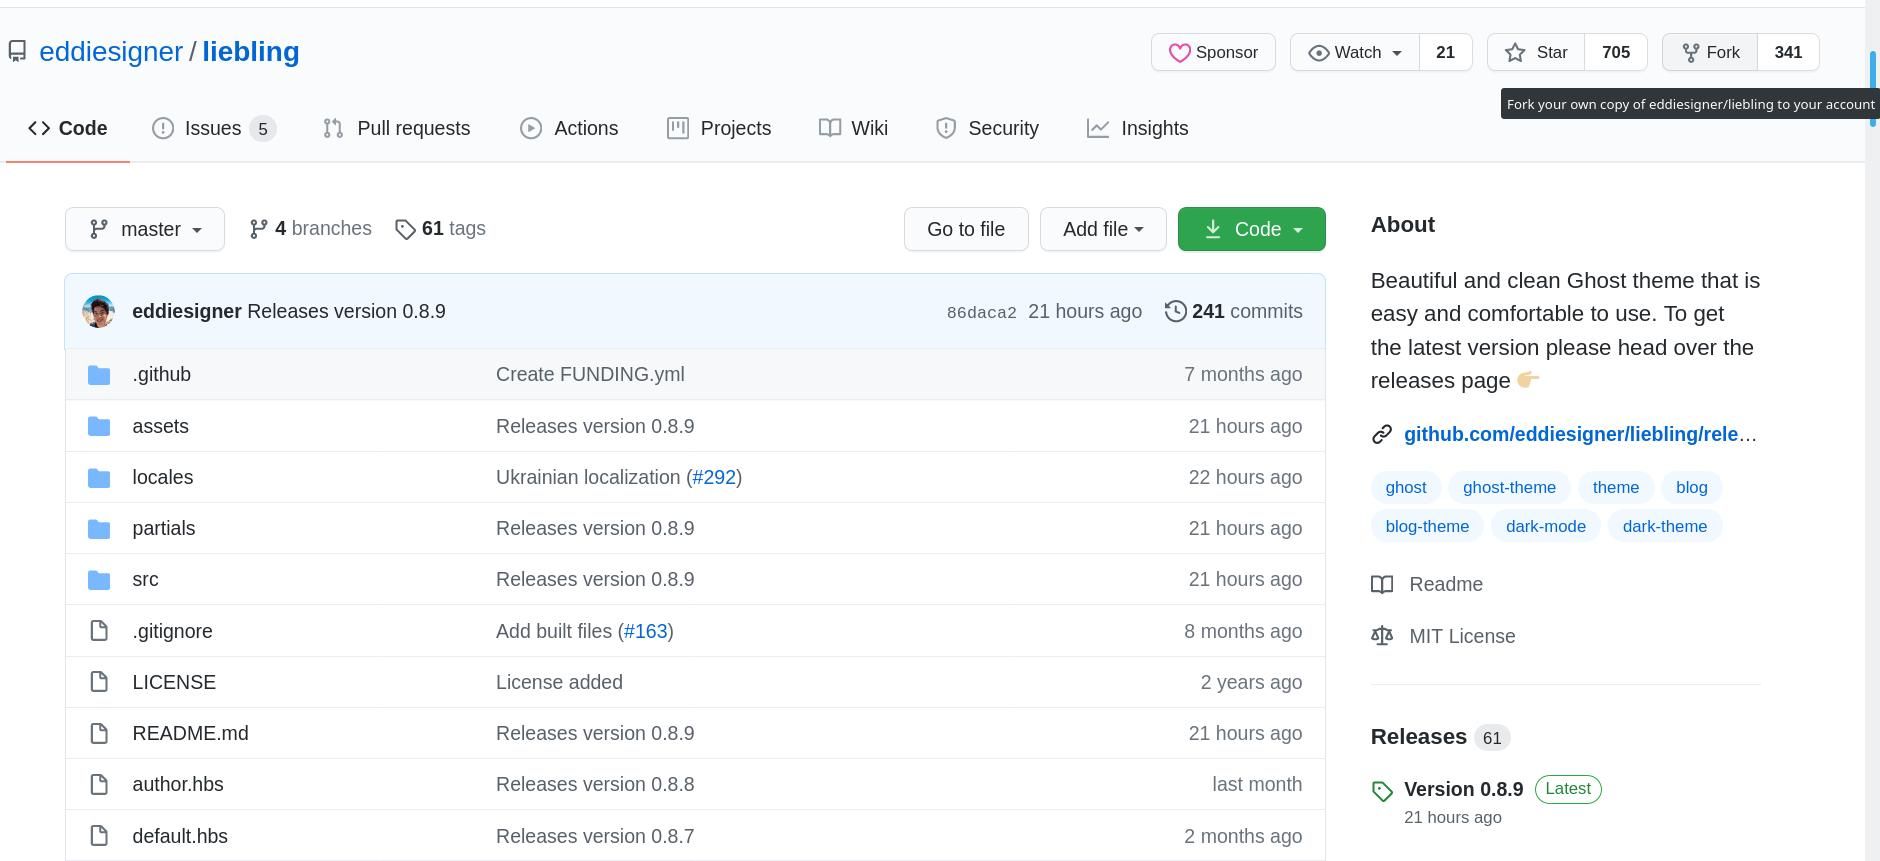
Now you have the theme repository as your own.
Step 3: Configure the workflow in the repository
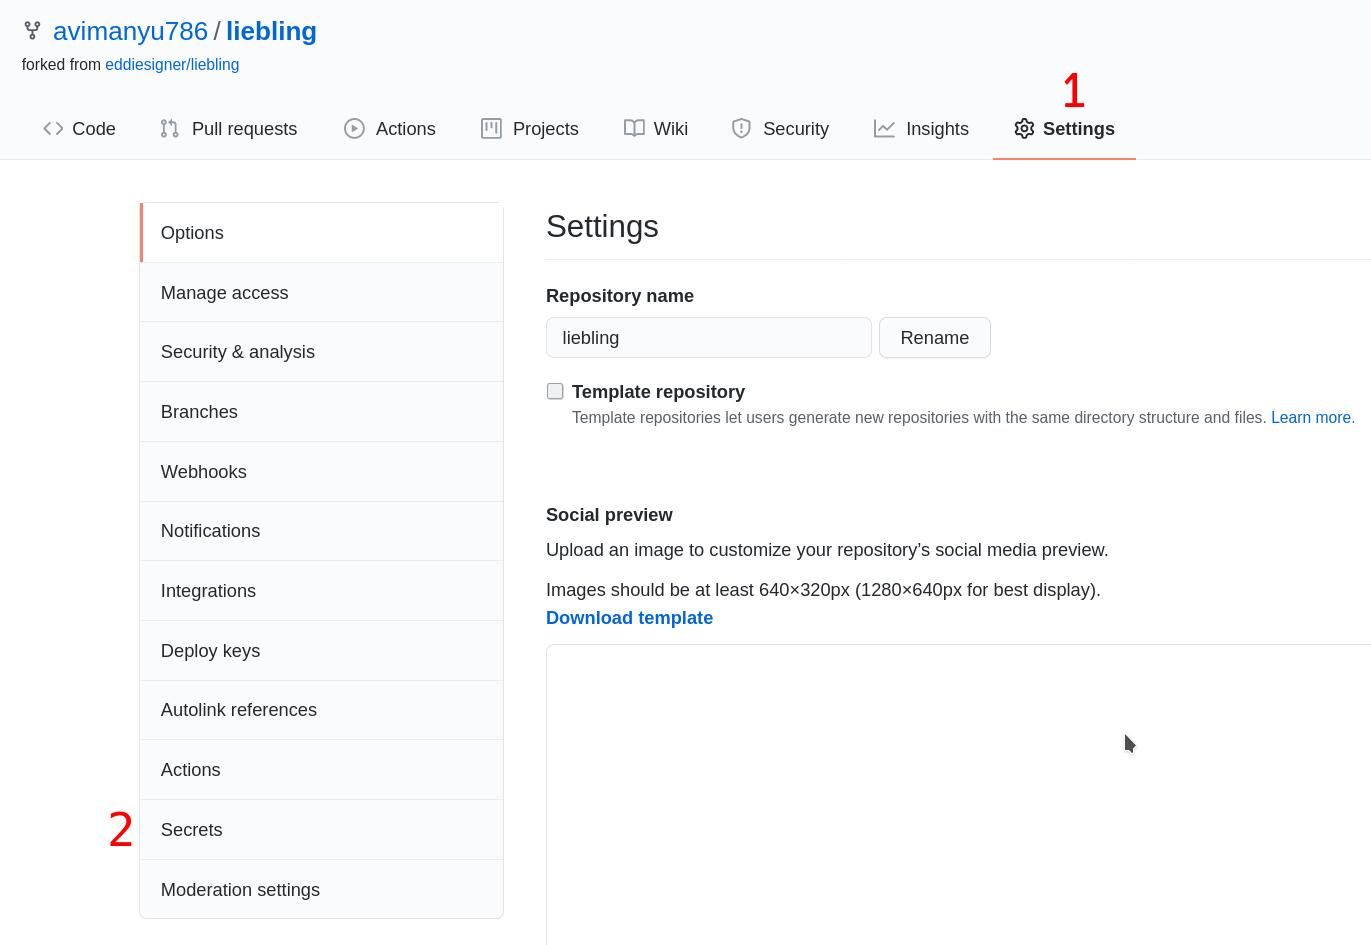
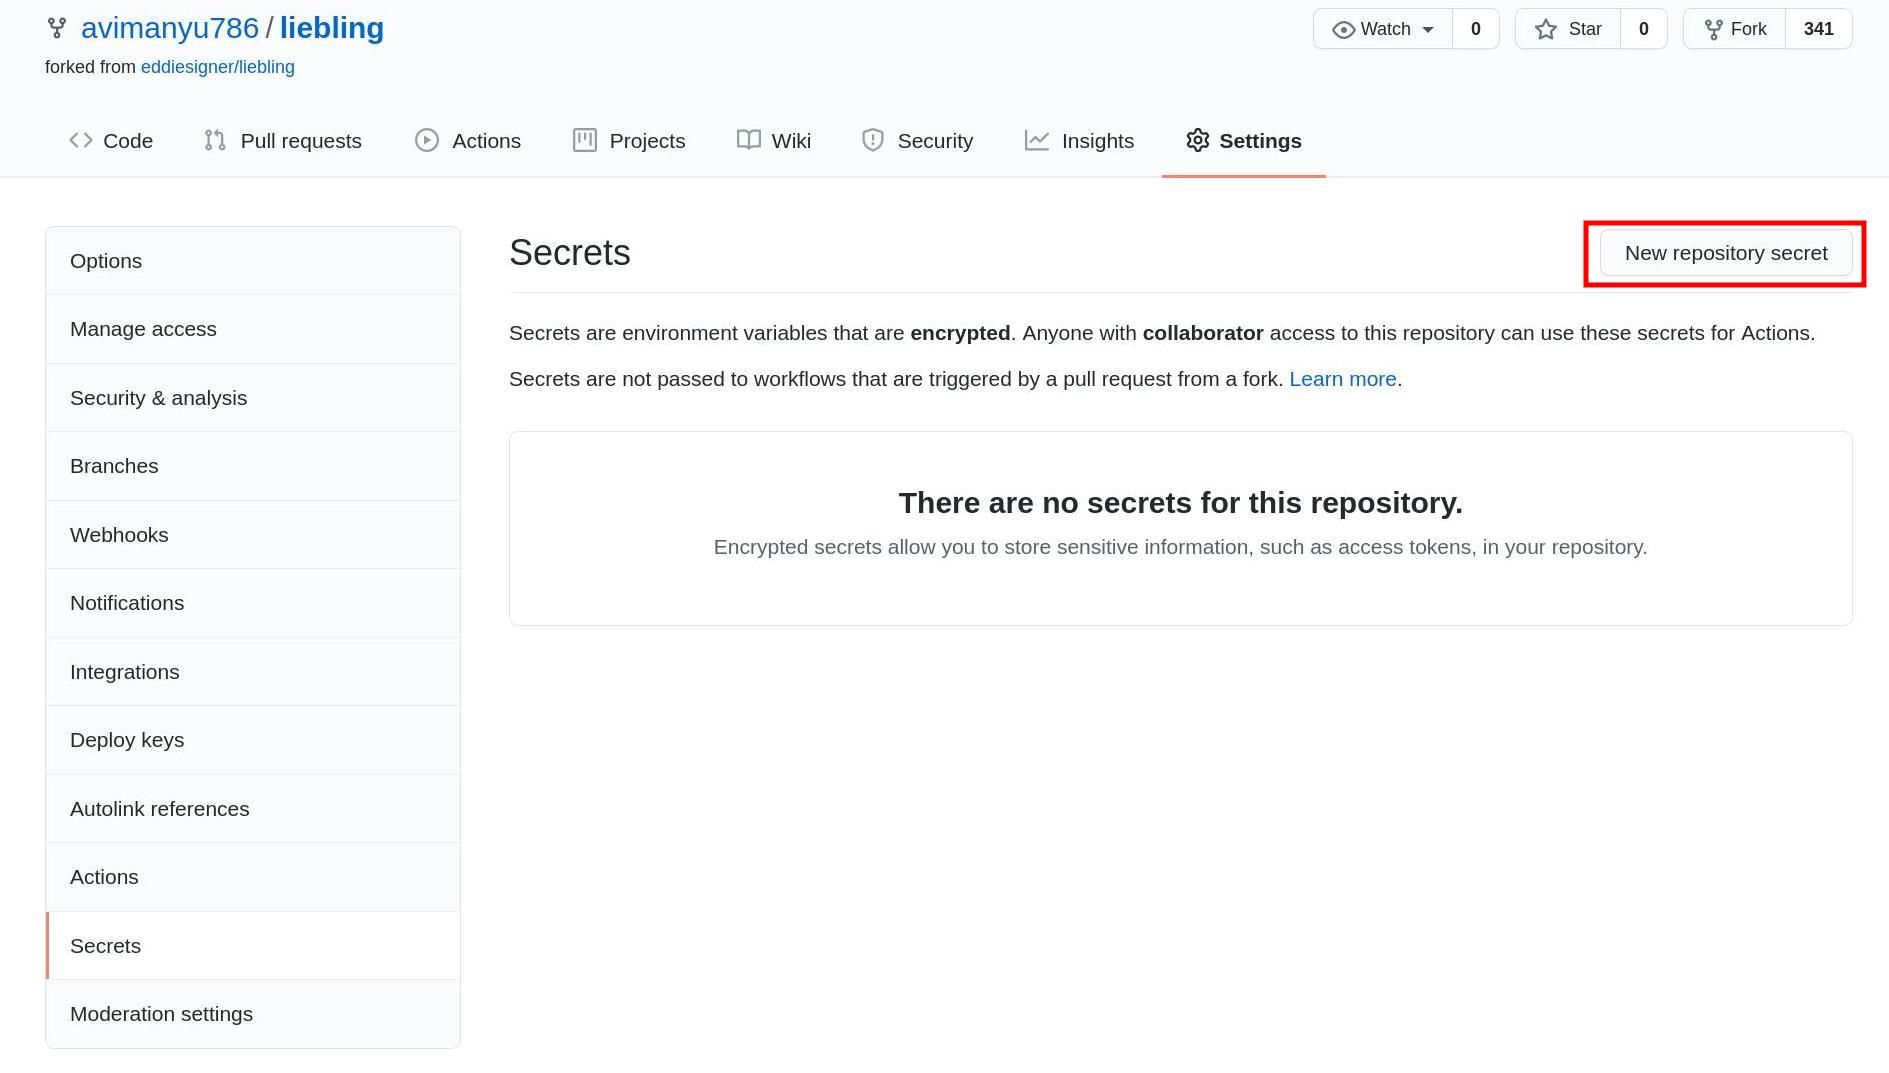
Go to the forked or new repository and click on "Settings" on the right after which you will find "Secrets" on the column on the left at the bottom.
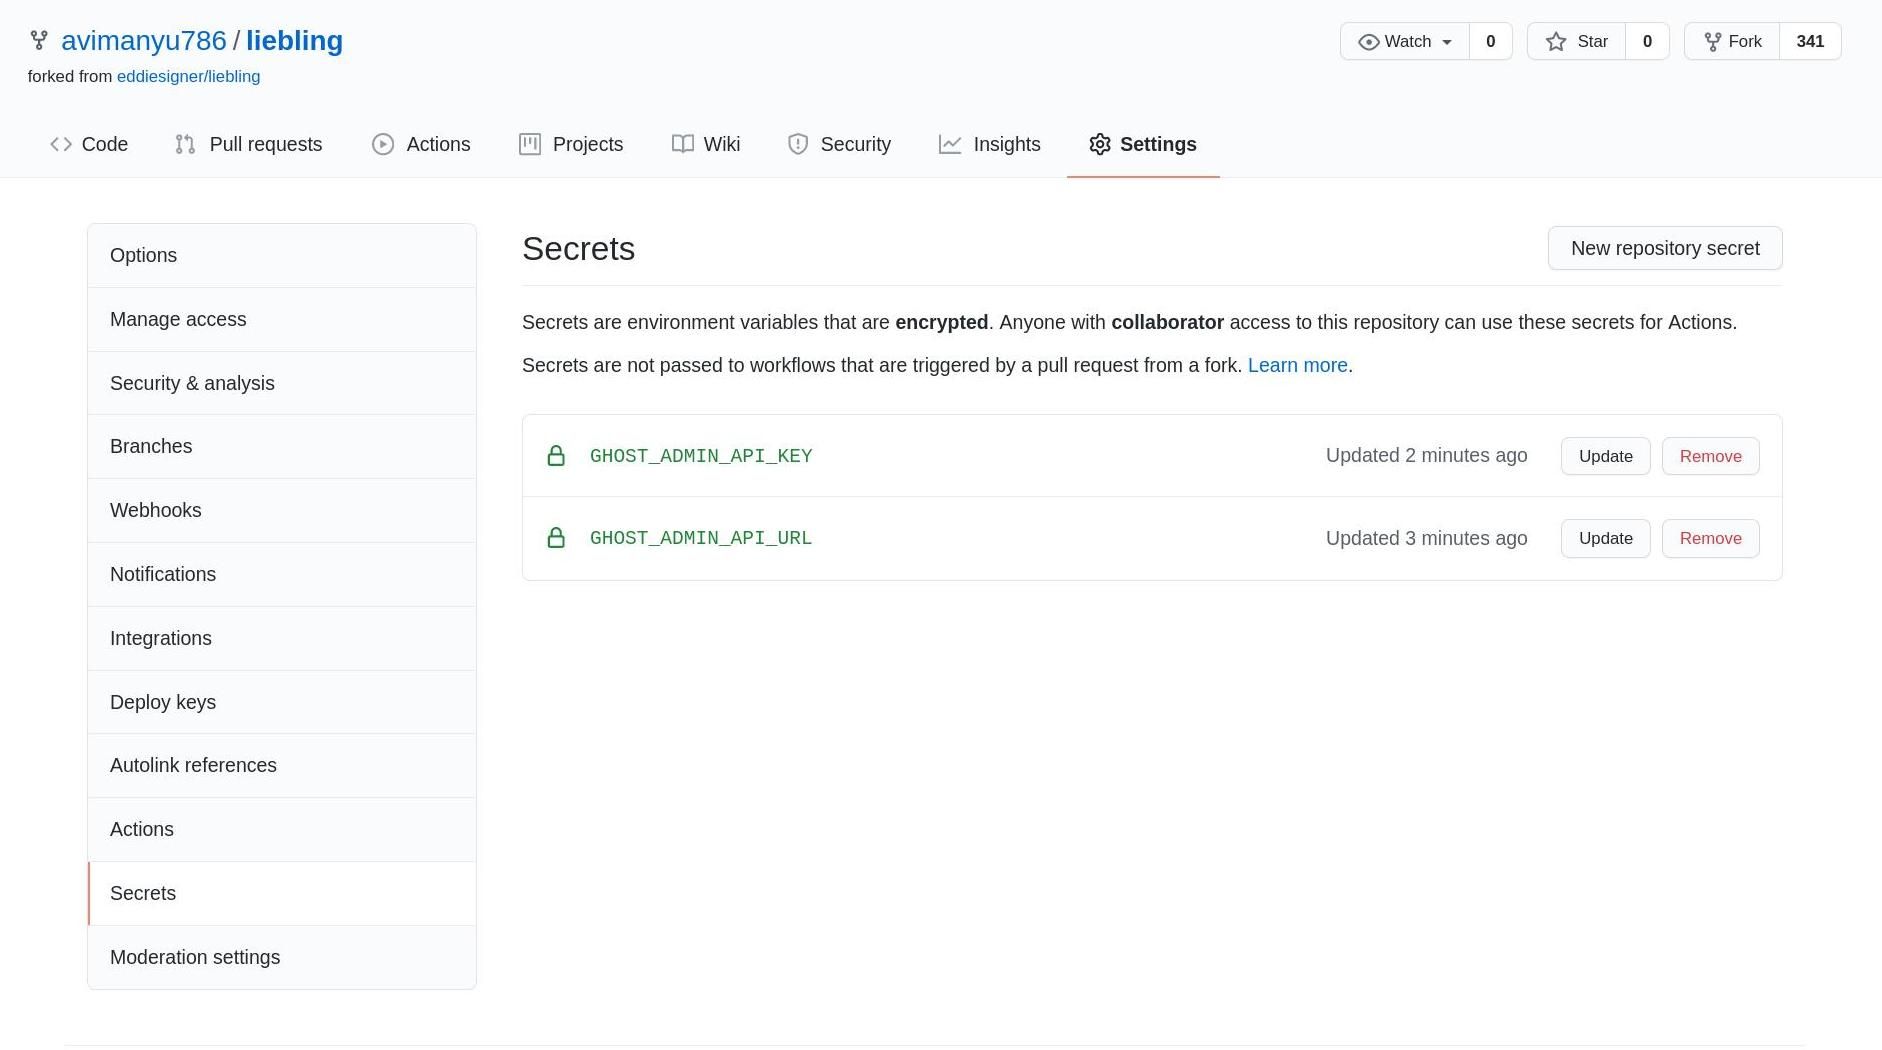
In here, you need to create two new repository secrets based on the API key value you had obtained earlier in the custom integration step.
The API URL corresponds to GHOST_ADMIN_API_URL and Admin API Key corresponds to GHOST_ADMIN_API_KEY. Enter the values as obtained and add them accordingly:
After you have added the values, your Secrets page on your forked ghost theme repository on GitHub would look something like this:
Note that this repository already contains a ".github" directory. If your theme's repository does not have the ".github" directory, then you would have to create one as well.
Create another directory inside .github directory named "workflows". When you create the file, simply press the "/" button on your keyboard, write the directory name and again press "/". Now you can write the file name under it with the name "deploy-theme.yml".
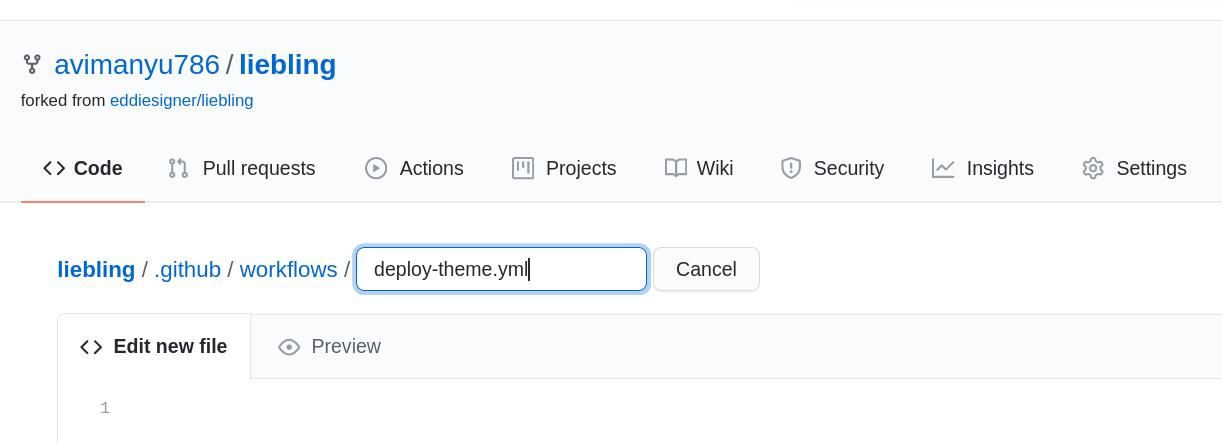
Make sure the file is saved with the following contents:
name: Deploy Theme
on:
  push:
    branches:
      - master
      - main
jobs:
  deploy:
    runs-on: ubuntu-18.04
    steps:
      - uses: actions/checkout@master
      - uses: TryGhost/[email protected]
        with:
          api-url: ${{ secrets.GHOST_ADMIN_API_URL }}
          api-key: ${{ secrets.GHOST_ADMIN_API_KEY }}
Step 3: Deploy the Ghost theme via GitHub action
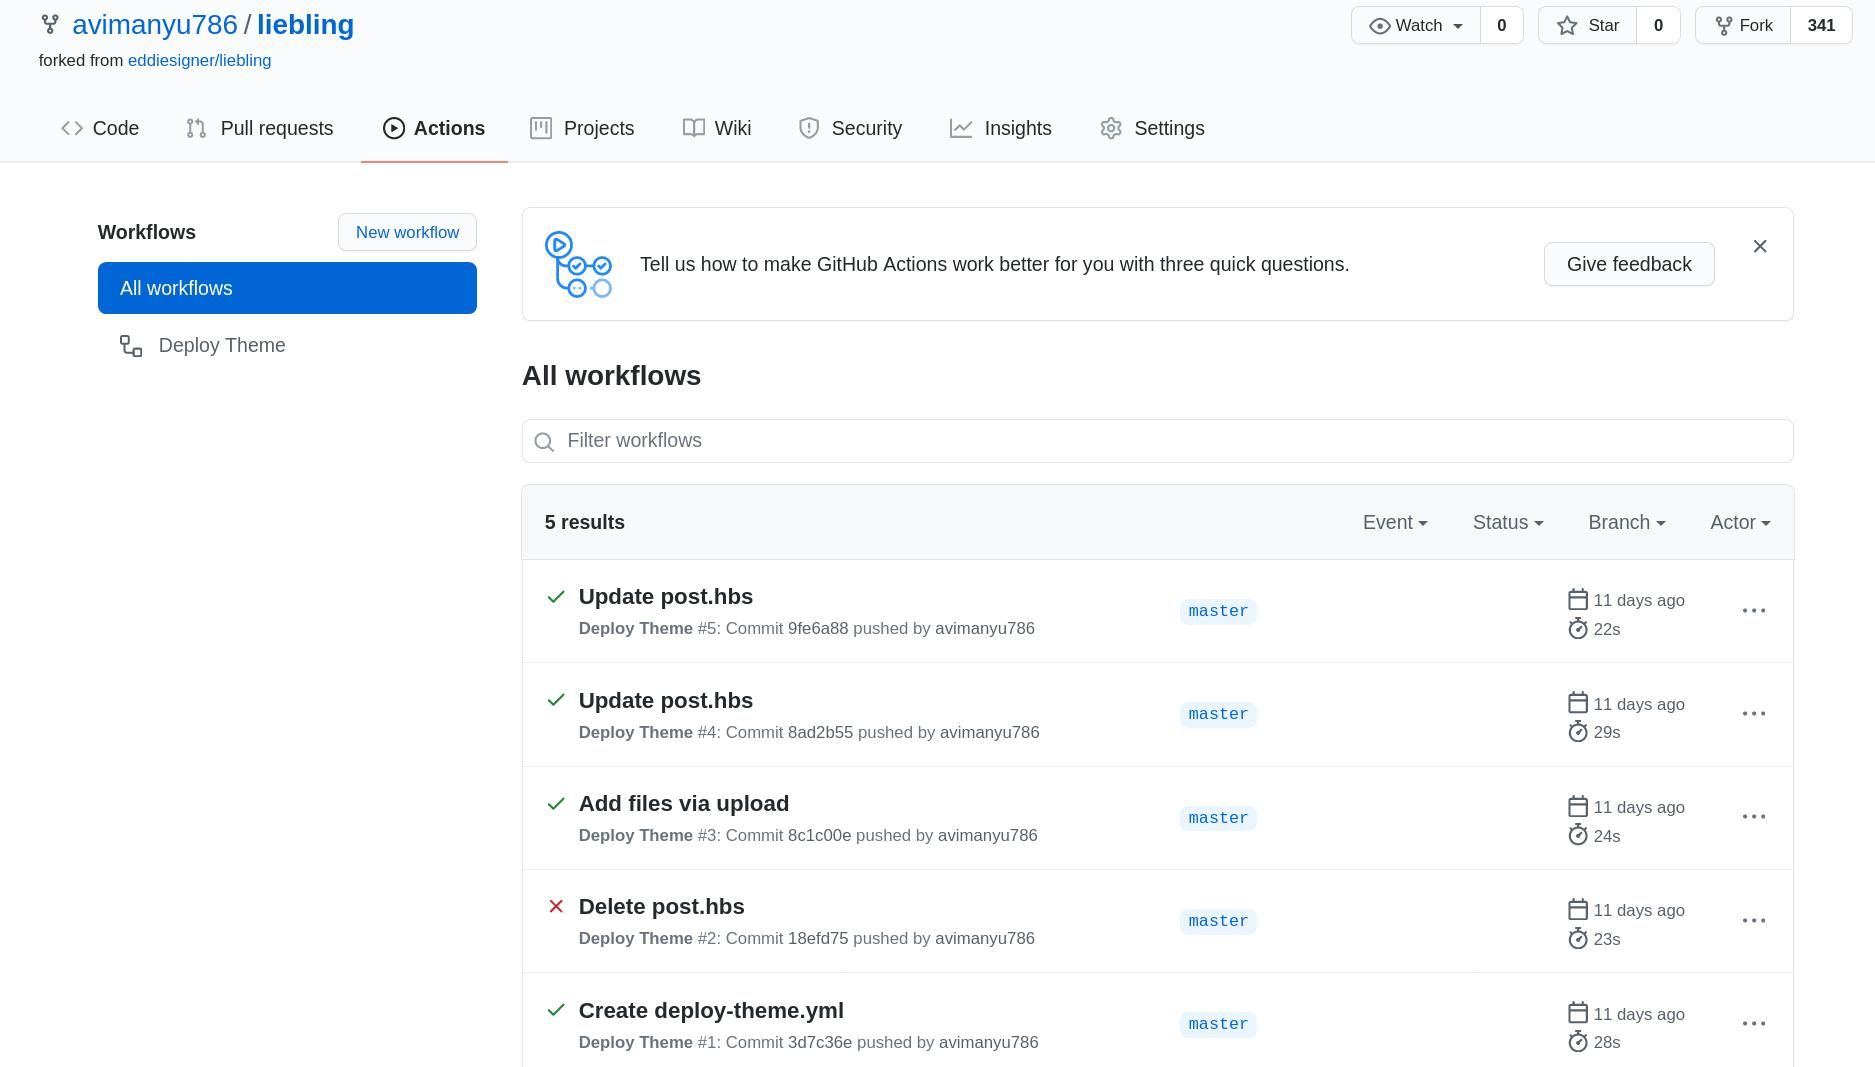
Click on the Actions tab. Under "All workflows", you can click on "Deploy Theme" to view the details of your new ghost theme deployment.
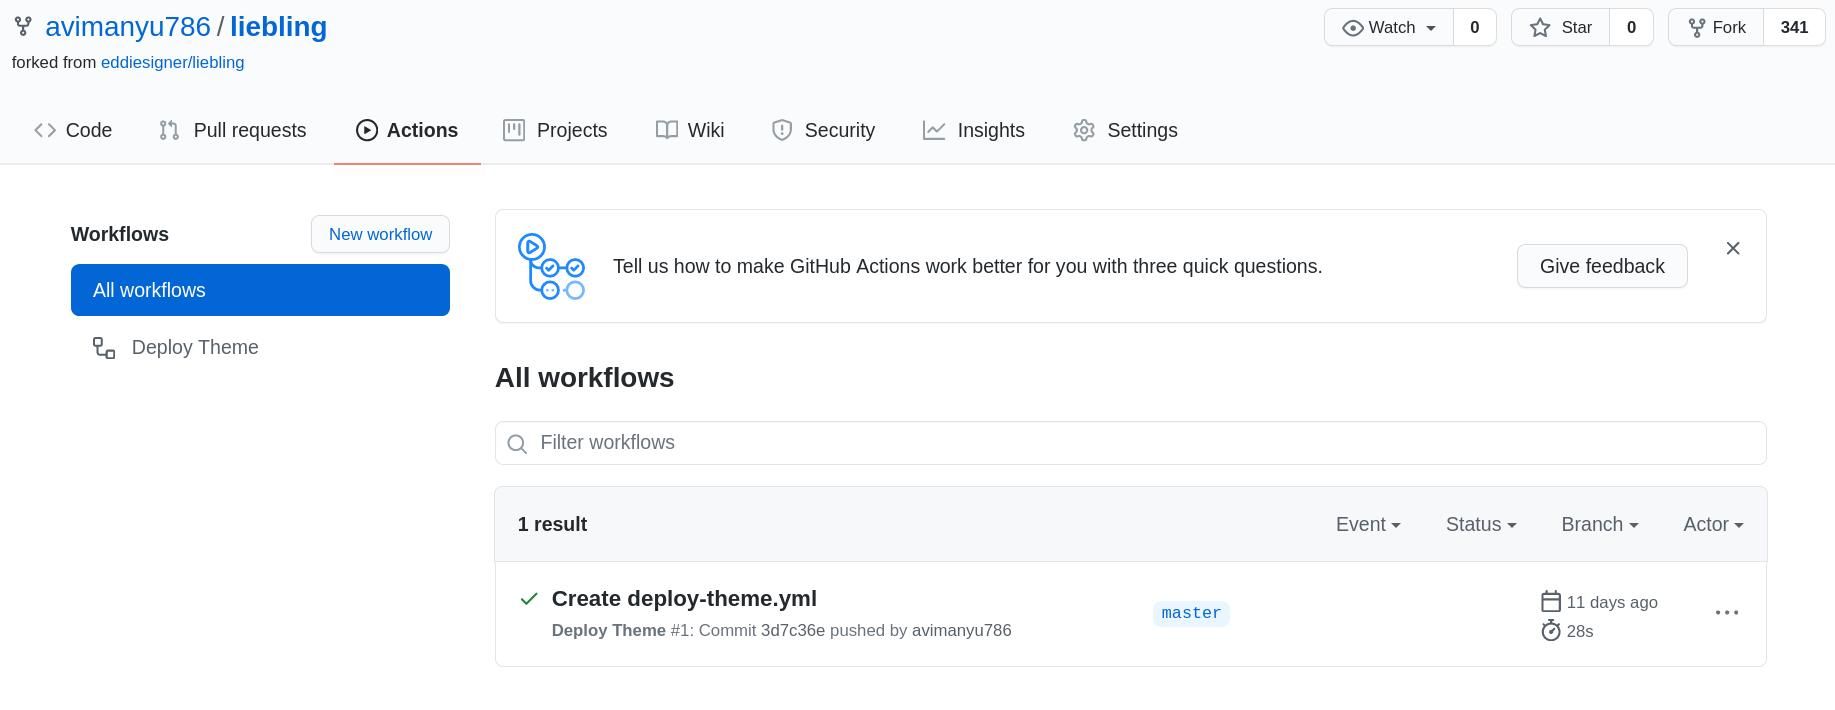
Notice that green check-mark beside "Create deploy-theme.yml"? That means the deployment has been successful! A typical GitHub Action workflow would look like this:
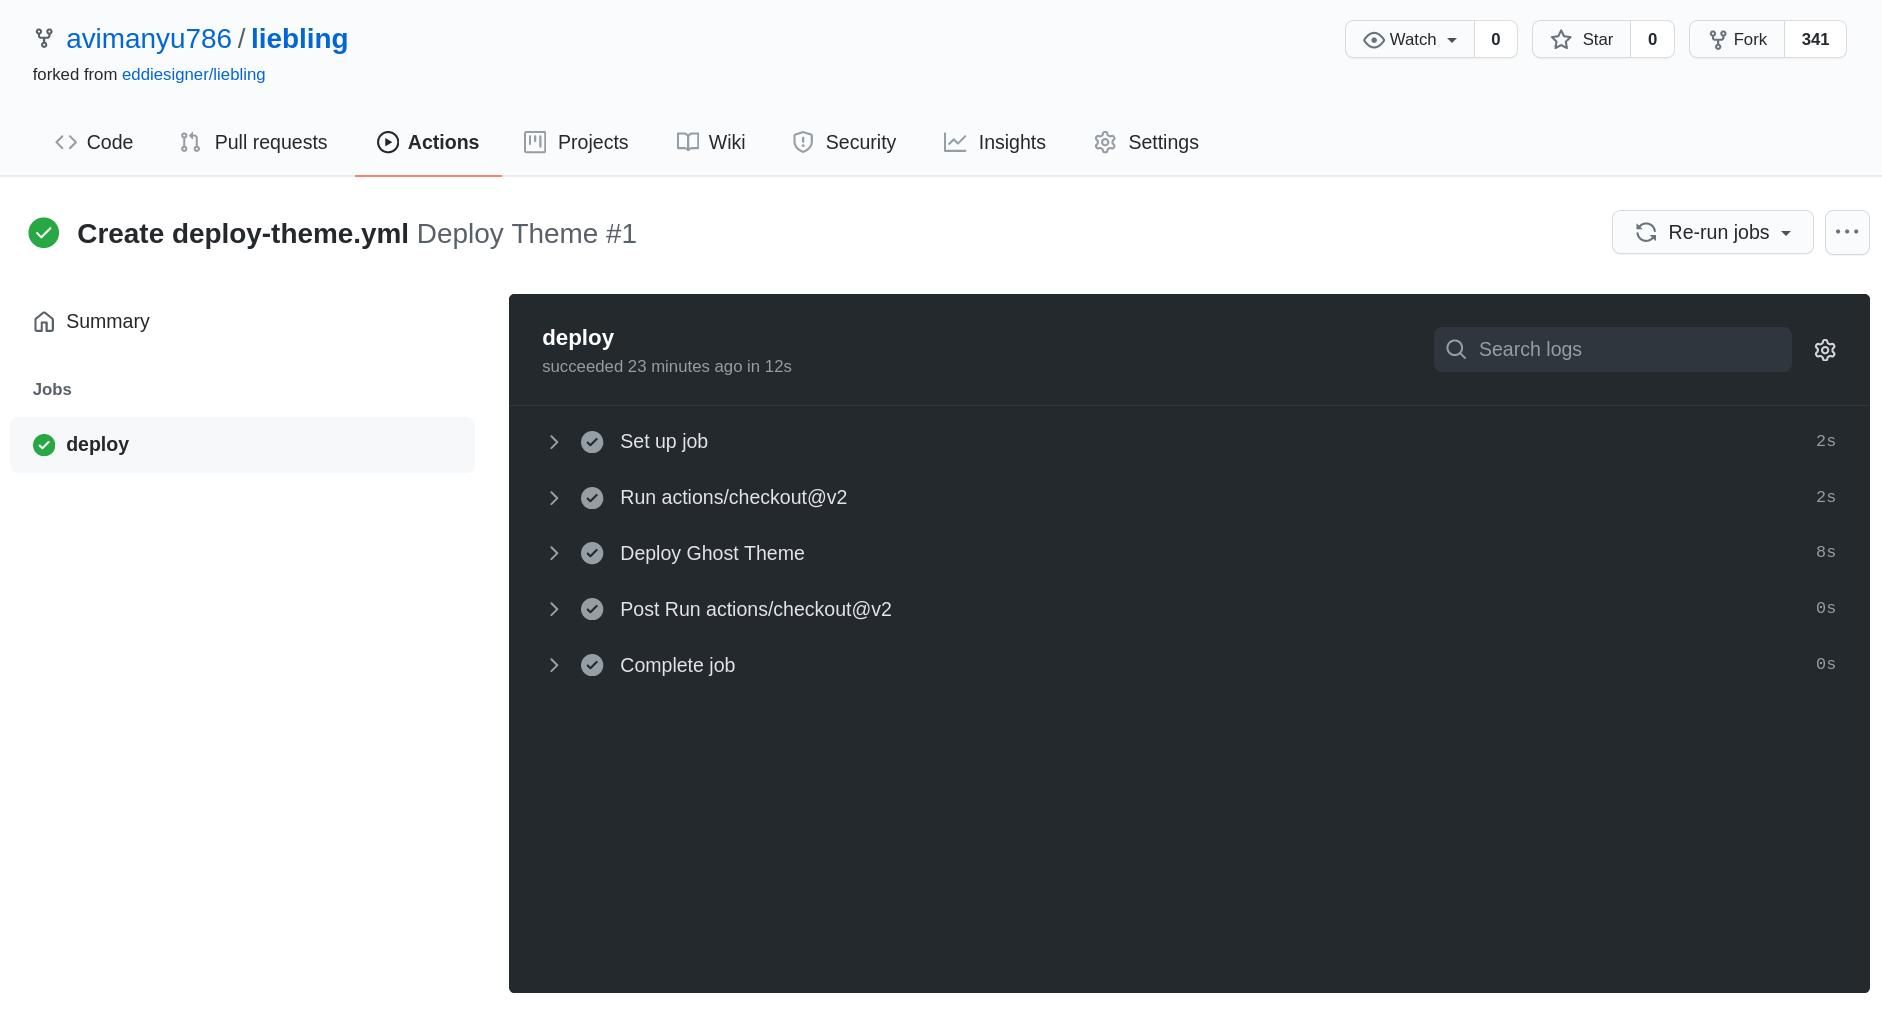
In case you're curious, you can try clicking on the five headers shown above and find out all the details about how the deployment went through.
In case there is a red cross sign instead of a green check-mark as mentioned above, one or more of these five sections must have been affected. Checking their details in that case can really help, if you require diagnosing errors encountered in the future.
As you can see here, all five are checked we can be sure that our deployment went through as expected.
Step 4: Activate the new theme on the Ghost admin panel
Now head back to your ghost admin panel. Go to Settings -> Design - You will notice that the new theme has been listed under "Installed Themes".
But to start using it, you still need to activate it.
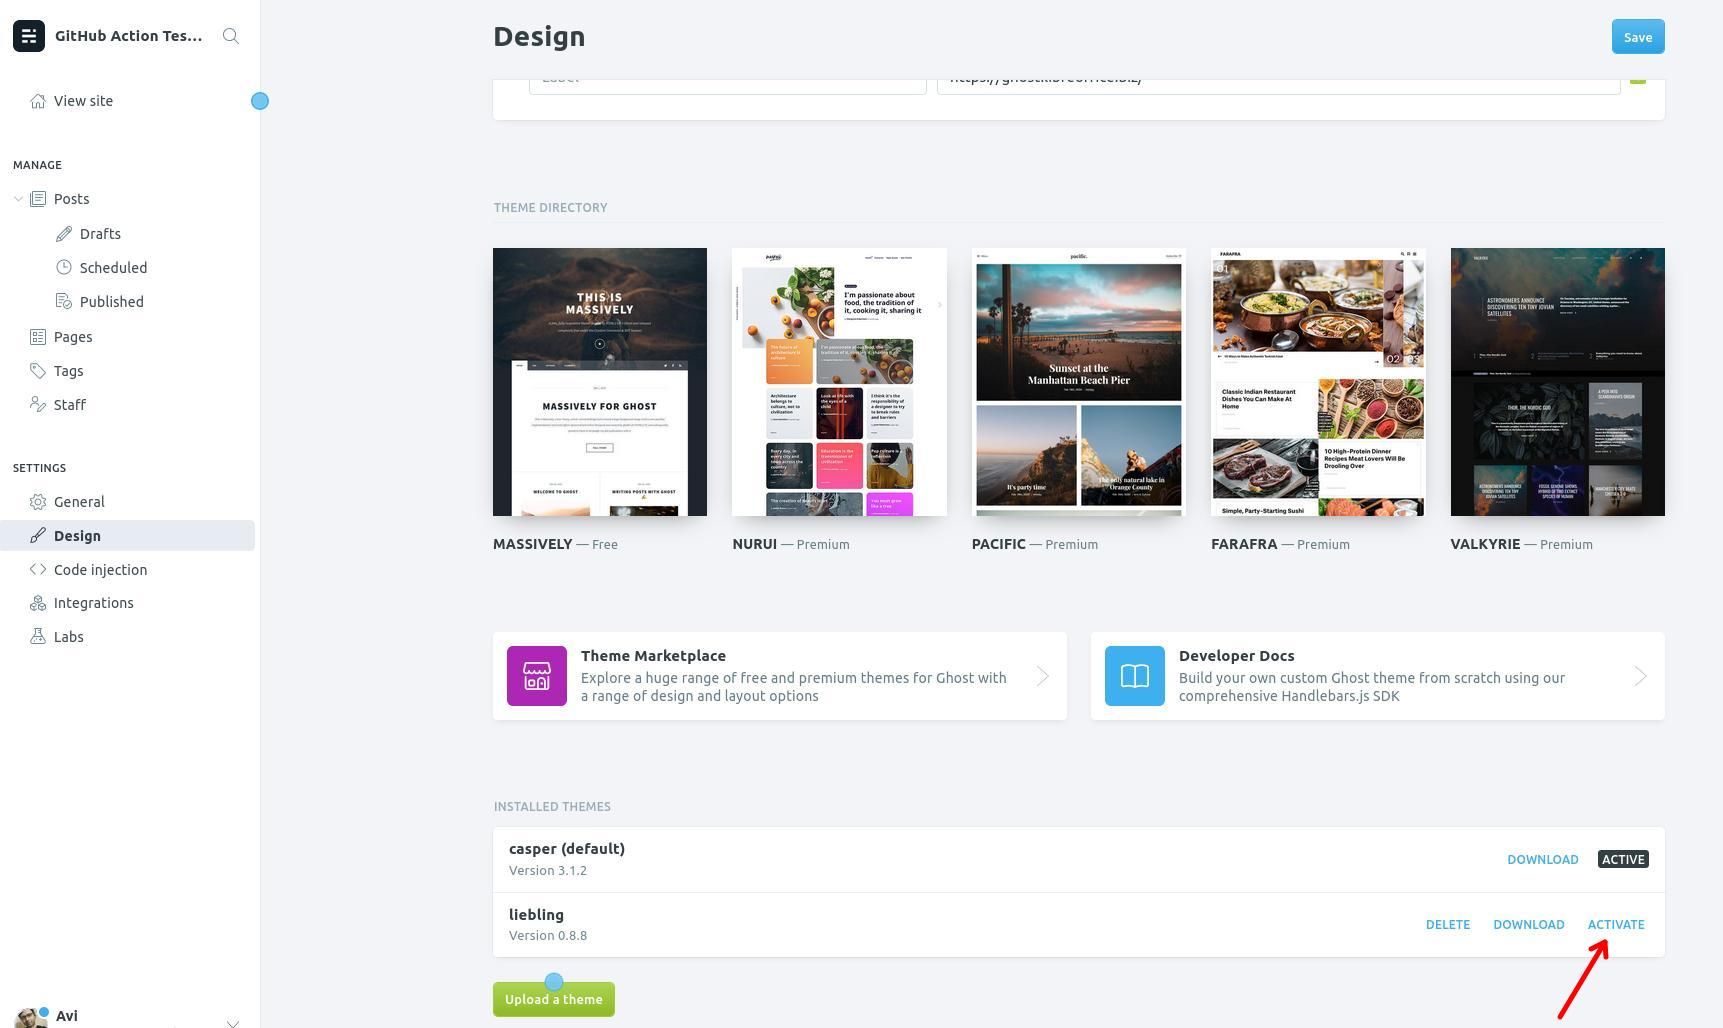
Once activated, the new theme will be active for your blog!

Keep in mind
From this point onward, whatever changes you make on your forked theme repository will be immediately effective on your Ghost blog's theme. You need not upload your theme to your Ghost blog every-time you make changes.
To avoid too many changes being deployed on the fly, you should not make any changes on the master branch directly from the GitHub account.
The standard workflow is to
- create a development branch
- pull this branch to your system
- modify the code
- commit the changes and push it to the development branch
- create a merge request to the master branch from development branch
When the pull request is merged to the master branch, it will deploy the modified code to your Ghost blog.
It may seem like a daunting task but trust me, once you have this setup in place, it simplifies Ghost theme deployments. You have the history of the changes made, you can accept or reject changes and it is uploaded automatically to your Ghost instance.
Hoping this helps you manage your Ghost blog more effectively!
Please join the conversation and share any thoughts you might have in the discussion section below.

DevOps Geek at Linux Handbook | Doctoral Researcher on GPU-based Bioinformatics & author of 'Hands-On GPU Computing with Python' | Strong Believer in the role of Linux & Decentralization in Science