

There are two main tools for searching files in Linux:
- find for finding files by names and attributes
- grep for finding files by its content
You combine find with xargs and you have an outstanding search tool in your hands.
I am not denying the power of find command. I have just explored another tool that does the same job with much more ease.
That tool is fzf, an interactive command line utility that implements a fuzzy search algorithm to search through all sorts of list: files, command history, processes, hostnames, bookmarks, git commits, and so on.
As you can imagine, it has the ability to make your life a lot easier.
I have explored fzf, liked it and I am going to share the features I love in fzf. I hardly touch find now.
Search and Selection
fzf can be run by simply entering the command in the terminal. It searches through all the files that are the working directory where the command is being run. The basic usage is quite simple and can be understood easily. To start, just enter:
fzfAs soon as you run the command, fzf opens up and starts listing all the files inside the current working directory. You can see at the bottom two numbers in a fraction, the numerator denoting how many files match the search prompt and the denominator denoting how many total files it is searching through.
There are a number of ways to input the search, which work like this:
To fuzzy search for a keyword simply as it is:
keywordThis is the way to get exact-matched results, i.e. item that include the keyword:
'keywordThis is how you look for items that either start or end with the keyword:
'keyword'To find items that start with the keyword:
^keywordTo find files that end with .ext extension.
.ext$There are options using which you can find anything but the keyword you're looking for.
To find all files which do not include the keyword:
!keywordThis finds all files to that do start with the keyword:
!^keywordFind all the files that do not have the .ext extension:
!.ext$These options might seem like they're a bit much to remember, but as you get used to the program, remembering the syntax will become second nature.
After you give the input, you get the list of items matching the criteria, with the most relevant results closest to the search bar at the bottom. When you press enter on a result, fzf exits with the file location displayed. You can even navigate using the mouse, scrolling and clicking the results.
Preview Mode
Using the preview mode, you can run a command that you specify for every selection that you get from fzf.
For example, if you want to read every single file that you select when you search for something, you can use the cat command to do so:
fzf --preview 'cat {}'The working of this command can be seen better in a video.
Previewing Images
You can use the preview window to even see photos on a terminal that supports graphics (duch has Ghostty) using Chafa, Kitty, ImgCat etc. The best, in my experience, has been Chafa. You can see how to install it here. Now to preview images, enter this command:
fzf --preview 'chafa {}'Display Modes
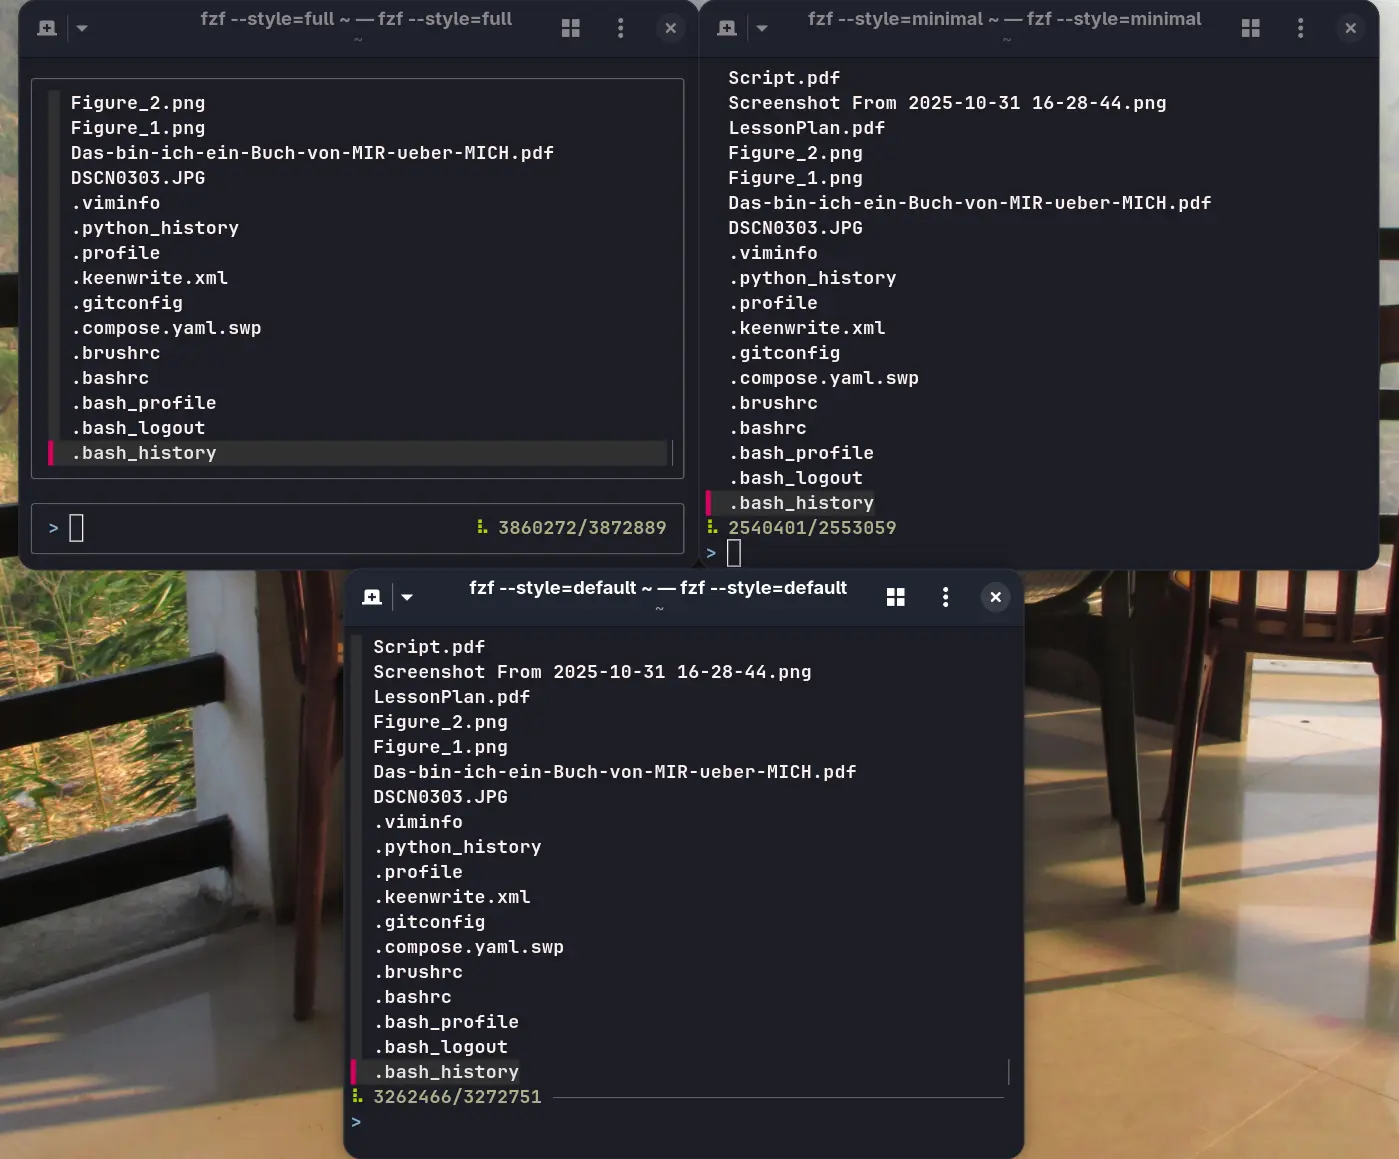
There are 3 different display modes that come with fzf: default, full and minimal modes. On plain application with the command, the difference in the interface doesn't seem like much:
But there are a huge number of attributes you can modify to change the look of fzf as you please. Some of the most useful ones are:
Height
Using this, you can choose how much of the terminal window fzf will occupy:
fzf --height=40%Setting the value at ~100 will cause fzf to occupy the entire window.
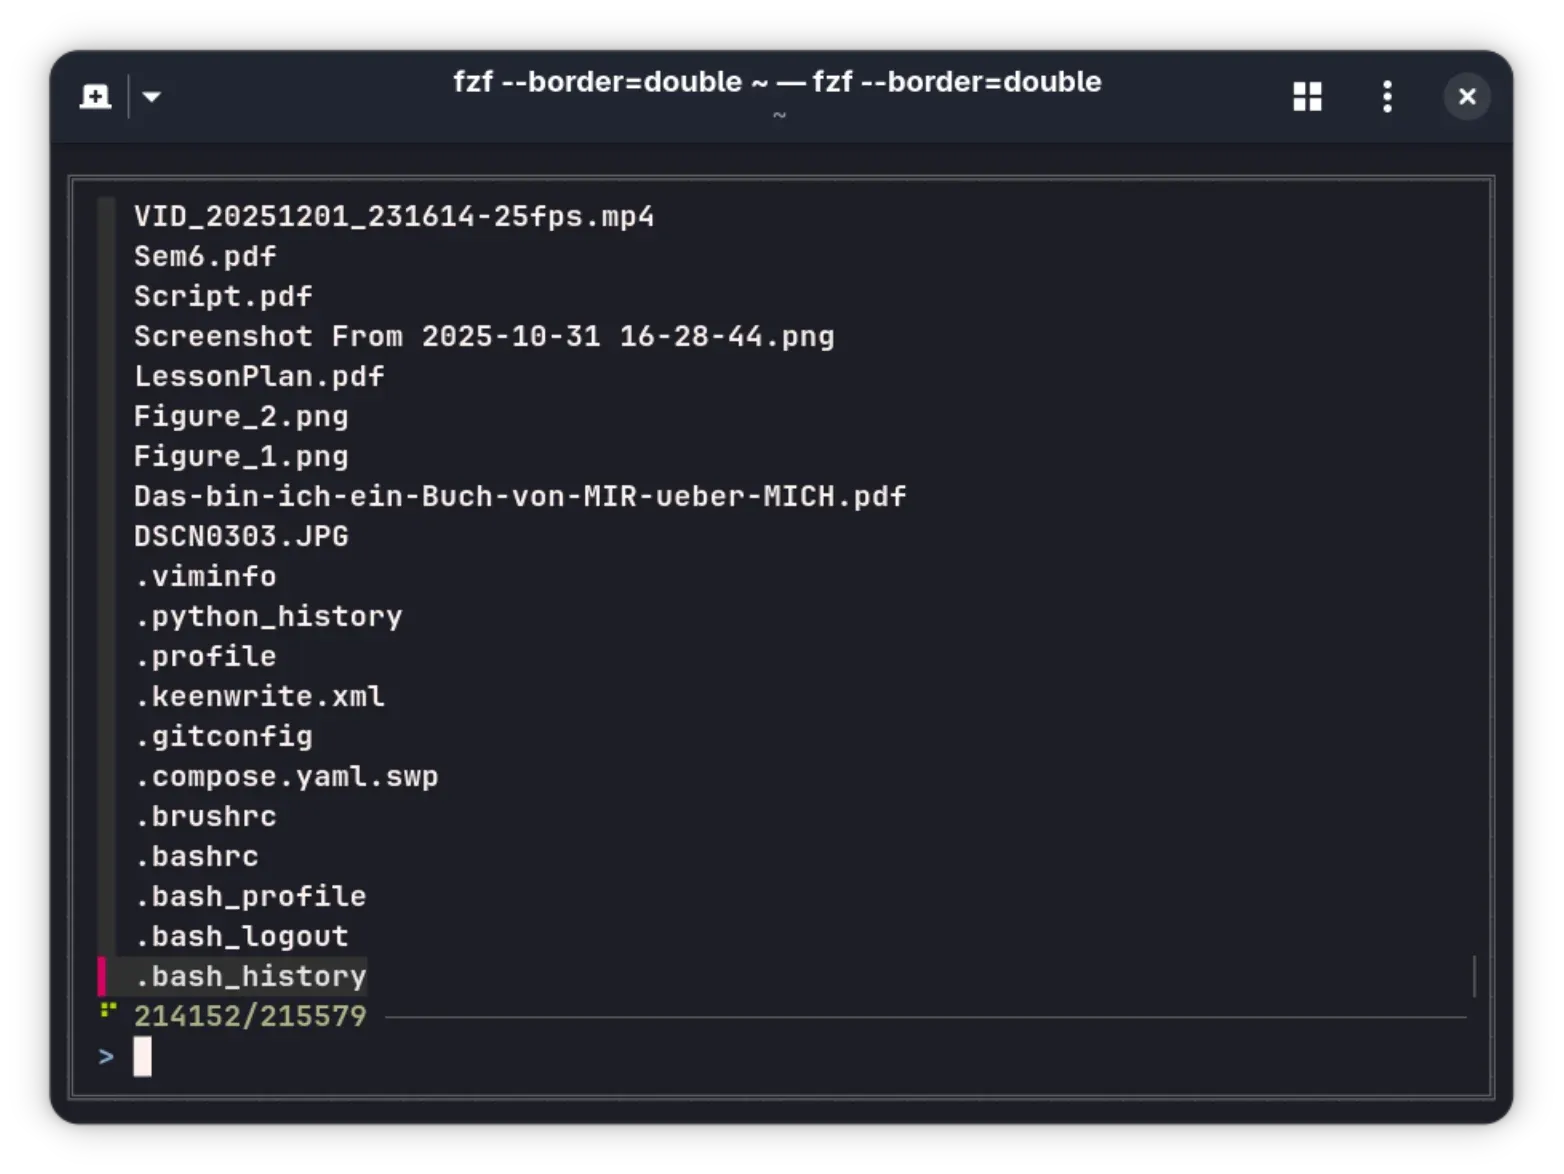
Border
By default, fzf has no solid border. But it does offer a number of options if you want one:
fzf --border=<style>Some of the styles that it offers are:
- rounded: gives (obviously) round borders.
- sharp: gives (again, obviously) sharp borders.
- bold: bold-line borders.
- double: double-lined borders.
- horizontal: borders only at the top and the bottom.
- vertical: borders only on right and left edges.
- top: only at the top.
- bottom: only at the bottom.
- left: only on the left.
- right: only on the right.
There are other options as well.
Layout
In the default settings, the fzf starts from the bottom of the screen, but you can reverse that using:
fzf --layout=reverseA simpler command to do the same is:
fzf --reverse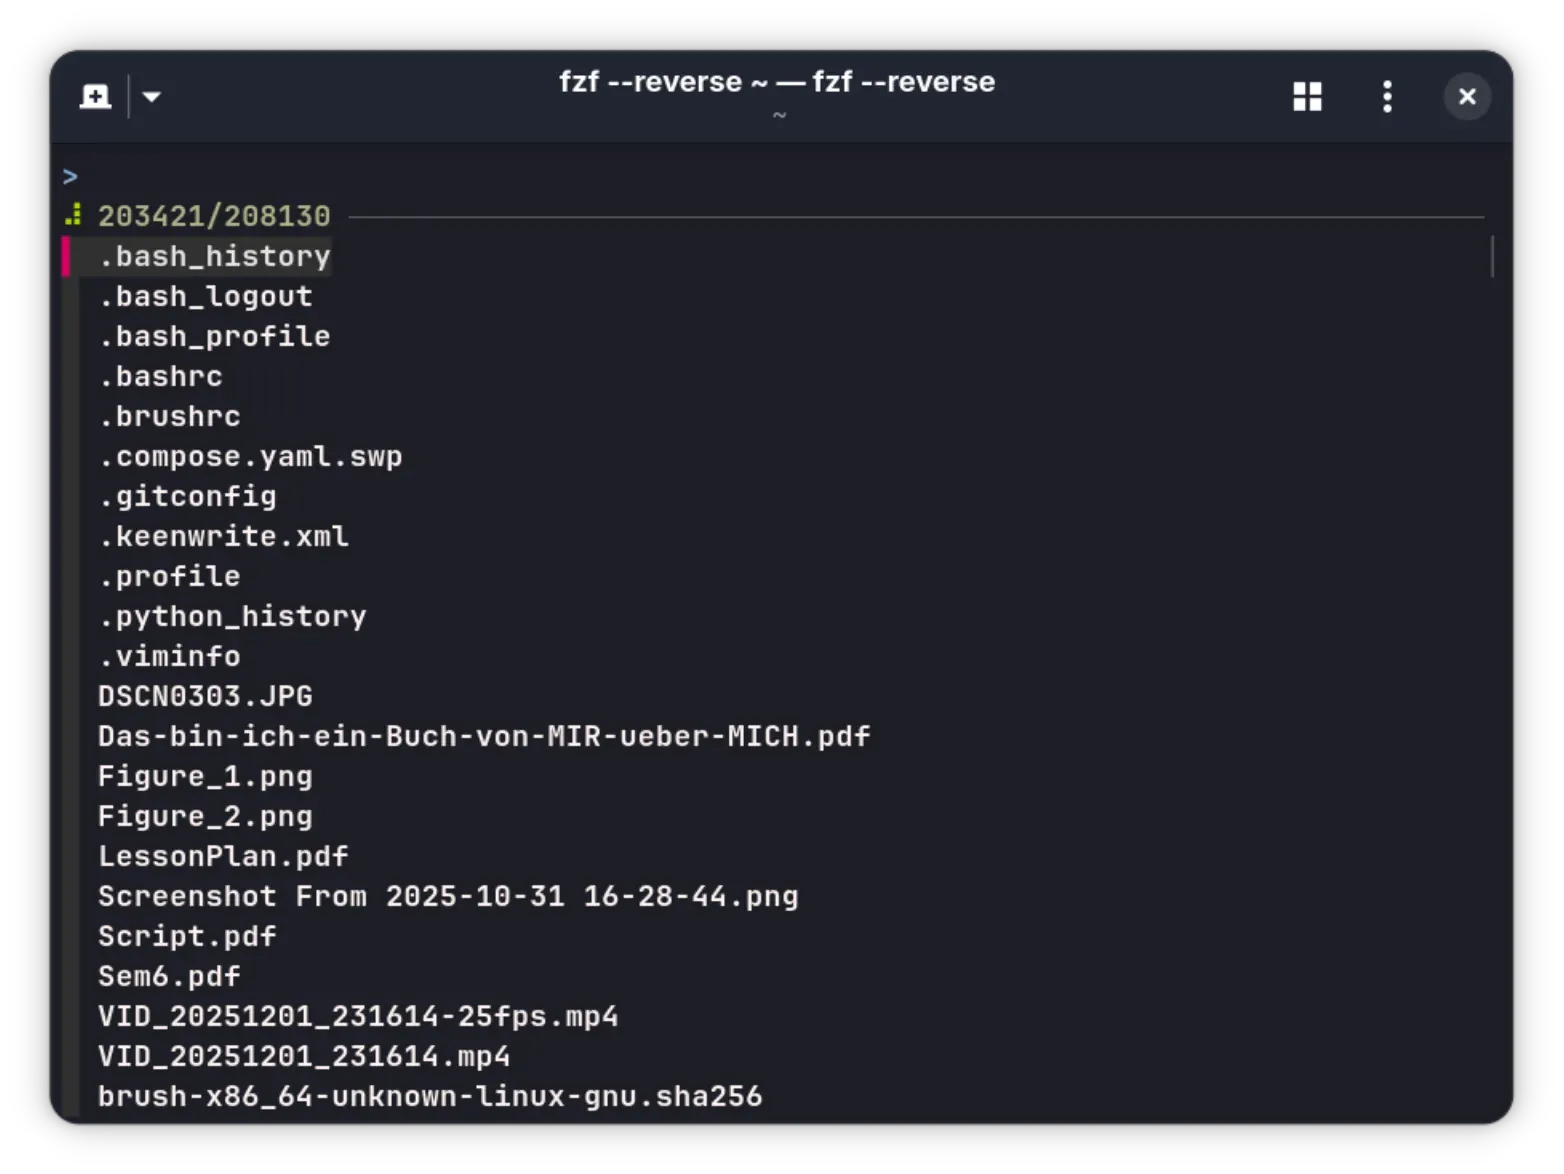
There is even a specific case where you can get fzf starting from the top of the window, but the prompt will be at the bottom:
fzf --layout=reverse-listMargin
You can add a margin with a command with the following syntax:
fzf --margin T%, R%, B%, L%Where T, R, B and L stand for top, right, bottom and left respectively. To have the same margin in all directions, you can simply enter a single value.
Padding
The padding option is relevant only if you're using a border as well. This is the gap between the actual contents of the command and the border of the same. It works the same way as margin:
fzf --padding T%, R%, B%, L%where T, R, B and L are top, right, bottom and left percentages respectively.
There are more advanced options for modifications which change how the list section or the input section look. For the list section, you can enable/disable multi-selection, highlighting, line wrapping, and a scrollbar. You can even enable tracking, in which case the selected result will be tracked while the results are being updated. You can add a gap between result lines (and modify what the gap looks like).
For the input section, you can change the prompt, information style, enable/disable a separator, add ghost text, add borders or label, or even disable the section entirely! There are more options for modification of both of these sections, in case this doesn't satiate you.
You can see all of these options using:
fzf --manstdin
fzf works on standard input as well, and you can pipe reults into it to search through them. For example, for searching only through the results of the ls command, you can enter:
ls | fzfThis doesn't have to be just ls, it can be the result of any command that you would want to search through.
Shell Integration
One of the most useful features of fzf is that it can directly integrate into your terminal of choice. This is great, especially if you spend a lot of time at the terminal. There are various shortcuts that search with different intentions, which are:
- Ctrl+R: To search through the command history.
- Ctrl+T: To search for files in the working directory, as you would when using fzf normally.
- Alt+C: To search for directories within the working directory.
But first, you need to integrate it into your terminal. Various shells work with different commands:
For bash:
eval "$(fzf --bash)"For zsh:
source <(fzf --zsh)For fish:
fzf --fish | sourceRun these commands depending on what shell you're using, and you're good to go.
Fuzzy Completion in Terminal
You can use fzf to enhance the autocompletion that the terminal provides. This feature is valid only for bash and zsh, however. For any command where you have to give the location of a file or a directory, you can do with fzf integrated, simply by putting "**" before pressing Tab key. So for example, if I want to cd into a directory that is deep within my working directory, I can just type:
cd **<Tab>directory keywordThis is better shown in action in this video:
Similarly, you can use the same method to use kill/pkill to kill processes, or nano/vim files that you want to edit, and so on. It is extremely convenient as long as what you're looking for is within your working directory, working almost like Harry Potter's accio spell.
Changing the Search Parameters
There are various options to even modify how the searching works on fzf. By default, the search works on extended mode, other than that, you can toggle case sensitivity using --ignore-case or --no-ignore-case or even use --smart-case, where the case sensitivity is off by default, but turned on if there are any uppercase letters in the input.
It also offers two searching algorithms, where the default one is v2. The algorithm v1 is supposed to be faster but not as accurate as v2. You can change it using --algo=v1.
Vim Integration
In case you use Vim, here's another extra feature for you. You can enable it within the editor by adding a line to your Vim configuration file, which looks like this:
set rtp+=<fzf location>This location is usually /usr/bin/fzf on Linux, but can be /usr/local/opt/fzf if you've used Homebrew to install it.
How to get fzf
fzf is available on the default repositories of most distributions, making it very easy to install. On Ubuntu based systems, just enter:
sudo apt install fzfOn Fedora based systems:
sudo dnf install fzfYou can use Homebrew on macOS:
brew install fzfIf you want to find the instructions for any other systems, you can find it on the website quite easily.
Final Thoughts
There are still many more advanced features that fzf provides, which can all be found on the official GitHub page right here. If not the page, you can visit the man page of fzf (which is extremely well written) to find everything modifiable on fzf. With the exhaustingly immense amount of thematic as well as search-parameter customization that fzf gives you, it can be one of the most effective tools in your roster.
Let us know what you think about this tool in the comments. Cheers!
