

When you start learning Linux sysadmin, one of the common tasks you'll come across is installing the LAMP server.
LAMP is a tech stack that refers to the collection of the following software required to run a web application: Linux, Apache, MySQL, and PHP.
While these days, you can deploy servers preconfigured with a web service or run services in containers, installing the LAMP stack is classic.
It may seem complicated at the beginning but it gives you a good way to test and practice your Linux knowledge.
The best thing is that you don't need a cloud server for that. You can install LAMP on your own computer to create a local development environment.
In this guide, you'll get a LAMP stack up and running on an Ubuntu 22.04 machine. At the end of this process, you will have a web server running with a MySQL database backend and the PHP programming language to write dynamic content.
Setting up LAMP stack on Ubuntu
Which also means that you have taken care of L in LAMP. Let's move to the A (Apache)
Step 1: Installing Apache
Apache is a popular open-source web server. It is known for its stability, rich feature set, and flexibility.
To install Apache, update your local package index and then install the apache2 package using apt:
sudo apt update

sudo apt install apache2 -y

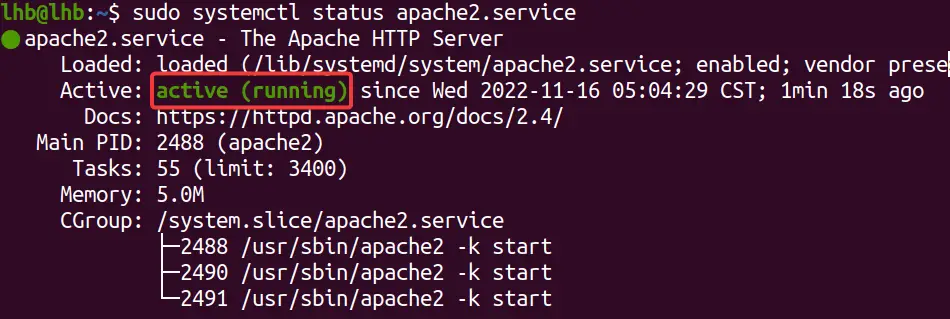
After the installation completes, the Apache service should start automatically. You can check whether the service is running by running the below command.
sudo systemctl status apache2.service
The output will look something like this.
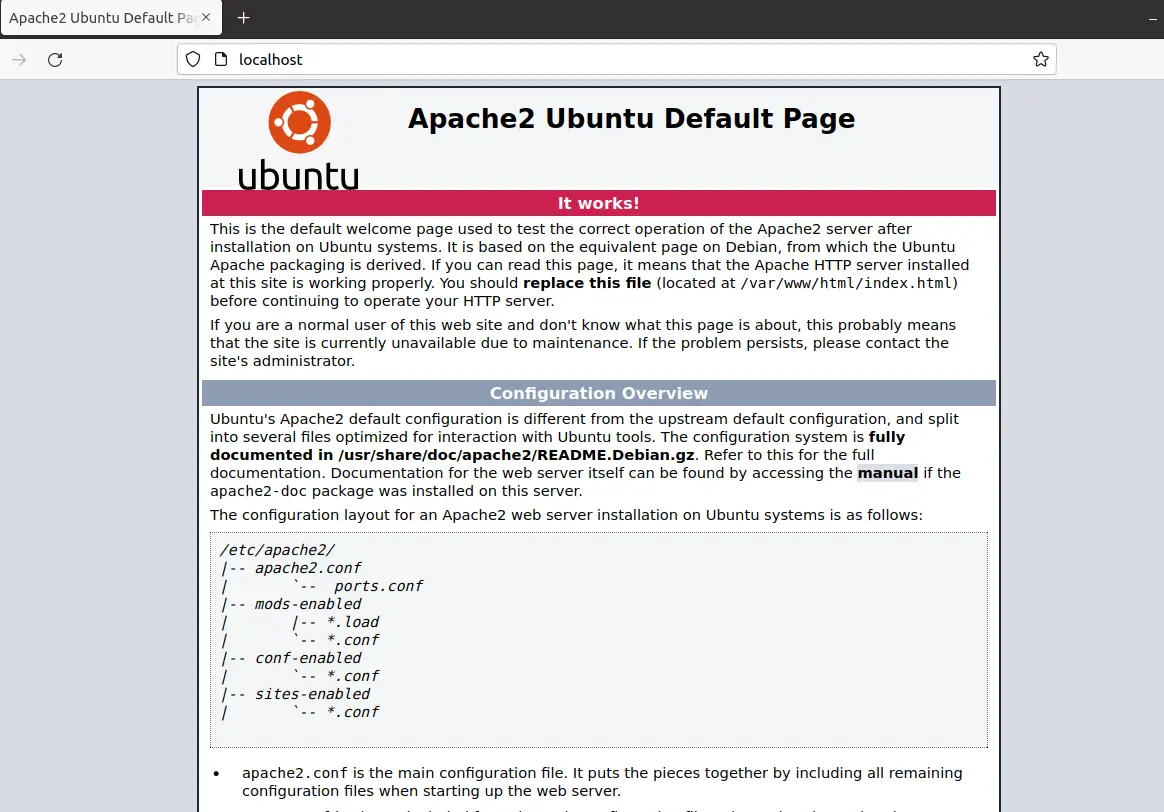
You can also check the status of the service by visiting localhost in your web browser. If Apache is running, you will see the default Ubuntu Apache web page as shown.
Great! L and A are done. Let's move to M in LAMP.
Step 2: Installing MySQL
MySQL, a database management system, is a necessary component of a LAMP stack because it is used by PHP to store information persistently.
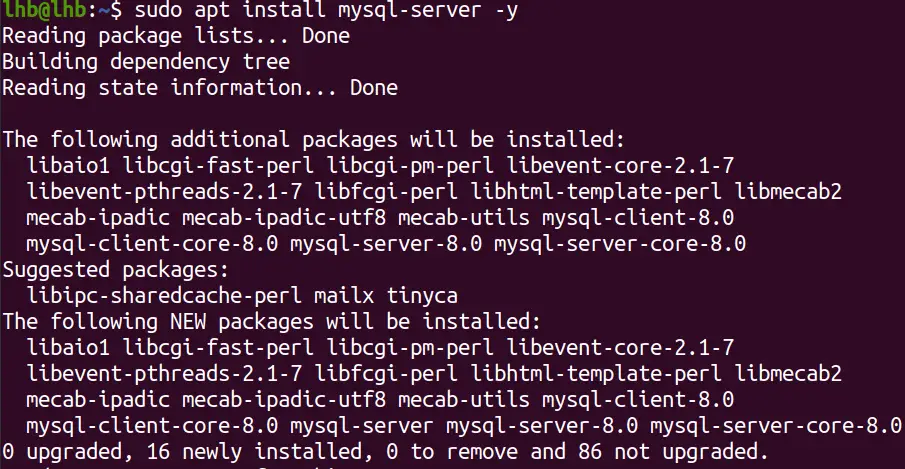
Installing MySQL on Ubuntu is pretty straightforward.
sudo apt install mysql-server -y
To start and enable the MySQL service, run the following commands.
sudo systemctl start mysql

sudo systemctl enable mysql
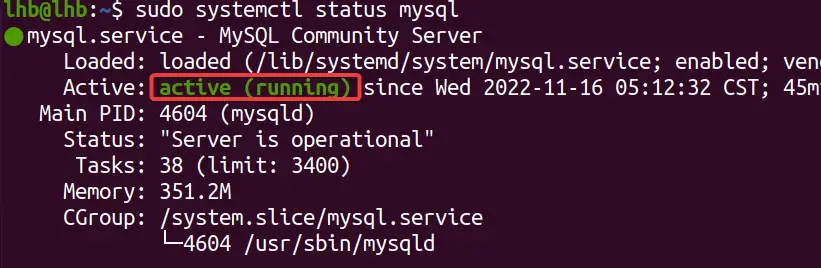
Verify that the MySQL service is running by checking its status.
sudo systemctl status mysql
You will see output similar to this:
Hardening MySQL (optional if you are testing)
The default configuration of MySQL leaves your installation insecure. To secure it, you need to run a pre-installed security script that comes with MySQL. It changes some of the less secure default options for things like remote root logins and sample user databases.
Now you may not need to do this if you are just testing LAMP stack deployment on local server. But if you are going to use it in real-world scenarios, you should harden the MySQL install.
Run the mysql_secure_installation command to improve the security of your MySQL installation:
sudo mysql_secure_installation
You will be presented with a series of questions.
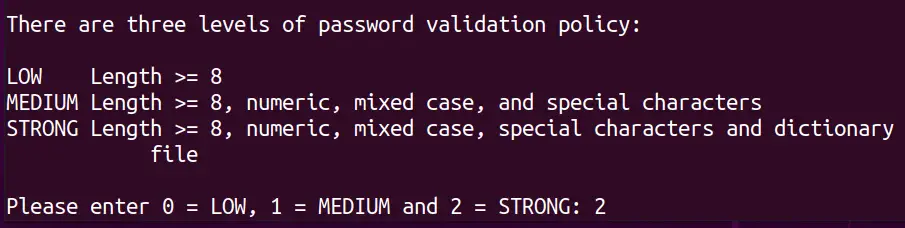
The first question asks if you want to enable the VALIDATE PASSWORD PLUGIN. This plugin tests passwords for strength and allows you to set only strong passwords for MySQL users.

Next, you will be asked to select a level of password validation policy.
There are three levels of password validation policy: low, medium, and strong. Type the number that corresponds to the password policy you want to implement and press Enter.
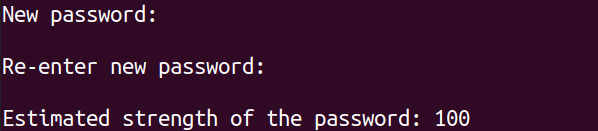
You will be asked to provide a strong password for the MySQL user. A strong password should be at least eight characters long and contain a mix of uppercase letters, lowercase letters, numbers, and special characters.
Type the new strong password for the MySQL user and press Enter. Next, retype the password to confirm it and press Enter again.
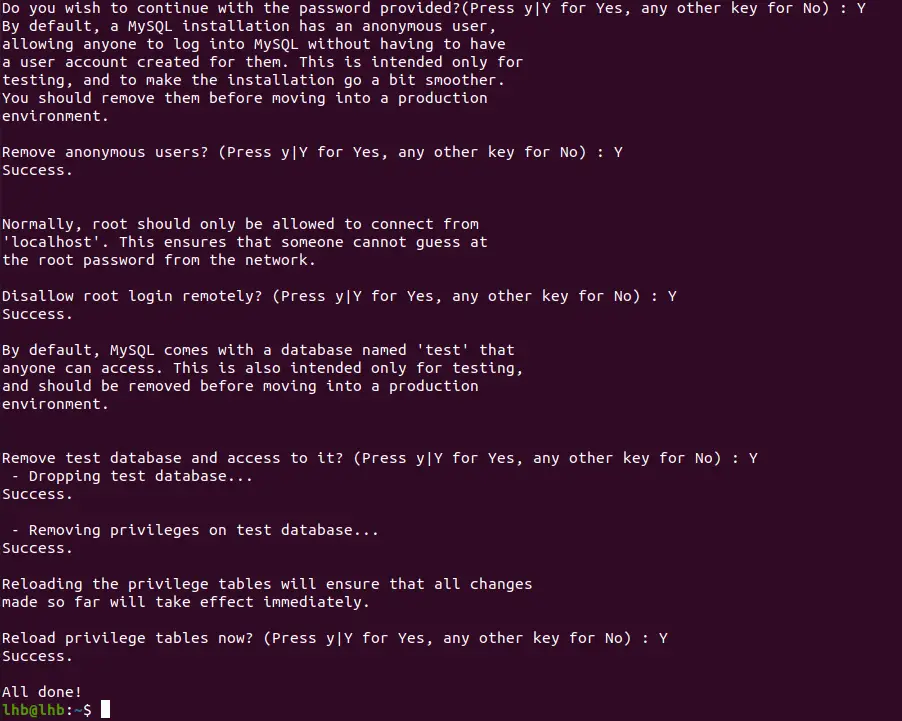
For the rest of the questions, you just press Y and hit Enter. This will remove the anonymous user accounts, disable root logins outside of localhost, remove the test databases, and reload the privilege tables.
You have now completed the basic MySQL installation and configuration. You can now move on to installing PHP.
Step 3: Installing PHP
PHP is a server-side scripting language that is used to process dynamic content requests. It can be embedded into HTML code or used as a standalone programming language. This is the last component of the LAMP stack.
To install PHP and the necessary modules, run the following command.
sudo apt install php libapache2-mod-php php-mysql -y

The php-mysql module allows PHP to communicate with MySQL databases. The libapache2-mod-php module lets Apache process PHP code.
Once the installation completes, you can check the version of PHP that was installed by typing:
php --version
Step 4: Test your LAMP stack by creating a PHP file
Now you have all of the components of the LAMP stack installed on your Ubuntu system.
But is it working? Let's create a PHP file and test it out.
PHP files usually have the extension .php. Create a file called info.php in the /var/www/html directory. This is the default Apache document root directory.
Open the file in Nano or any other terminal based text editor.
sudo nano /var/www/html/info.php
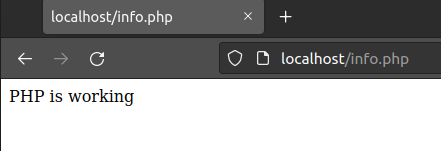
Add the following line of code to the file and save it. This line will output the text "PHP is working" if the file is accessed through a web browser.
<?php echo "PHP is working"; ?>
Restart the Apache web server to make sure the changes take effect.
sudo systemctl restart apache2
Now, visit your localhost address in a web browser, and you will see the text "PHP is working," as shown below.
You have now successfully set up a LAMP stack on your Ubuntu machine.
Conclusion
Apache is not the only web server. Lately, OpenLiteSpeed has also gotten quite popular. If you want to try it, you can replace the LAMP stack with LOMP stack.
The LOMP stack installation on Ubuntu is similar to this tutorial. In case you feel experimental, you can test your hands on it.
With this basic LAMP installation complete, you can now install a content management system like WordPress or Drupal, or even start coding your own PHP application.
