Chapter 2: Getting Started - Your First Steps
Ready to jump in? Here’s how to get started with Terraform

Step 1: Install Terraform
For macOS users:
brew install terraform
For Windows users: Download from the official Terraform website and add it to your PATH.
For Linux users:
wget https://releases.hashicorp.com/terraform/1.12.0/terraform_1.12.0_linux_amd64.zip
unzip terraform_1.12.0_linux_amd64.zip
sudo mv terraform /usr/local/bin/
Step 2: Verify Installation
terraform version
You should see something like:
Terraform v1.12.0
Step 3: Create Your First Terraform File
Create a new directory for your first Terraform project:
mkdir my-first-terraform
cd my-first-terraform
Create a file called main.tf and add this simple configuration:
# This is a comment in Terraform
resource "local_file" "hello" {
content = "Hello, Terraform World!"
filename = "hello.txt"
}
This simple example creates a text file on your local machine. Not very exciting, but it’s a great way to see Terraform in action without needing cloud credentials.
Step 4: The Magic Commands
Now comes the fun part! Run these commands in order:
Initialize Terraform:
terraform init
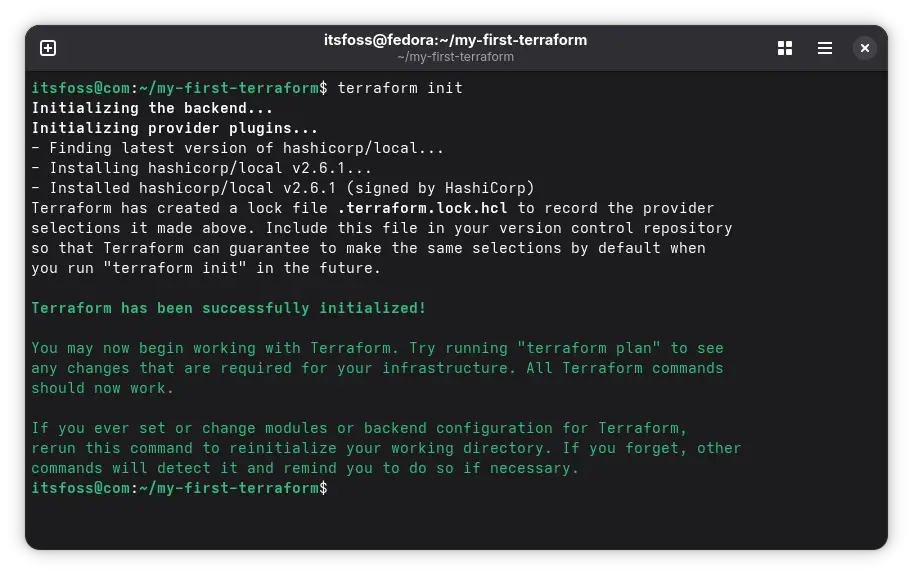
This downloads the providers (plugins) needed for your configuration.
See what Terraform plans to do:
terraform plan
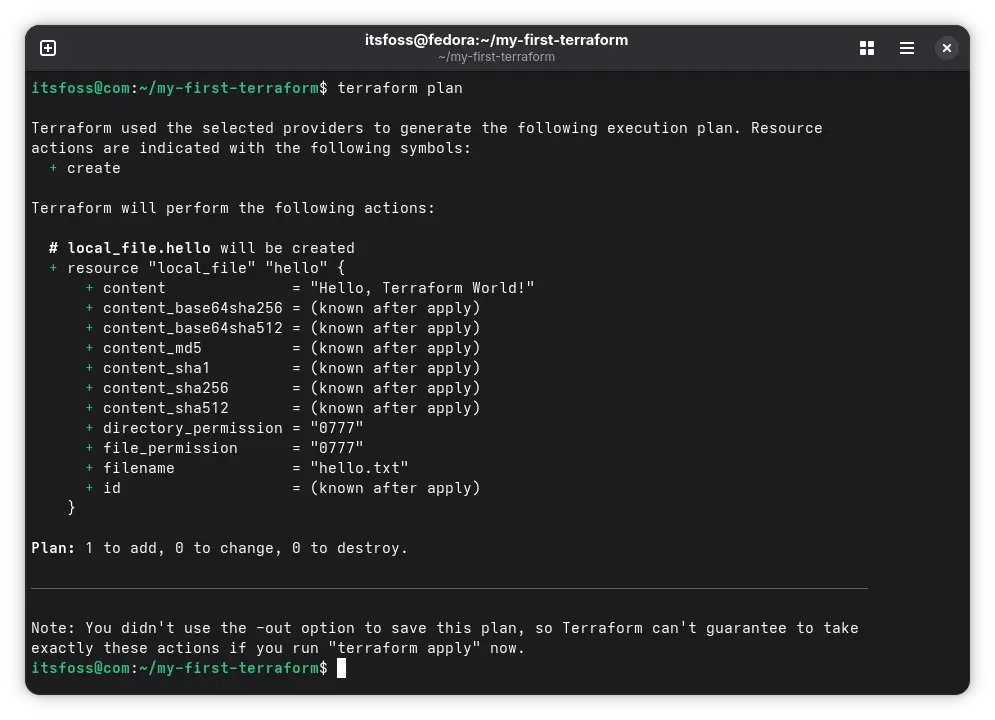
This shows you exactly what changes Terraform will make.
Apply the changes:
terraform apply
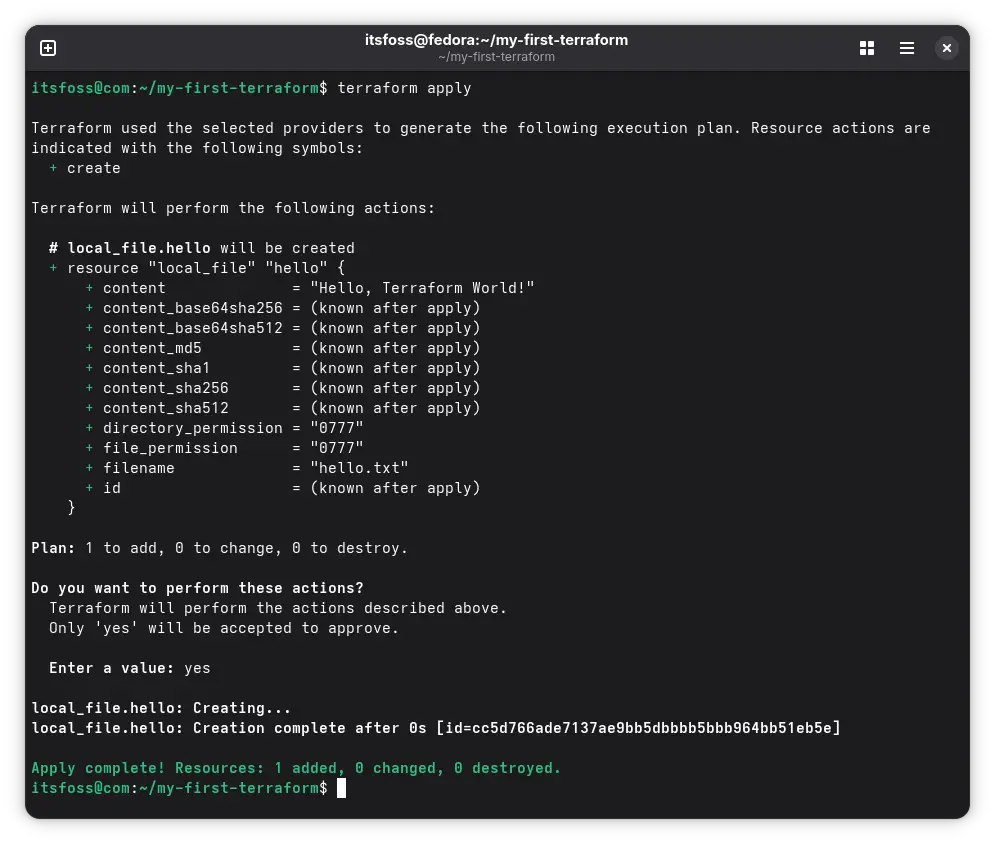
Type yes when prompted, and watch Terraform create your file!
Clean up:
terraform destroy
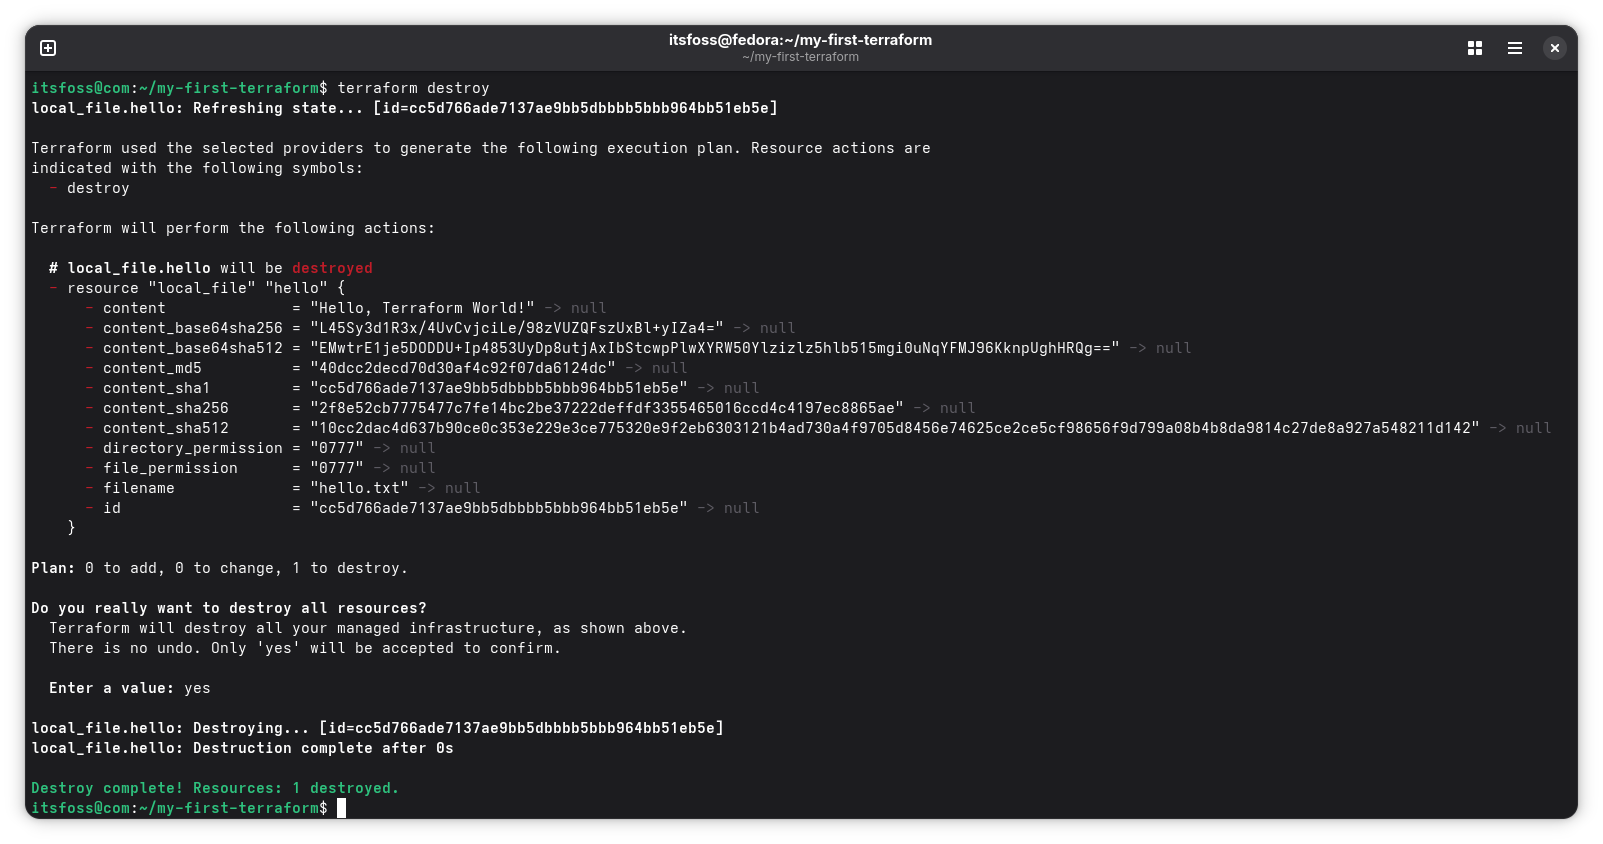
This removes everything Terraform created.
What Just Happened?
Congratulations! You just used Terraform to manage infrastructure (even if it was just a simple file). Here’s what each command did:
- terraform init: Set up the working directory and downloaded necessary plugins
- terraform plan: Showed you what changes would be made
- terraform apply: Actually made the changes
- terraform destroy: Cleaned everything up
This same pattern works whether you’re creating a simple file or managing thousands of cloud resources.
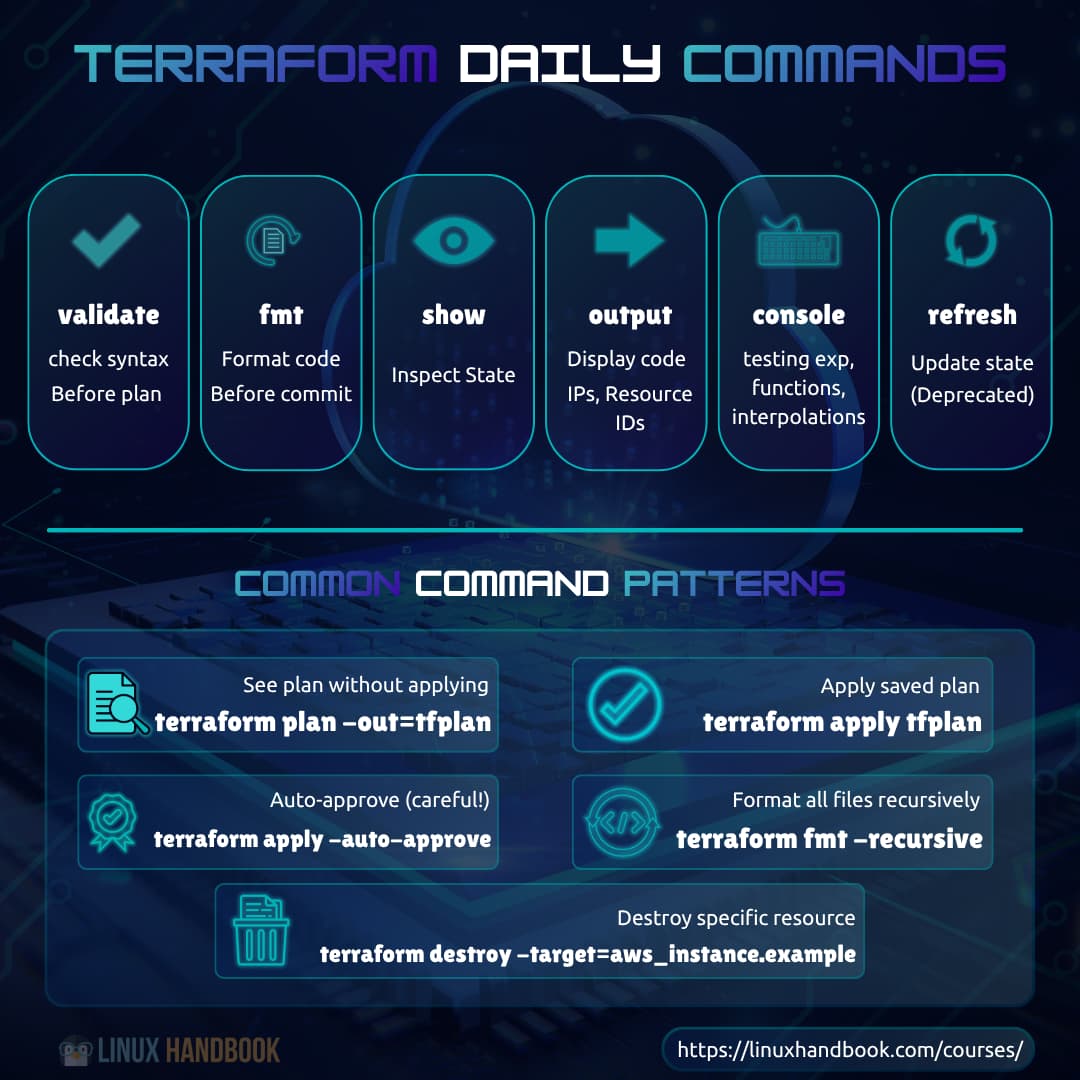
Essential Terraform Commands
Beyond the basic workflow, here are commands you’ll use daily:
terraform validate - Check if your configuration is syntactically valid:
terraform validate
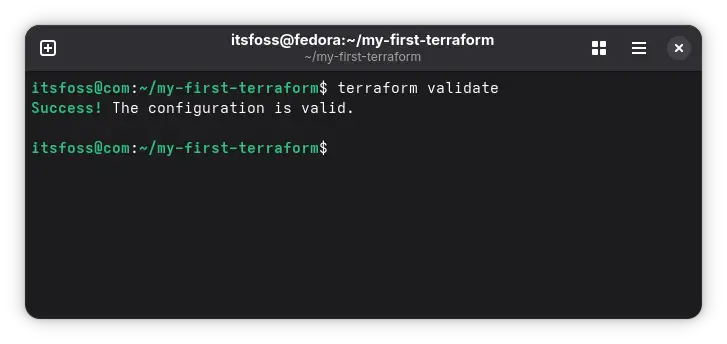
Run this before plan. Catches typos and syntax errors instantly.
terraform fmt - Format your code to follow standard style:
terraform fmt
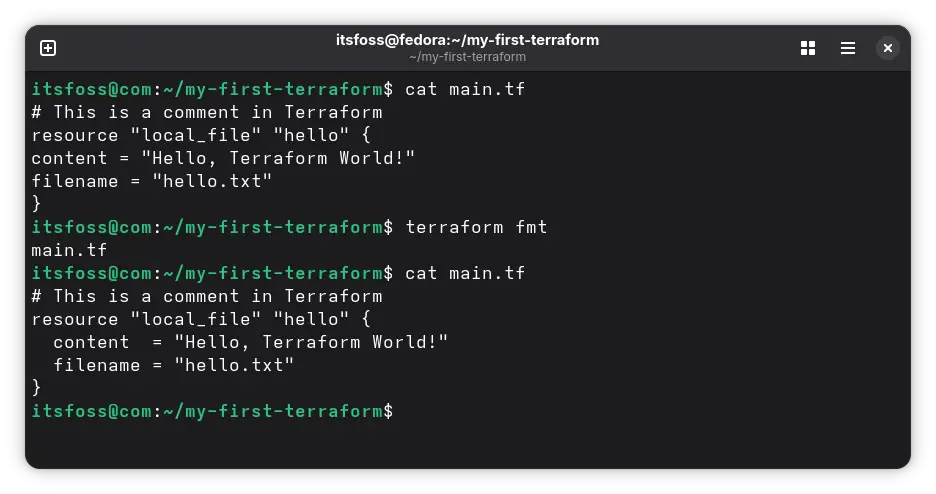
Makes your code consistent and readable. Run it before committing.
terraform show - Inspect the current state:
terraform show
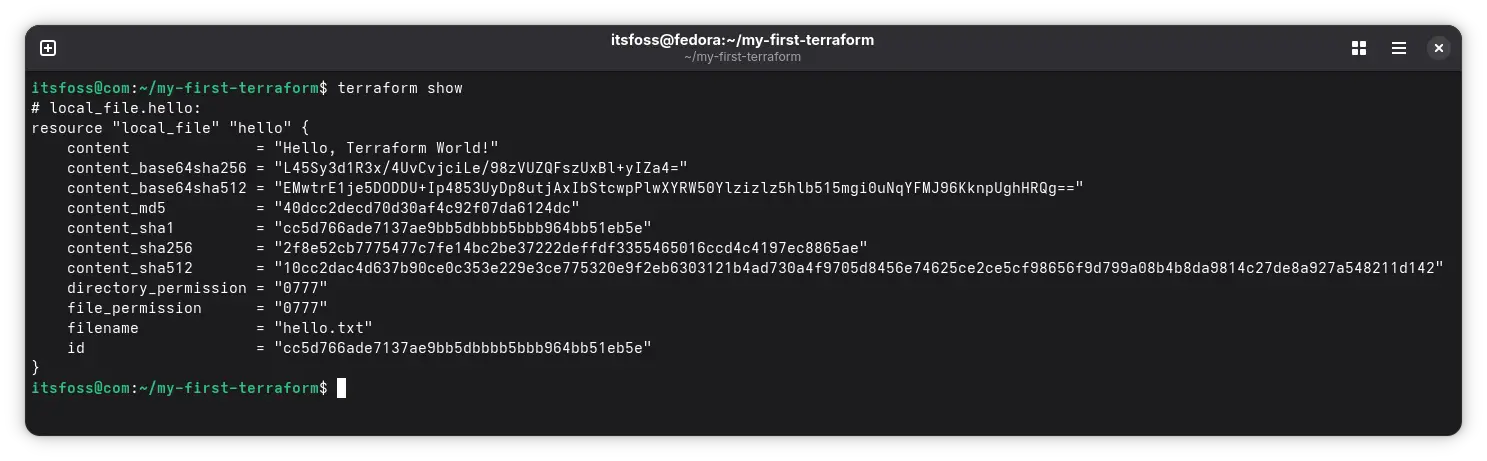
Shows you what Terraform has created.
terraform output - Display output values:
terraform output
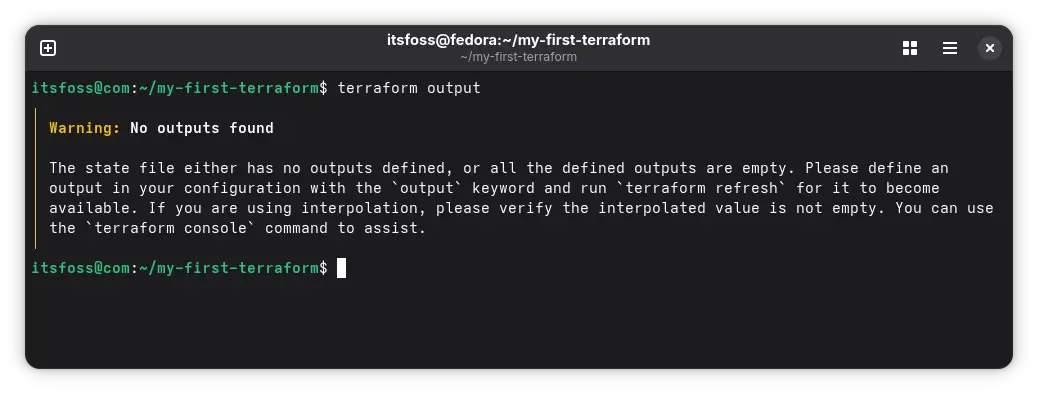
Useful for getting information like IP addresses or resource IDs.
terraform console - Interactive console for testing expressions:
terraform console
Test functions and interpolations before using them in code. Type exit to quit.
terraform refresh - Update state to match real infrastructure:
terraform refresh
Common Command Patterns
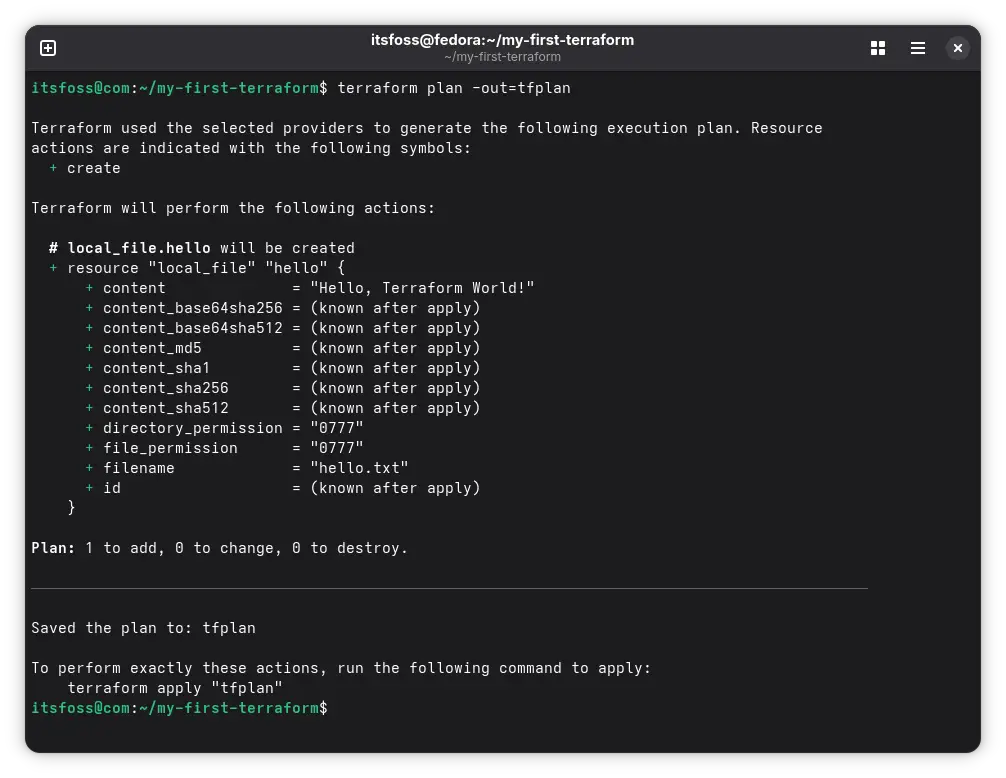
See plan without applying:
terraform plan -out=tfplan
Apply saved plan:
terraform apply tfplan
Auto-approve (careful!):
terraform apply -auto-approve
Destroy specific resource:
terraform destroy -target=aws_instance.example
Format all files recursively:
terraform fmt -recursive
These commands form your daily Terraform workflow. You’ll use init, validate, fmt, plan, and apply constantly.
Now that you understand what Terraform is and how to use its basic commands, let’s dive deeper into the core concepts that make Terraform powerful. We’ll start with variables and locals—the building blocks that make your infrastructure code flexible and reusable.
I have also built Living DevOps platform as a real-world DevOps education platform.
I’ve spent years building, breaking, and fixing systems in production. Now I teach what I’ve learned in my free time.
You’ll find resources, roadmaps, blogs, and courses around real-world DevOps. No fluff. No theory-only content. Just practical stuff that actually works in production.