You are already familiar with the directory structure in Linux. It is like the roots of a tree.
And that's exactly the concept of the tree command. It shows the contents of the current directory and its subdirectories in a tree like fashion.
Before showing the examples of the tree command, let me quickly discuss how to install it.
Install tree
The tree utility does not come pre-installed in most Linux distributions. But you can find it in the official repositories and easily install it.
For Debian/Ubuntu base:
sudo apt install treeFor RHEL base:
sudo yum install treeFor Arch-based distros:
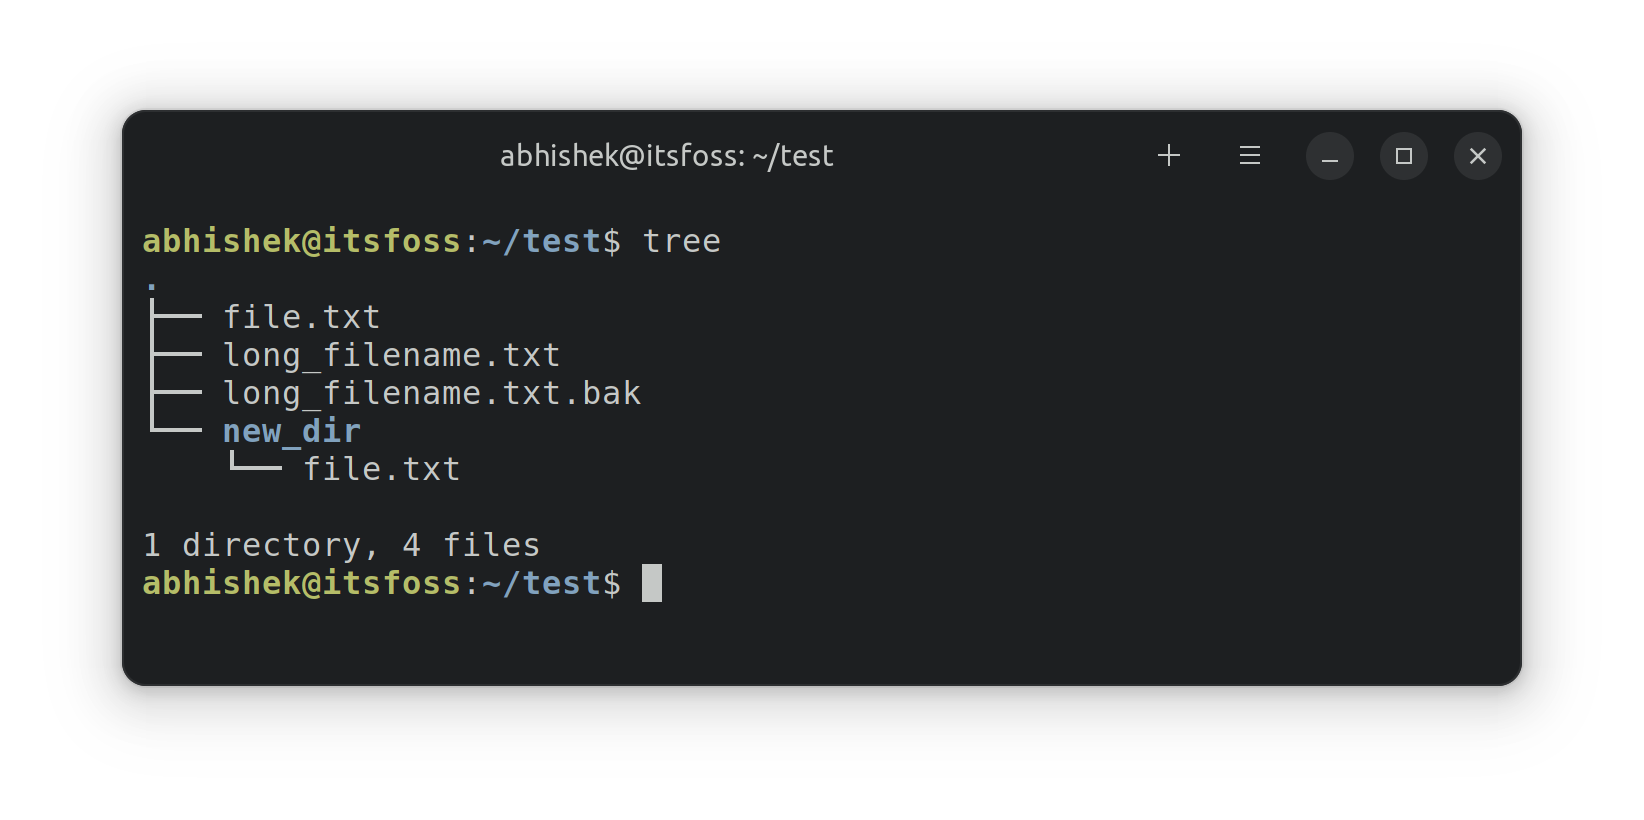
sudo pacman -S treeOnce done, all you need to do is append the directory or directory path to the tree command and it will show file contents in a tree manner:
tree target_directory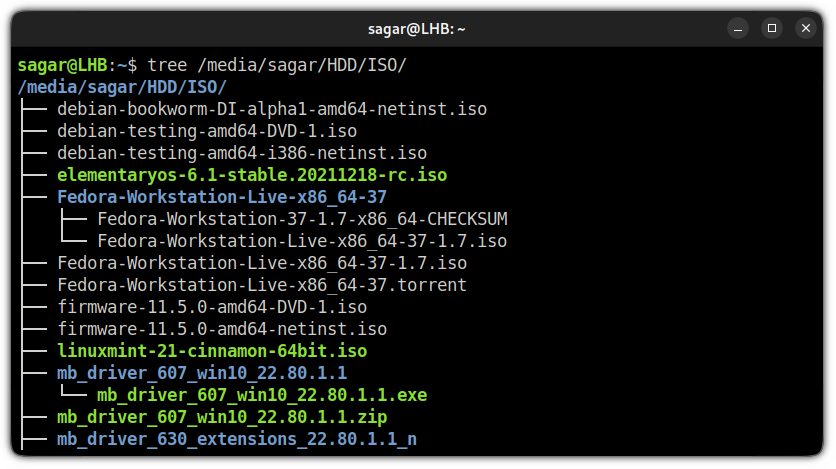
But the tree command can do more than just listing files in Linux. Here are some handful examples.
List only directories
If you want to list only the directories at the specified location, you can use the -d option.
tree -d target_directory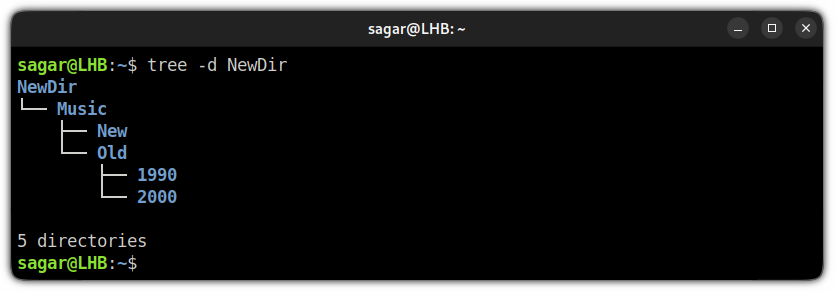
List hidden files
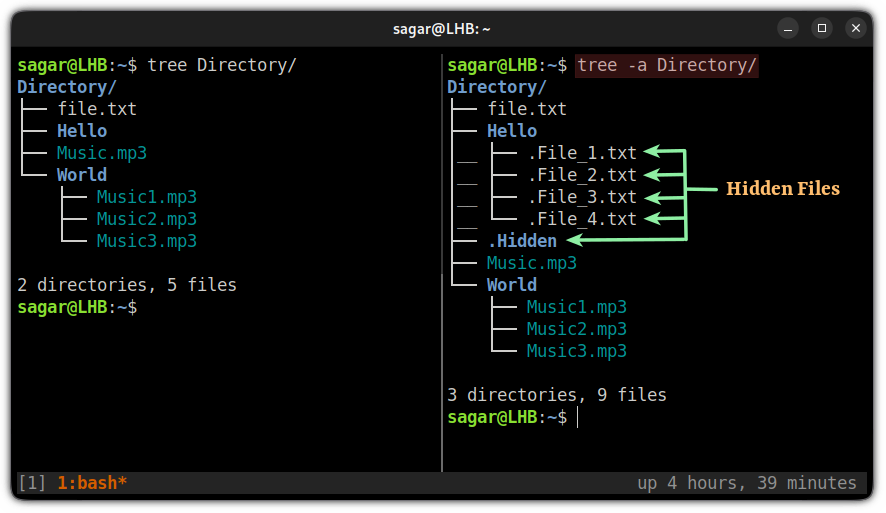
By default, the tree command won't list hidden files but this behavior can be altered by using the -a option.
tree -a target_directoryAnd here, I have compared how it differs when used alongside the default manner (without any options):
Include the path of files
If you want to get the path for each file, all you need to do is use the -f option and it gets you the path of every file:
tree -f directory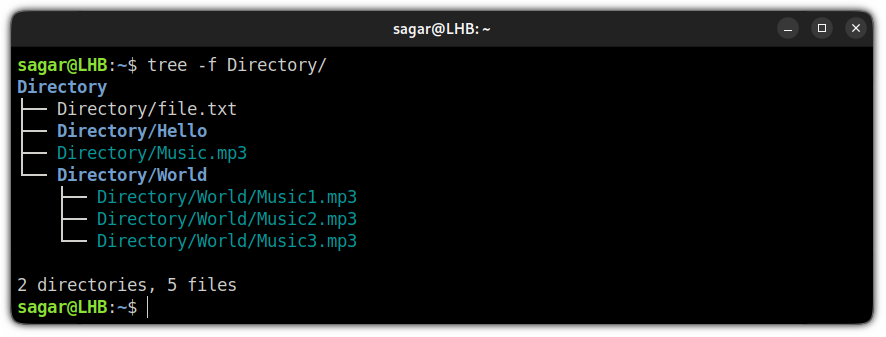
But what about getting the full path? Well, you just have to append the full path of a directory (from home to the target one) as shown:
tree -f /home/sagar/DirectoryAnd it is lengthy. So let me share a neat way.
In this case, you can utilize the value pwd that holds the value full path. So change the directory where you want to use the tree command.
And use the following command and it will get you the full path of every file present in that directory:
tree -f "$(pwd)"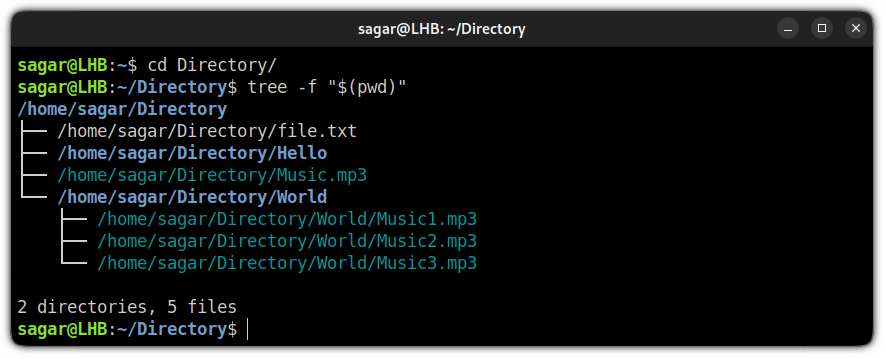
List files and directories based on the level
So if the directory has hundreds of subdirectories and if you only want to list the first certain levels such as want to include the first one or two subdirectories, you can use this feature.
You can specify the levels by appending the level (in numbers) to the -L option:
tree -L LevelFor example, here, I listed files that are at level 2:
tree -L 2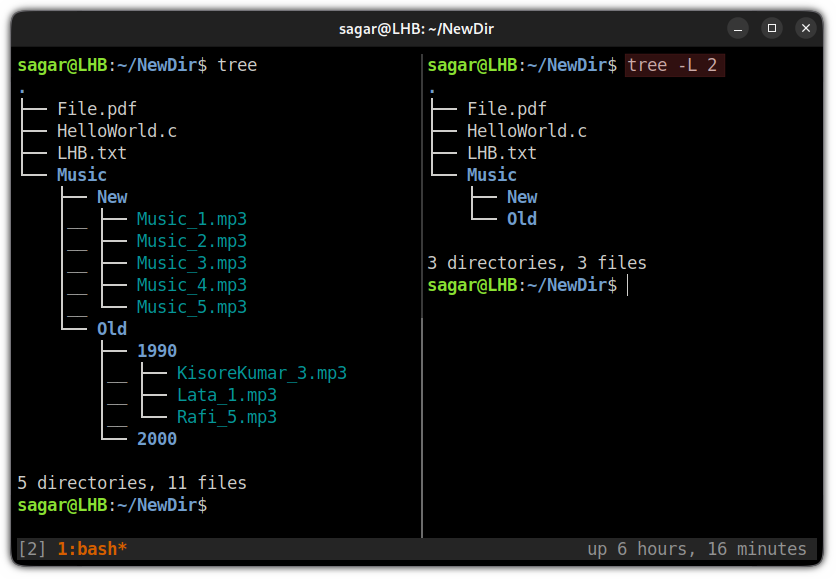
And you can see the difference where on the left side, it showed every file present whereas, on the right side (where I used level 2), it only brought the files & directories placed at level 2.
List files with permission
To attach file permissions with every file, all you need to do is append the -p option:
tree -p TargetDirectoryBut to make it convenient, I would suggest pairing it with -h option for better readability.
For example, Here I went with listing every file present in the MUSIC directory:
tree -ph MUSIC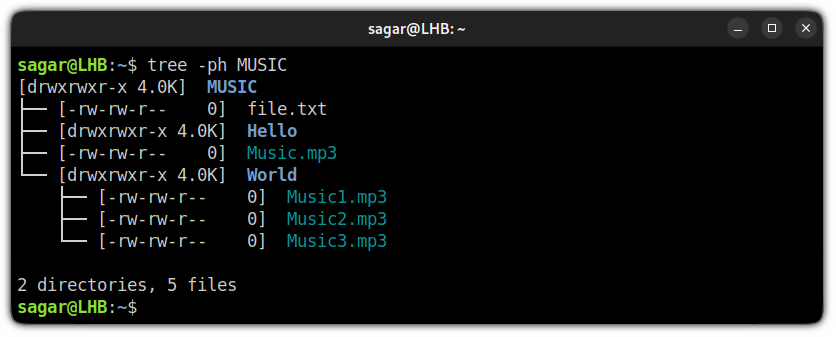
Get the file size of a directory using the tree command
The tree command can show you the size of each file and directory at a specified location and will also sum the size for you in the end.
For that, you will have to use --df option and I would recommend pairing it with the -h for better readability:
tree --df -h TargetDirectory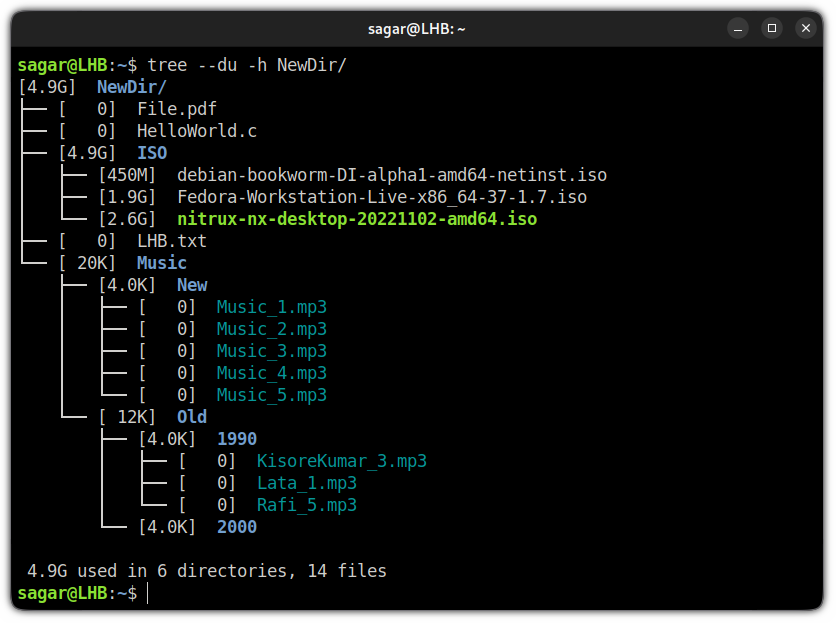
List files based on the last modification using the tree command
There are two ways of sorting files based on modification:
- First modified
- Last modified
Sort files based on first modification
To sort files based on modification, you will have to use the -c option and it will sort files that were modified the first by default.
And here, I will also be using the -D option to get the date and time of modification:
tree -cD TargetDirectory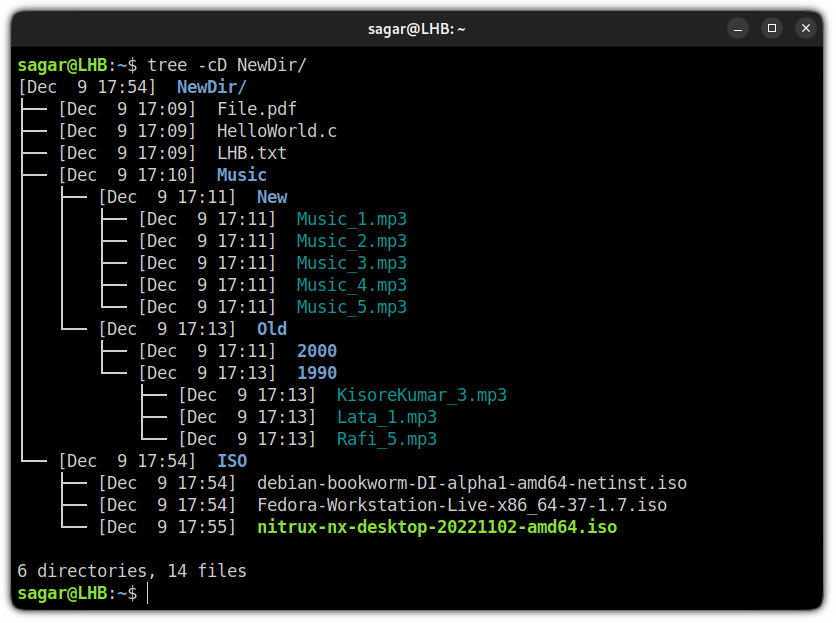
Sort files based on the last modification
In this case, you will have to alter the default effect of the -c option which will list files based on the first modification.
Which can easily be altered when paired with the -r option which will reverse the effect of -c option:
tree -cDr TargetDirectory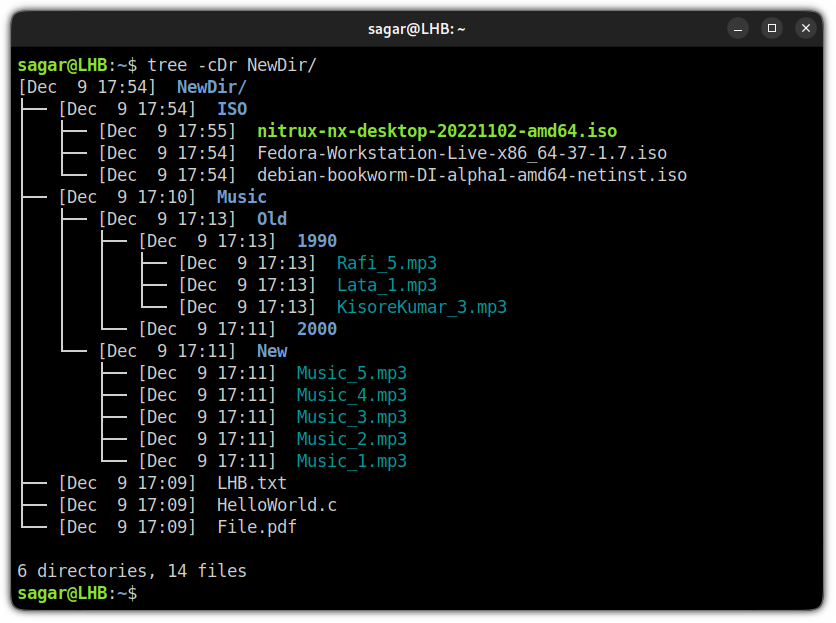
And you have them sorted for you!
Wrapping up
You can see how easy it is to visualize a nested directory structure with the tree command.
Ever since I installed it first, it's been an essential part of my Linux command arsenal. I hope you also start using it extensively.