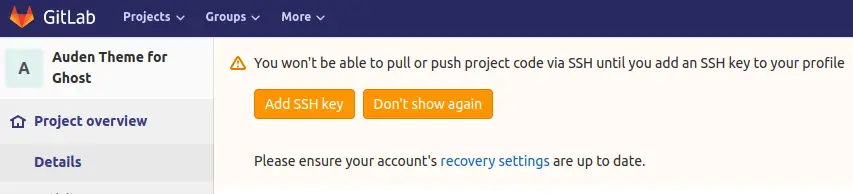
So, the other day I thought of using my long-forgotten GitLab account for storing and tracking all the customization I make to the Linux Handbook website.
I created a new repository on the GitLab web interface and I went on to push the directory I had on my personal system.
Everything was fine until I tried to push the code to remote repository on GitHub. It gave me a fatal error saying "Authentical failed for xyz repository".
Here's what the error looked like:
abhishek@linuxhandbook:~/Documents/Local-Code$ git push -u origin master
Username for 'https://gitlab.com': gitlab_profile_username
[email protected]':
remote: HTTP Basic: Access denied
fatal: Authentication failed for 'https://gitlab.com/gitlab_account_username/gitlab_repository/'
If you are facing a similar issue, let me show you how to fix this error.
Handling "remote: HTTP Basic: Access denied" Error With GitLab
The main line that gives some clue about the root cause of this error is this one:
remote: HTTP Basic: Access deniedWhy do I say that? Because your GitLab repository is using HTTPS. It expects to have a secure connection between your system and your repository.
Now, should it not be automatically using HTTPS? No! Not anymore.
GitLab has changed its policy and it now expects you to use your own SSH key to authenticate with your GitLab repository.
In other words, to push a code from your local system to your remote GitLab repository, you must create an SSH key-pair and add the public key to your GitLab profile.
I am using Linux so the steps are best followed on Linux. If you are using Windows or macOS, you should take a hint and check how to do the same on your operating system.
First check if you already have SSH keys:
ls ~/.ssh/id_rsa.pubIf you don't have it, create it using the next section else jump to the section after this one.
Creating SSH keys (if you don't have it already)
I am using Ubuntu so the steps are for Ubuntu. If you are using some other distributions, the steps may or may not be different.
Open a terminal and use the following command:
ssh-keygenYou should see an output like this:
Generating public/private rsa key pair.
Enter file in which to save the key (/user_home/.ssh/id_rsa):
Press the enter key and go with the default choice. You may be asked to enter a password to secure your SSH key. If you set a password, you'll have to enter it every time you try to make a SSH connection using the generated SSH key. You may or may not set a password for the SSH key.

Adding public SSH key to GitLab
If you have created SSH key on your personal computer, you should find it in the .ssh directory under your home directory in most Linux distributions. Display its content with this command:
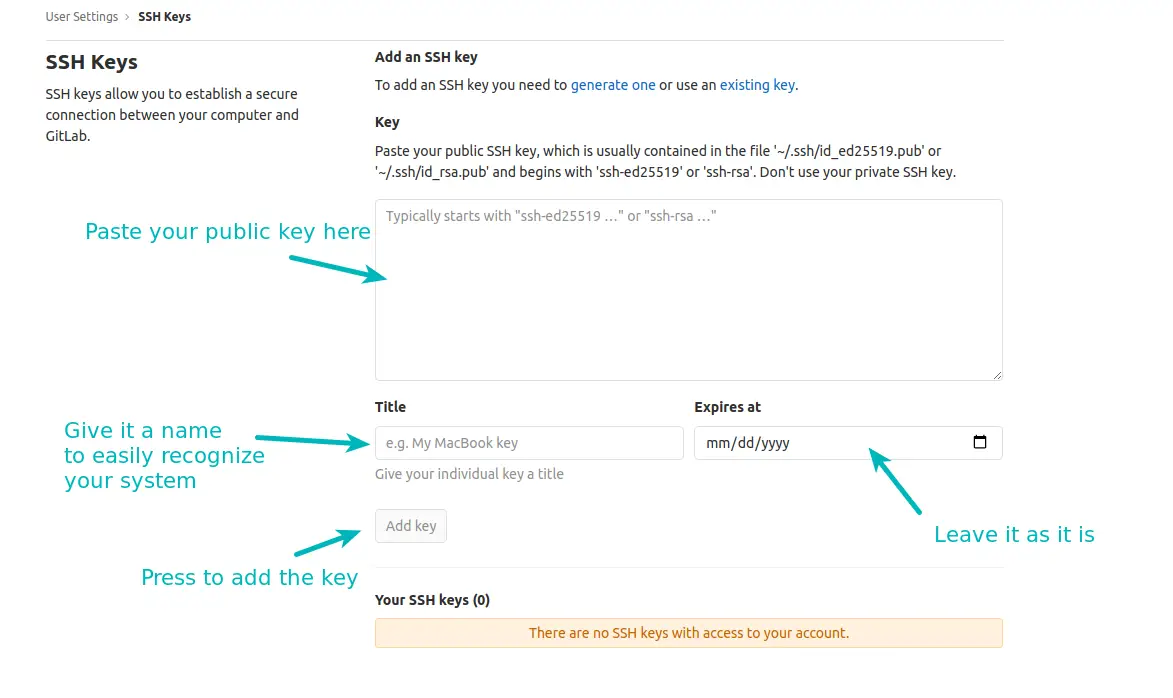
cat ~/.ssh/id_rsa.pubCopy the content of your public key. Now log in to your GitLab account, go to User Settings and look for SSH keys in the left sidebar. Alternatively, you can just go to this page when logged in.
You'll see a field for adding the public key. Just paste the key here. Give it a title to easily recognize which computer this key belongs to. Unless you did something on your own, SSH keys don't have an expiry date by default. So leave the expiry field untouched.
Done with everything? Hit the Add key button.
You can add more than one SSH keys. That's normal if you have more than one computer.
Check if you can push the code to GitLab now
So, you added your SSH key to your GitLab profile. Things should be good now. Time to verify it.
Try to push your code again. See if it works. Normally, you should see an output like this if it is successful:
abhishek@linuxhandbook:~/Documents/Local-Code$ git push -u origin master
Username for 'https://gitlab.com': gitlab_account_username
Password for 'https://[email protected]':
Enumerating objects: 127, done.
Counting objects: 100% (127/127), done.
Delta compression using up to 4 threads
Compressing objects: 100% (122/122), done.
Writing objects: 100% (127/127), 401.30 KiB | 6.37 MiB/s, done.
Total 127 (delta 14), reused 0 (delta 0)
remote: Resolving deltas: 100% (14/14), done.
To https://gitlab.com/gitlab_account_username/gitlab_repository.git
 * [new branch]      master -> master
Branch 'master' set up to track remote branch 'master' from 'origin'.
Still see error? Mind the difference between GitLab profile username and the account username!
I learned it the hard way.
GitLab has two usernames: profile username and account username.
You can easily change the profile username without any consequences. But changing the account username can be catastrophic.
The account username is what you'll see in the URL of your GitLab repository:
https://gitlab.com/gitlab_account_username/repository_nameWhile creating a new GitLab repository from its website, GitLab suggested using the profile username in the Git config settings on the personal computer.
I did that and I tried to use the same profile username while pushing the code to the repository. Unsurprisingly, it got denied even after adding the SSH key:
abhishek@linuxhandbook:~/Documents/Local-Code$ git push -u origin master
Username for 'https://gitlab.com': gitlab_profile_username
Password for 'https://[email protected]':
remote: HTTP Basic: Access denied
fatal: Authentication failed for 'https://gitlab.com/gitlab_account_username/gitlab_repository.git/'
So, the trick is to use the GitLab account username here. When I did that, the push to the remote GitLab repository was successful.
Did it work for you?
Well, I shared my ordeal with pushing code to GitLab repository. I hope this helped you with the "fatal: Authentication failed" error as well.
Did it work for you? Do let me know with a yes or no in the comment section.