Complete Guide to Buffers in Vim
Use Vim like a pro user by mastering the buffers.
Vim has been one of the most popular text editors that also influences extensions for other IDEs.
If you are an advanced Vim user, you might be using a terminal multiplexer like tmux or screen.
That could work but it's not the "Vim way" of doing things.
So, how do you edit multiple files at once without closing one and opening another file? Well, let me introduce you to Vim buffers!
What is a buffer in Vim?
Technically speaking, a buffer is anything that is loaded into the memory which is going to be used in the immediate future. The green progress bar in YouTube videos is an excellent example of a buffer. Now, talking about buffers in context with Vim, it means any file that you have opened in Vim that is stored in the memory for editing.
Creating new buffers
Now that you know what a buffer is and how it is useful in Vim, let's go over how you can create new buffers in Vim i.e. open multiple files in Vim simultaneously.
edit command
Vim has the :edit command that you can use for opening a file to edit, in an active Vim session. Or, you can use the :e command if you want to be really efficient in Vim.
:edit <filename>If a file with that name exists, it will be loaded in the active buffer, otherwise, a new file will be created.
With that, you can begin editing the "current buffer" (opened file).

As you can see, at first, I open the 'main.rs' file using the :e command and Vim immediately loaded that file in the active buffer. Next, I load 'node.rs' and it puts 'node.rs' in the active buffer, replacing 'main.rs'. Finally, I load the 'platform.rs' file in the active buffer which replaces the previous file which was in the active buffer.
Doing this, I loaded three files in the active buffer using the :e command.
badd command
That's not a typo for 'bad'. Vim has the :badd command. Read it like b-add or buffer-add and you'll understand its meaning.
If you prefer using a shorter version of commands, you can use the :bad command.
As the name suggests, it takes an argument that is a file name and adds it to the buffer.
:badd <filename>The difference between :edit and :badd command is that when you use :edit, the specified file will be loaded in the buffer, yes, but it will be in the active buffer. Meaning, that if you are editing a file and use :edit command, the file you specify will be displayed in the current window.
Whereas, when you use :badd command, the file you specify will be loaded into the buffer, in the background.
Let's look at an example.
As you can see from this gif, initially I have no file open, then I add 'main.rs' to the buffer using :badd command but 'main.rs' is not opened for editing right away. I also add 'utils.rs' to buffer and I am still on the empty file without any name.
Splitting windows
As you might already know, Vim supports creating horizontal and vertical split panes. Naturally, this is so that you can have multiple files open for viewing and editing at once.
There are several methods of creating splits in Vim.
Use either :split and :vsplit commands and specify a file name to create a horizontal split and a vertical split respectively. Alternatively, you can use the :sp and :vs commands for short, for respective commands.
:split <filename>
:vsplit <filename>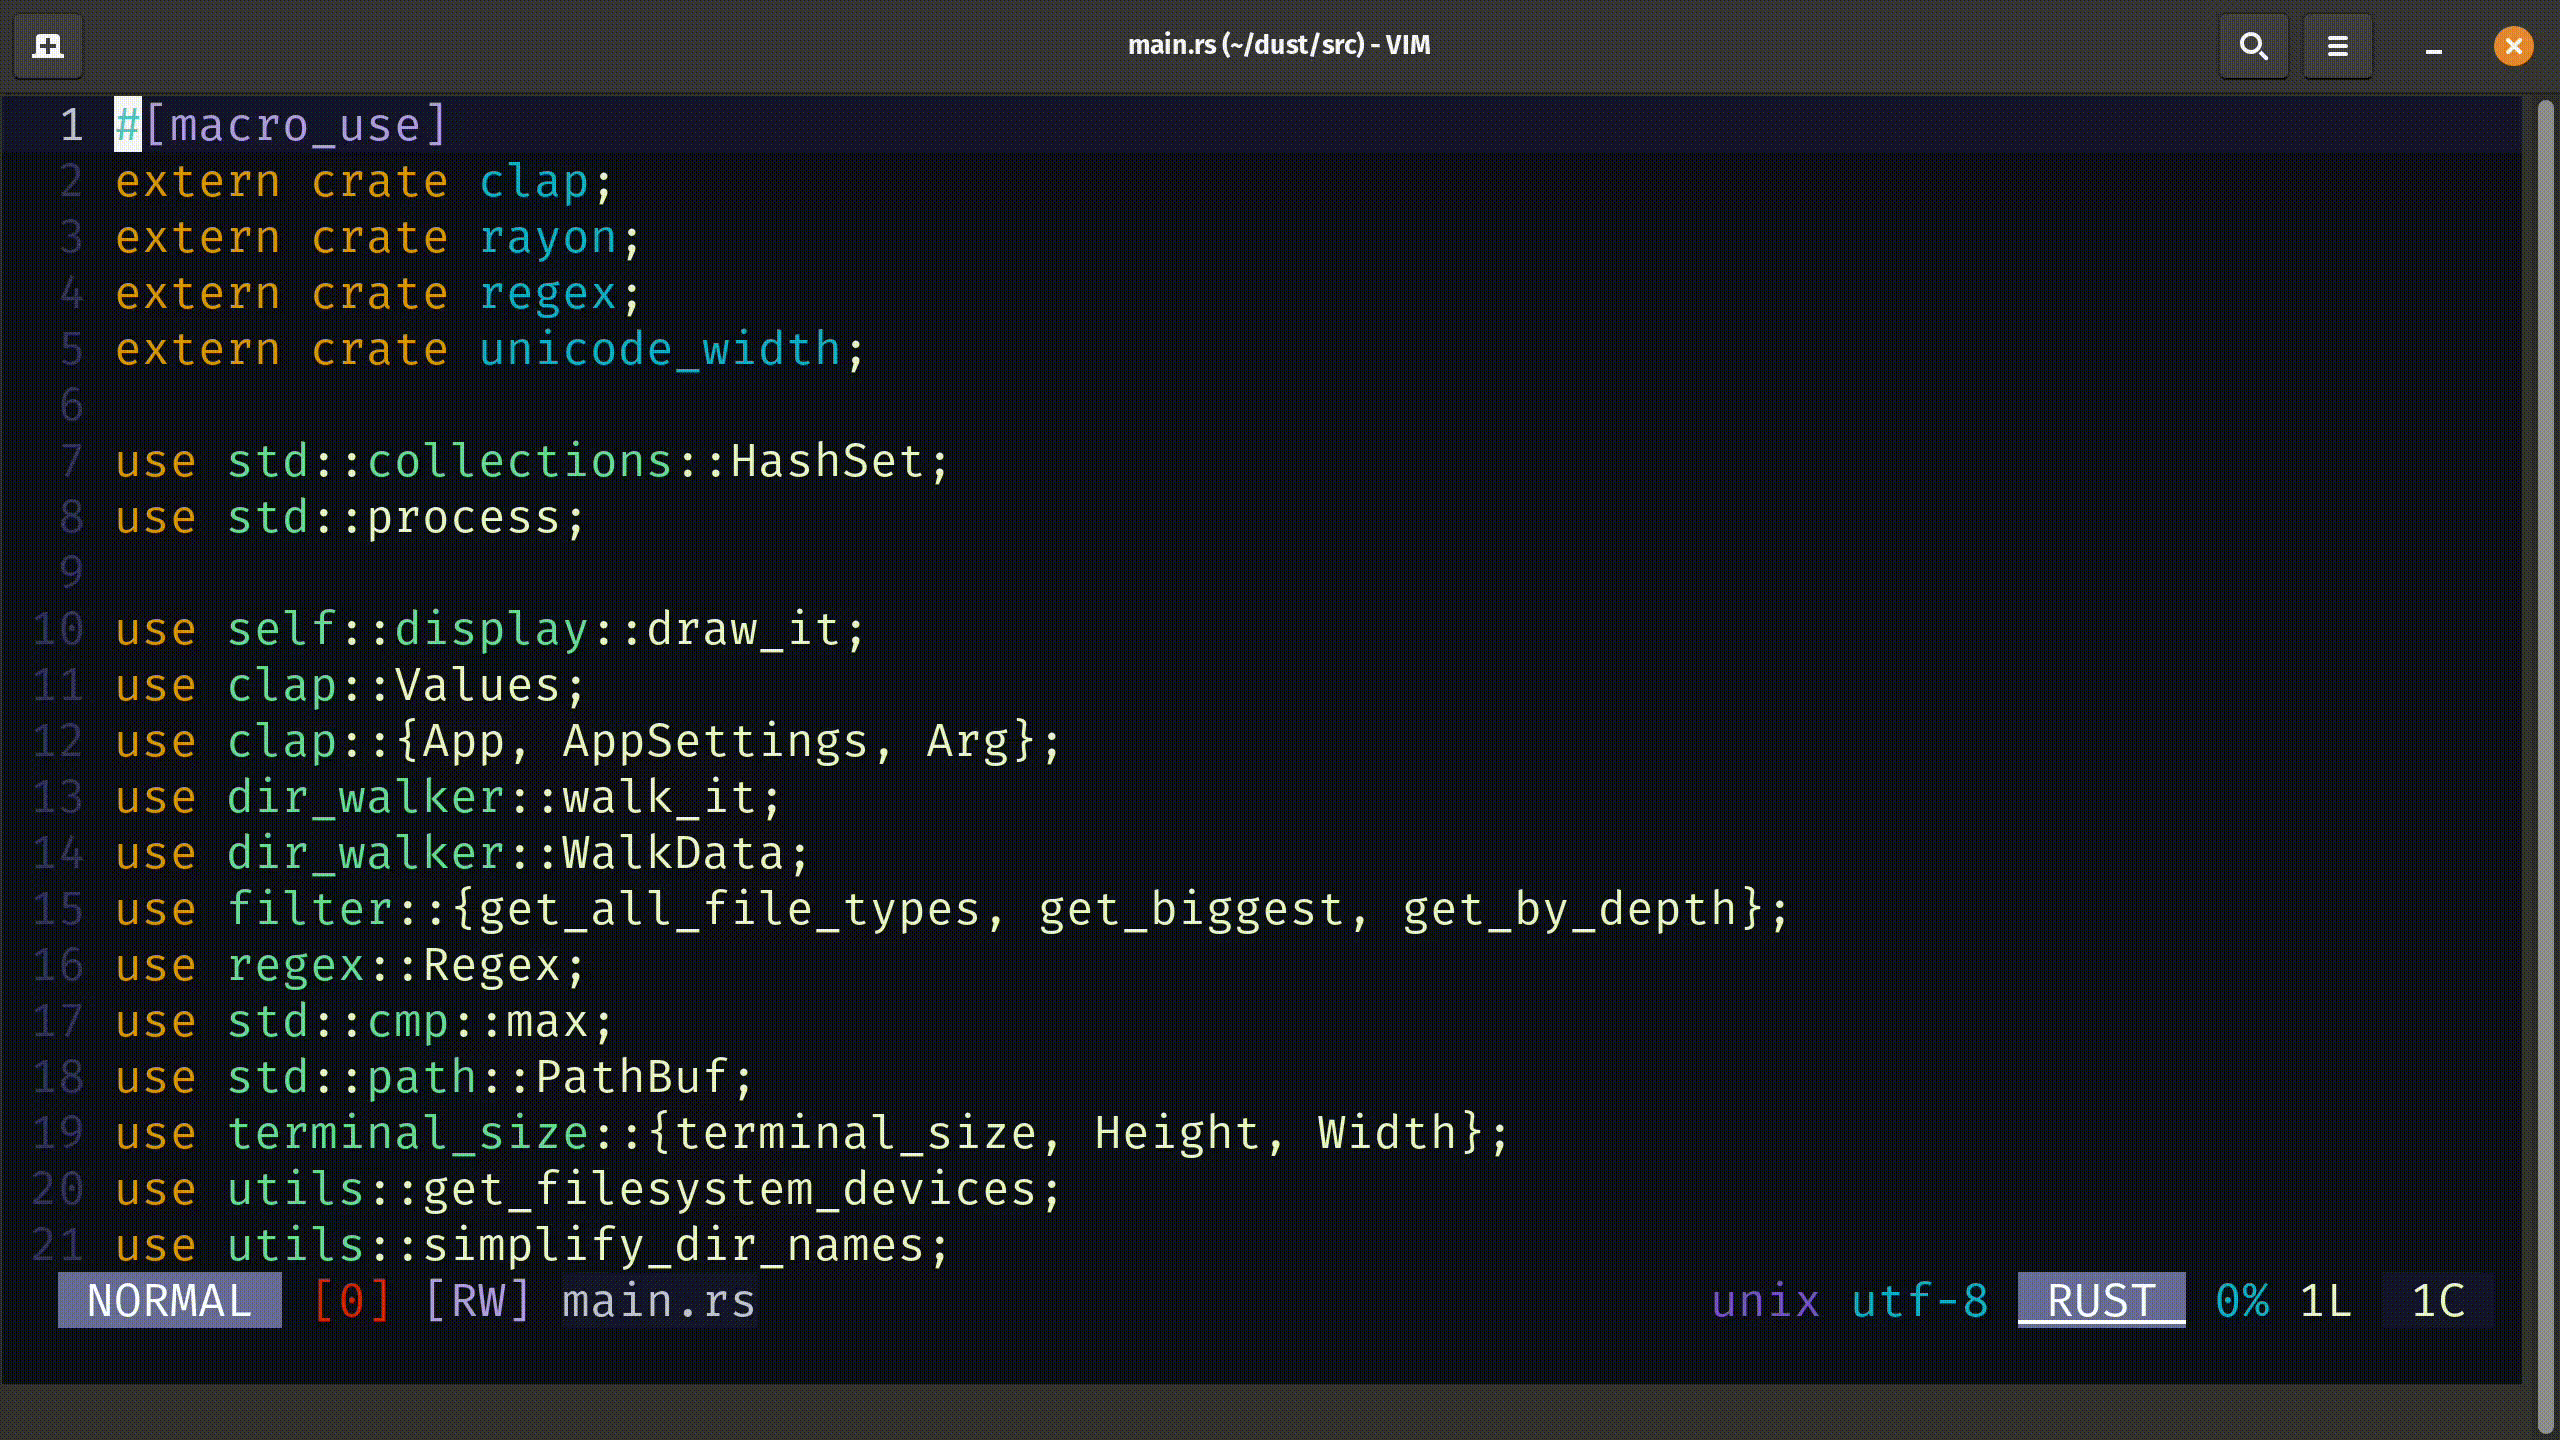
Show open buffers
Before you learn about switching between buffers, you must know which files are currently loaded in the buffer and how to view those open buffers.
There are three commands that you can use for listing open buffers and they are listed below:
:ls
:files
:buffers
When you list the buffers, it will give you a few details...
At first, it will give you an index of each file open in the buffer, that way you can switch between buffers without typing out the whole filename.
If the buffer is active, in the current window, it will show a % symbol before the file name. Additionally, if it is the active buffer, the a symbol will be shown before the file name.
Some more information about a buffer is also shown by the following flags:
%: Buffer which is in the current window#: Alternate buffer (the last file which was most recently edited in the current window)a: Active buffer (the file which is being edited in the current window)h: Hidden buffer (buffer with unsaved modifications but is not being displayed in any window)u: Unlisted buffer (files that are not open in Vim but are present in the current working directory; use:ls!to view this)-: Buffer with 'modifiable' set to off=: A read-only buffer+: A modified buffer (buffer with changes that are not written to disk)x: A buffer that has read errors
These buffer flags can be combined together to portray a specific meaning.
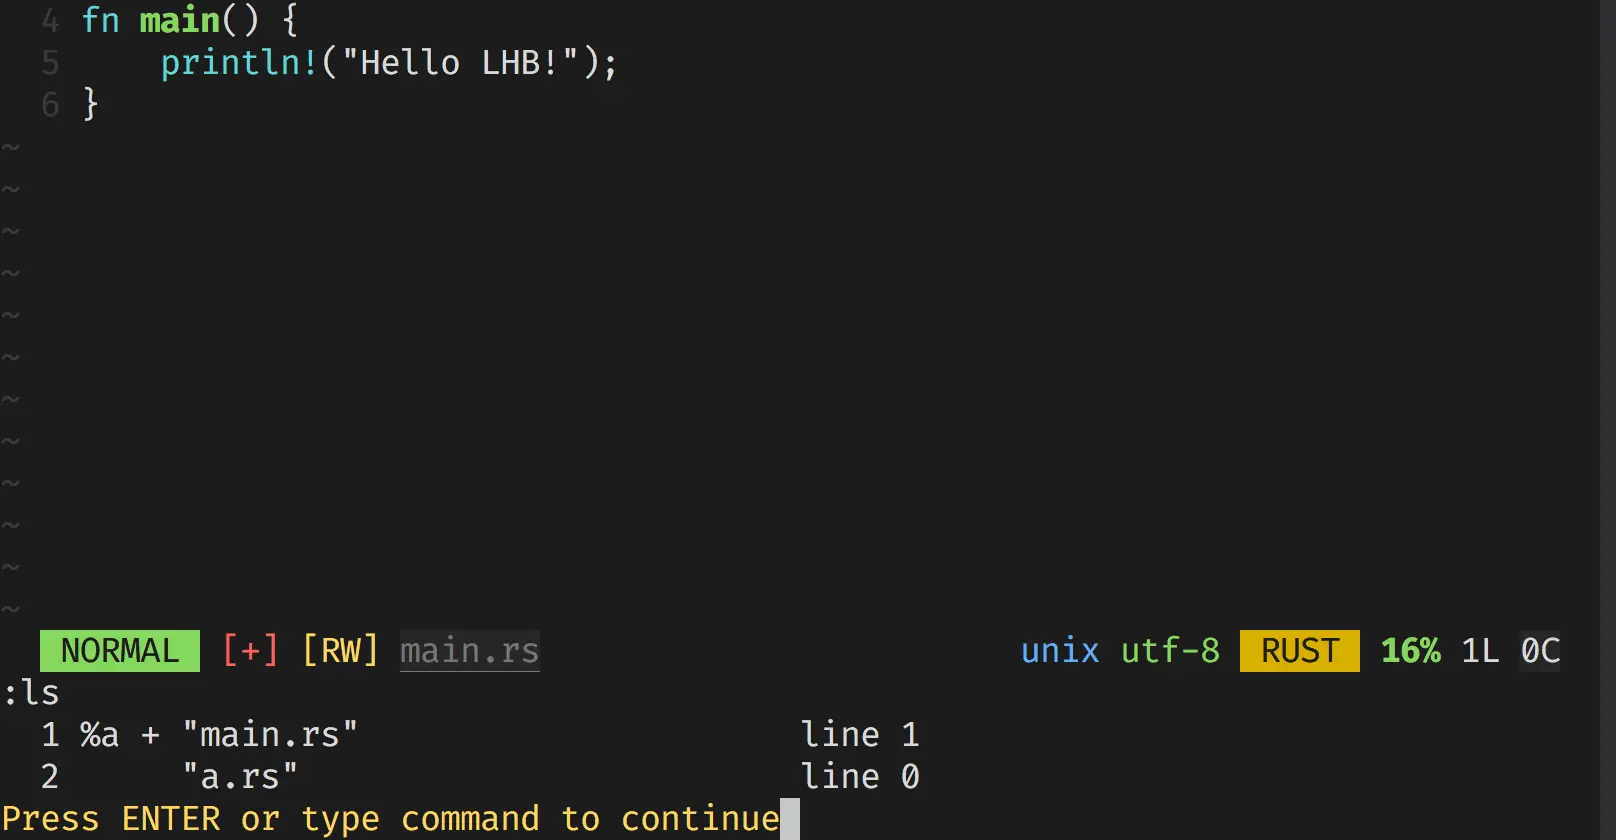
The most common example is %a, meaning that said buffer is "open" (being edited) in the current window.
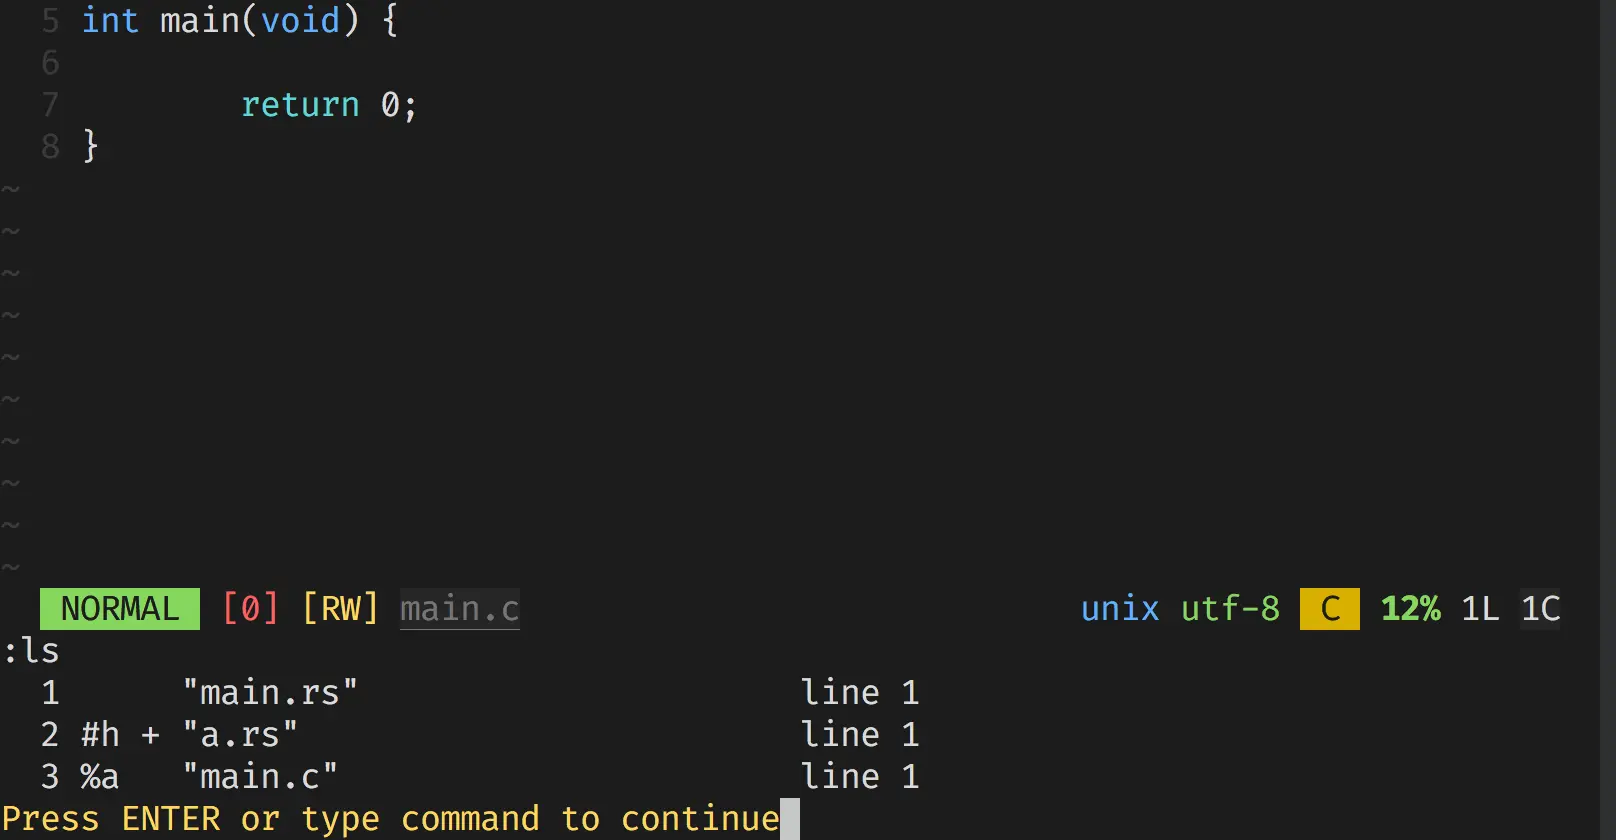
Let's look at another example. Here, I made a few edits to 'a.rs' file and hid it using :set hidden command. Then I switched to editing 'main.c' without writing out any modifications that I made to 'a.rs'.
And now the flags of 'a.rs' indicate exactly that with #h + flags.
#-> It was the last file to be edited in the current window (before I switched to editing 'main.c')h-> It is a hidden buffer+-> It was modified but changes weren't saved to the disk
Extra
With a few files in the buffer, you can open all of them for editing in each separate window using either of the following commands:
:ball-> Make n horizontal splits and open all files in windows (where n is the number of files in buffer):vertical ball-> Make n vertical splits and open all of them in windows (again, n is the number of files in buffer)

Deleting buffers
When there are buffers open that are no longer necessary, it is best to get rid of them. Why keep a file open in the buffer if you don't intend to edit it any longer?
To do exactly that, you can use the :bdelete command along with the buffer name (or its index) to remove it from the buffer. You can also use the :bd command if you are a bit lazy.
:bdelete <filename>
As with everything in Vim, you can even delete multiple buffers at once by specifying a range. Below is a command if you want to delete buffers 1, 2, 3, and 4:
:1,4bd
Move between buffers
Now that you know how to append files to the buffer, how to remove them from the buffer, and list files that are open in the buffer, let us have a look at how to switch from editing one file to another file without quitting Vim.
There are several ways you can switch between buffers.
Switch to a specific buffer
Most of the time, when editing multiple files, you switch back and forth between only a few select files instead of opening every file.
When you need to switch from one file to another file, use the :buffer command, or :b for short.
:buffer <filename>
When you know the buffer number, you can switch to the desired buffer just by mentioning its name using the following command:
:bufferNHere N is the buffer number.

Switch between buffers, consecutively
Since each buffer has a unique number, and the number does not change, you can easily jump to the next or a previous buffer from the list of open buffers.
When you want to switch to the next buffer, use the :bnext command. As with most Vim commands, a shorter command exists, which is :bn.
:bnextTo switch to the previous buffer, you can use the :bprevious command. And the short-to-type command to switch to the previous buffer is :bp.
:bprevious
Jump to the first and last buffer
You can easily use the command :b1 to switch to the first buffer, but how do you switch to the last buffer without knowing its index?
There are commands available in Vim to do exactly this!
If you want to jump to the first buffer, use the :bfirst command, or :bf if you are as lazy as I am.
:bfirstAnd, to jump to the last buffer [without knowing its number], use the :blast command, or :bl command.
:blast
Hiding buffers
When you try to switch between buffers when you have modified the active buffer, Vim will ask if you want to discard changes or save them, before switching to another buffer.
That can be quite annoying. To disable that message (per buffer, per session), use the :set hidden command.
:set hidden
This will keep the changes "in memory". Changes that you made will not be discarded, nor will they be written to disk. They will be "saved in the buffer", to be handled later on.
Now, Vim will not keep asking if you want to save the changes or not when you switch from a modified buffer to another buffer.
If you want this to be automatically applied to every file, it is best that you add the following line to your 'vimrc' file:
set hiddenThis way, you won't have to run :set hidden command for every buffer each time you open Vim.
Conclusion
This article goes in-depth with almost every operation you can use to manipulate buffers in Vim.
If you want to learn advanced Vim topics like this, I highly recommend using this Vim training by Jovica Ilic.