When deploying containerized services such as Pi-hole with Docker, selecting the appropriate networking mode is essential for correct functionality, especially when the service is intended to operate at the network level.
The host networking mode allows a container to share the host machine’s network stack directly, enabling seamless access to low-level protocols and ports.
This is particularly critical for applications that require broadcast traffic handling, such as DNS and DHCP services.
This article explores the practical use of host networking mode in docker, explains why bridge mode is inadequate for certain network-wide configurations, and provides a Docker compose example to illustrate correct usage.
What does “Host Network” actually mean?
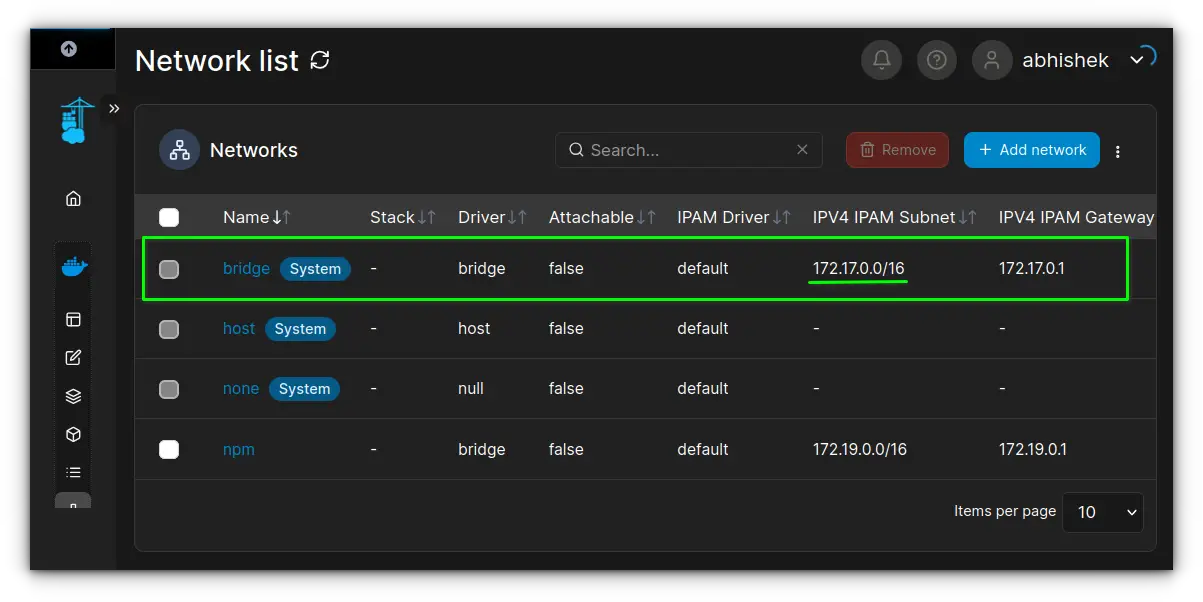
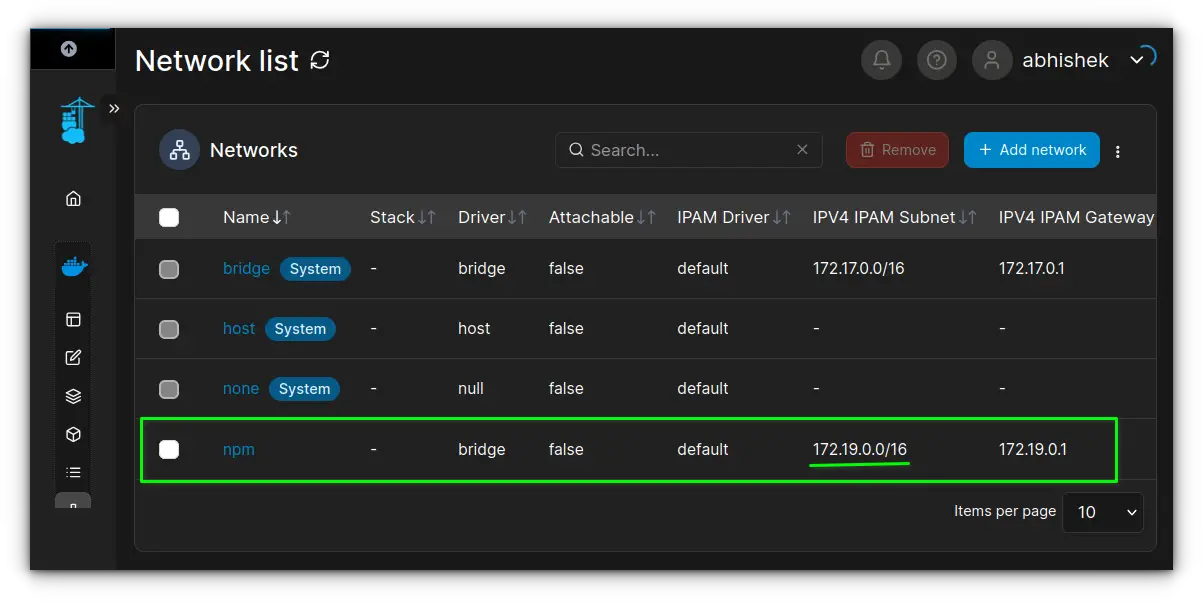
By default, Docker containers run in an isolated virtual network known as the bridge network. Each container receives an internal IP address (typically in the 172.17.0.0/16 range) and communicates through Network Address Translation (NAT).
This setup is well-suited for application isolation, but it limits the container’s visibility to the outside LAN.
For instance, services running inside such containers are not directly reachable from other devices on the local network unless specific ports are explicitly mapped.
In contrast, using host network mode grants the container direct access to the host machine’s network stack.
Rather than using a virtual subnet, the container behaves as if it were running natively on the host's IP address (e.g., 192.168.x.x or 10.1.x.x), as assigned by your router.
It can open ports without needing Docker's ports directive, and it responds to network traffic as though it were a system-level process.

Setting up host network mode using docker compose
While this setup can also be achieved using the docker run command with the --network host flag, I prefer using Docker Compose.
It keeps things declarative and repeatable, especially when you need to manage environment variables, mount volumes, or configure multiple containers together.
Let’s walk through an example config, that runs an nginx container using host network mode:
version: "3"
services:
  web:
    container_name: nginx-host
    image: nginx:latest
    network_mode: host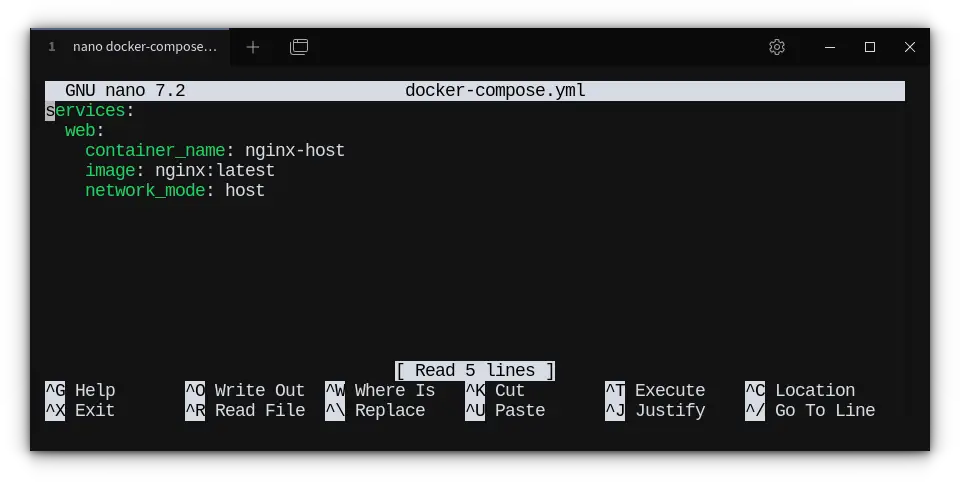
This configuration tells Docker to run the nginx-host container using the host's network stack.
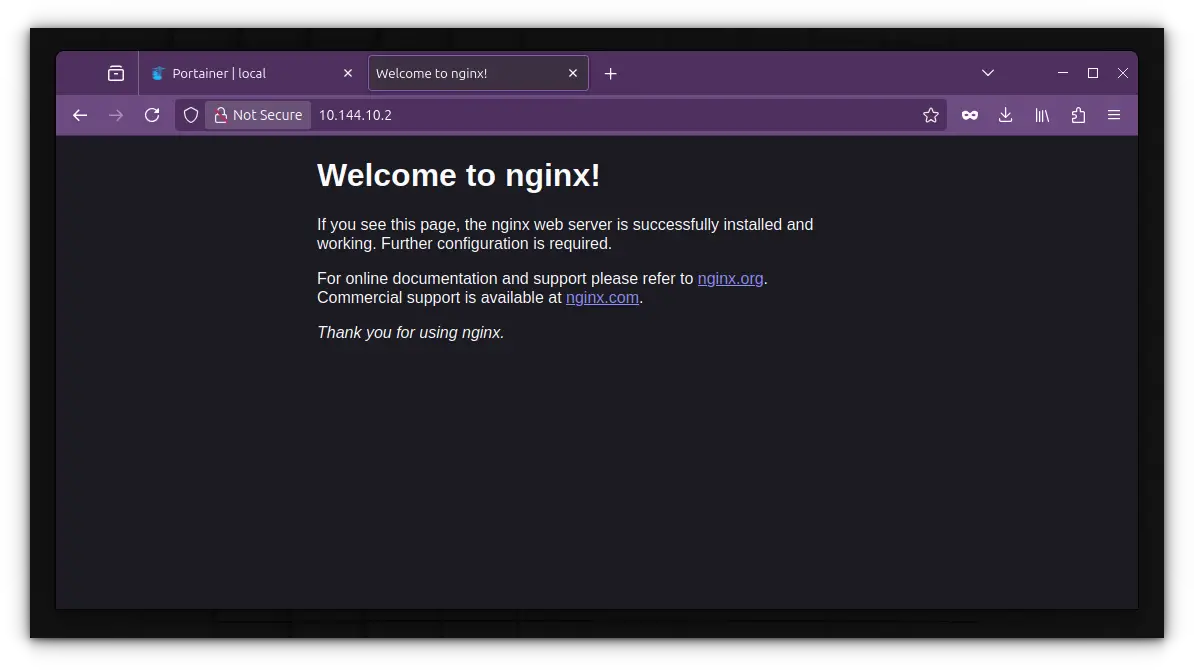
No need to specify ports, if Nginx is listening on port 80, it’s directly accessible at your host's IP address on port 80, without any NAT or port mapping.
Start it up with:
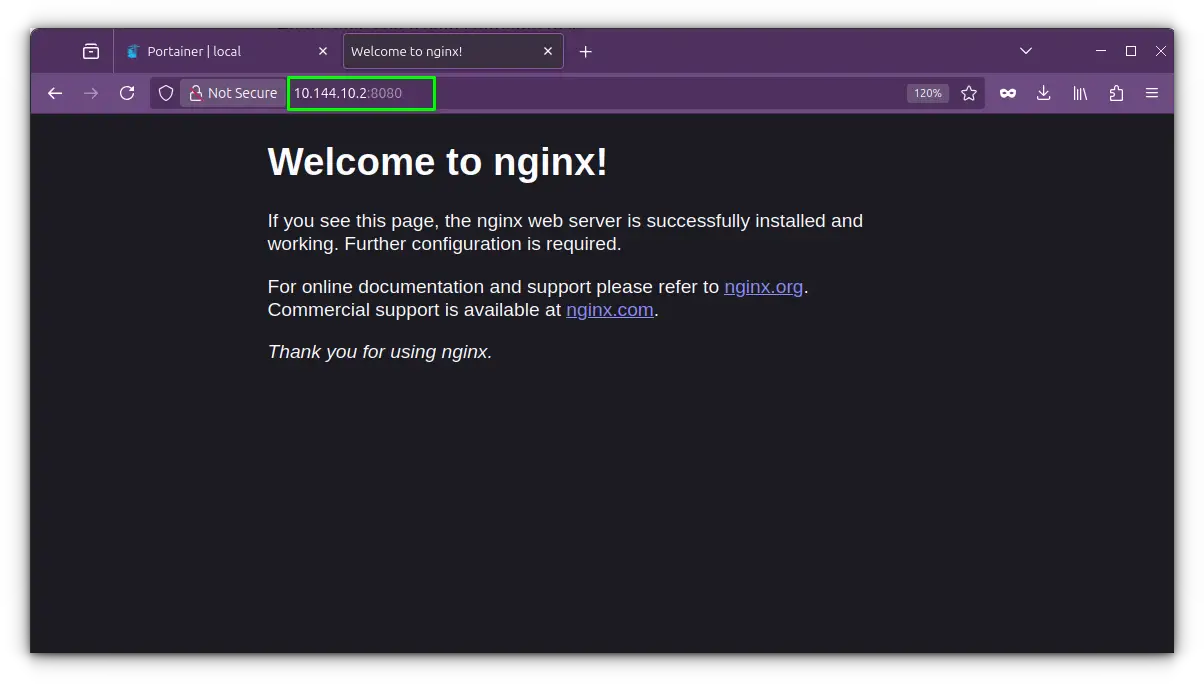
docker compose up -dThen access it via:
http://192.168.x.xYou’ll get Nginx’s default welcome page directly from your host IP.
How is this different from Bridge networking?
By default, Docker containers use the bridge network, where each container is assigned an internal IP (commonly in the 172.17.0.0/16 range).
Here’s how you would configure that:
version: "3"
services:
  web:
    image: nginx:latest
    ports:
      - "8080:80"
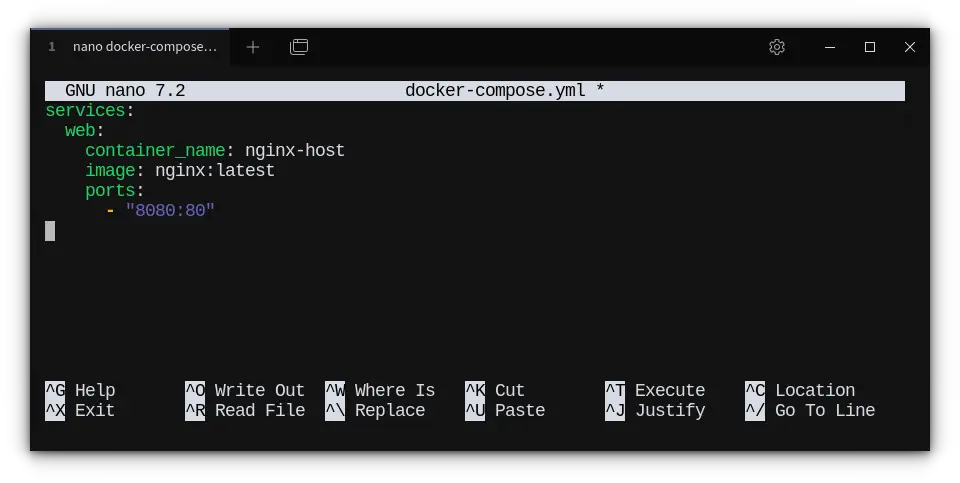
This exposes the container’s port 80 to your host’s port 8080.
The traffic is routed through Docker’s internal bridge interface, with NAT handling the translation. It’s great for isolation and works well for most applications.
Optional: Defining custom bridge network with external reference
In Docker Compose, a user-defined bridge network offers better flexibility and control than the host network, especially when dealing with multiple services.
This allows you to define custom aliasing, service discovery, and isolation between services, while still enabling them to communicate over a single network.
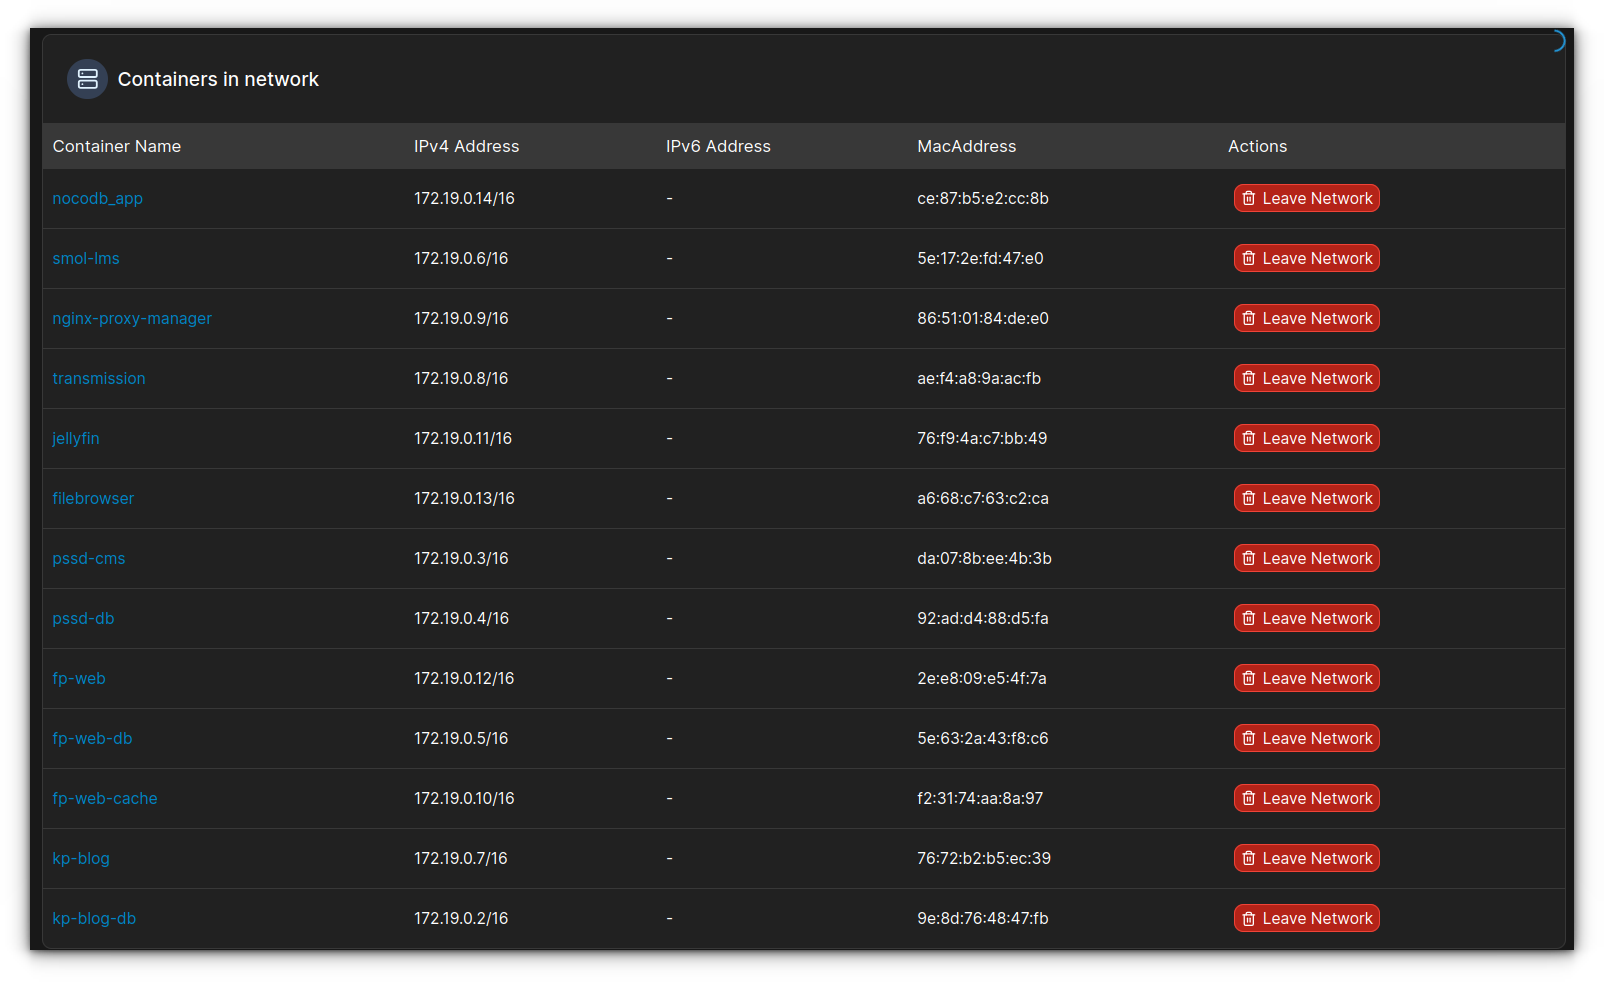
I personally use this with Nginx Proxy Manager that needs to communicate with multiple services.
These are the services that are all connected to my external npm network:
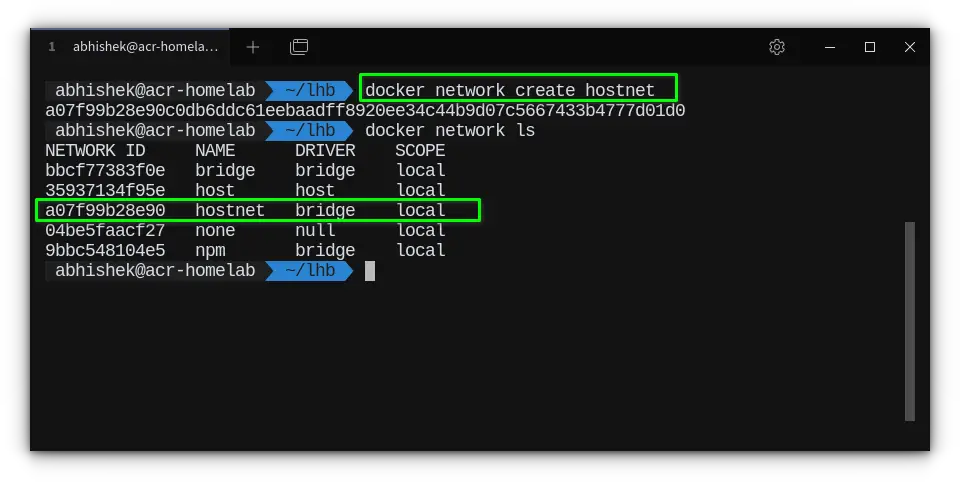
Let's walk through how you can create and use a custom bridge network in your homelab setup. First, you'll need to create the network using the following command:
docker network create my_custom_network
Then, you can proceed with the Docker Compose configuration:
version: "3"
services:
  web:
    image: nginx:latest
    networks:
      - hostnet

networks:
  hostnet:
    external: true
    name: hostnet
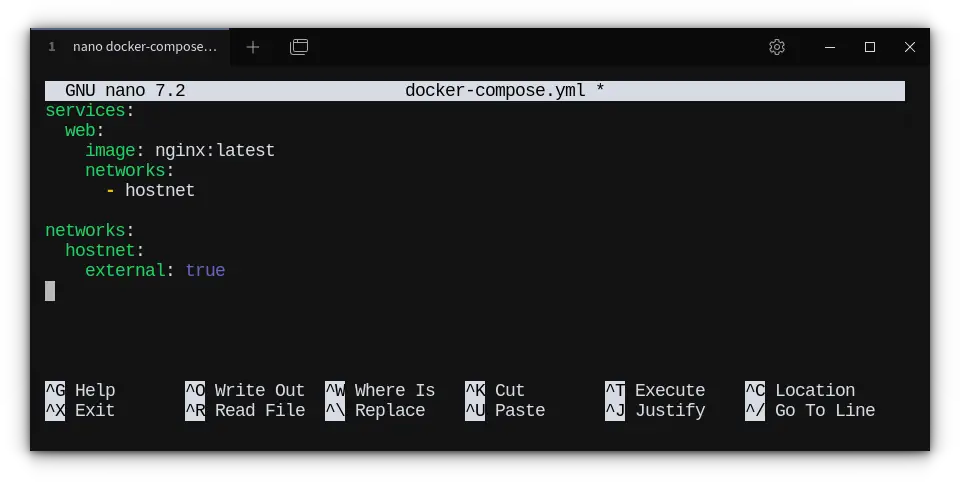
Explanation:
hostnet: This is the name you give to your network inside the Compose file.external: true: This tells Docker Compose to use an existing network, in this case, the network we just created. Docker will not try to create it, assuming it's already available.
By using an external bridge network like this, you can ensure that your services can communicate within a shared network context, but they still benefit from Docker’s built-in networking features, such as automatic service name resolution and DNS, without the potential limitations of the host network.
But... What’s the catch?
Everything has a trade-off, and host networking is no exception. Here’s where things get real:
❌ Security takes a hit
You lose the isolation that containers are famous for. A process inside your container could potentially see or interfere with host-level services.
❌ Port conflicts are a thing
Because your container is now sharing the same network stack as your host, you can’t run multiple containers using the same ports without stepping on each other. With the bridge network, Docker handles this neatly using port mappings. With host networking, it’s all manual.
❌ Not cross-platform friendly
Host networking works only on Linux hosts. If you're on macOS or Windows, it simply doesn’t behave the same way, thanks to how Docker Desktop creates virtual machines under the hood. This could cause consistency issues if your team is split across platforms.
❌ You can’t use some docker features
Things like service discovery (via Docker's DNS) or custom internal networks just won’t work with host mode. You’re bypassing Docker's clever internal network stack altogether.
When to choose which Docker network mode
Here’s a quick idea of when to use what:
- Bridge Network: Great default. Perfect for apps that just need to run and expose ports with isolation. Works well with Docker Compose and lets you connect services easily using their names.
- Host Network: Use it when performance or native networking is critical. Ideal for edge services, proxies, or tightly coupled host-level apps.
- None: There's a
network_mode: nonetoo—this disables networking entirely. Use it for highly isolated jobs like offline batch processing or building artifacts.
Wrapping Up
The host network mode in Docker is best suited for services that require direct interaction with the local network.
Unlike Docker's default bridge network, which isolates containers with internal IP addresses, host mode allows a container to share the host's network stack, including its IP address and ports, without any abstraction.
In my own setup, I use host mode exclusively for Pi-hole, which acts as both a DNS resolver and DHCP server for the entire network.
For most other containers, such as web applications, reverse proxies, or databases, the bridge network is more appropriate. It ensures better isolation, security, and flexibility when exposing services selectively through port mappings.
In summary, host mode is a powerful but specialized tool. Use it only when your containerized service needs to behave like a native process on the host system.
Otherwise, Docker’s default networking modes will serve you better in terms of control and compartmentalization.